
Fuseau
Smooth · Tubers
Big, smooth, thin-skinned tubers that peel easily — a good kind for the kitchen.
- ⭐ Flavour
- Beginners
Helianthus tuberosus
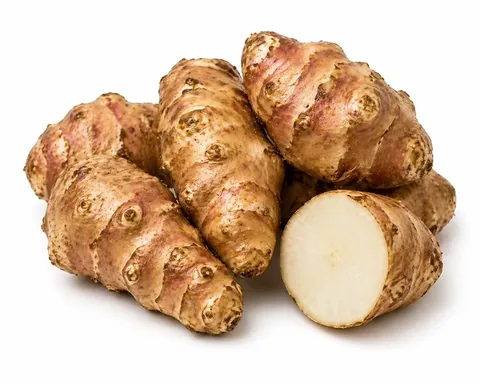
An easy, hardy perennial that needs very little looking after. Each plant gives ten or more sweet, nutty tubers, ready to dig through the winter when little else is cropping. The plants can reach 3 metres, so a few rows planted together will shelter the rest of the plot from wind.

Only a handful of named kinds are on sale in the UK. Fuseau's big, smooth tubers peel easily, and Dwarf Sunray stops at about 1.2–1.5m, with pale, long and smooth tubers, so it suits windy or smaller plots. Gerard is a French kind with red skin and rounder tubers, Sakhalinski Rouge has large, club-shaped tubers of a pale lilac colour, and Bianca gives small tubers with a sweet, nutty taste.
The number of varieties shown for each crop is based on UK consumption data (2025/26) — the more popular the crop, the more variety choices we include.
Smooth-skinned kinds, far easier to prepare than the old knobbly types.
Big, smooth, thin-skinned tubers that peel easily — a good kind for the kitchen.
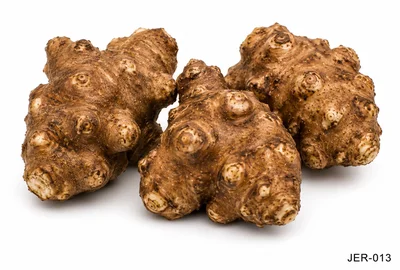
A short kind, growing to about 1.2–1.5m, so a good pick for windy sites and smaller gardens. Its tubers are long, smooth and pale.
Less common kinds from specialist UK suppliers — red or lilac skins, or small, sweet tubers.
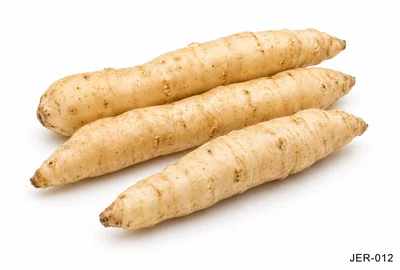
A French variety with red skin and rounder tubers than most. Sold in the UK by organic tuber suppliers.
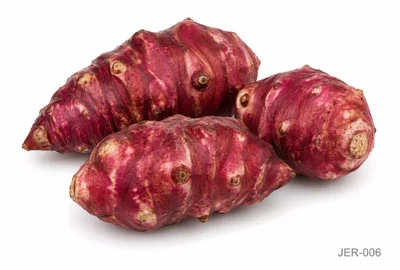
A specialist kind with large, club-shaped tubers of a pale lilac colour. Sold in the UK by a specialist nursery.
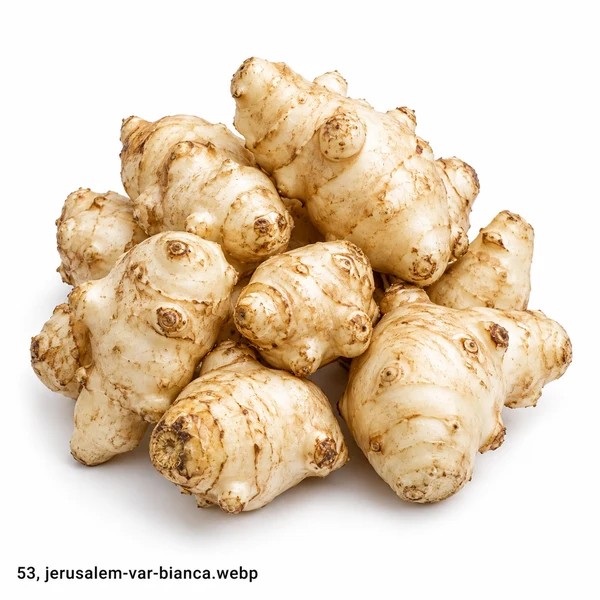
Grown for its small tubers, which have a sweet, nutty taste. Good roasted or in soup.
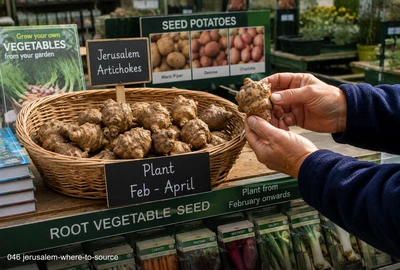
Jerusalem artichokes start from tubers, which garden centres and online shops sell from late winter until mid-spring. Once you have a crop, keep some of your own tubers to replant — they multiply freely.

Online suppliers sell named tubers between late winter and mid-spring and offer the widest choice, from smooth Fuseau and the shorter Dwarf Sunray to red-skinned Gerard. Order early, as stock often sells out. Once your plants are growing, keep some tubers each year to replant and you need not buy again.
Many garden centres sell Jerusalem artichoke tubers in late winter and spring, often near the seed potatoes. The choice is usually one or two kinds, but the tubers are ready to plant straight away.
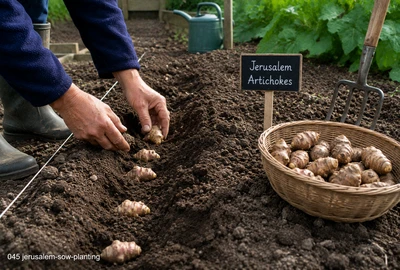
Open ground is the usual way to grow Jerusalem artichokes. Plant tubers 10–15cm deep and 30cm apart in a sunny, permanent spot, with rows 1m apart if you need to walk between them, or 30cm apart for a block. Choose the place with care: plants can reach 3m and may shade other crops, though a few rows make a good windbreak. They spread by underground tubers, so treat the area as theirs for good and lift every tuber you do not want, as even a small piece will grow again. Avoid ground that gets waterlogged — the tubers can rot.
Suitable varieties: All varieties. A large pot works too — at least 45cm wide and deep, holding one or two tubers; short kinds such as Dwarf Sunray suit pots best, though the crop is smaller and needs regular watering.

Both are tall, vigorous crops that can be planted together as a windbreak or screen. Jerusalem artichokes are sometimes used as a living windbreak to shelter more tender crops.

Beans fix nitrogen that benefits the nutrient-hungry Jerusalem artichoke plants. The two crops can be grown in adjacent rows without significant competition.
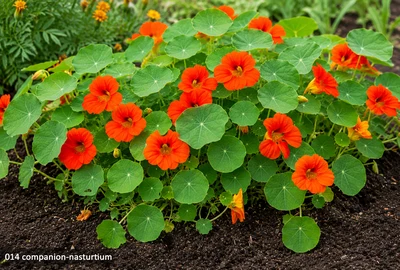
Nasturtiums are a cheerful, easy edging for the bed, grown here for colour — do not count on them to keep aphids away.
Jerusalem artichokes start from tubers rather than seed, planted between February and May. They are among the easiest crops in the kitchen garden. A sunny spot in moist, moderately fertile soil gives the biggest harvest; poor soil and part shade are tolerated, but the crop will be smaller. Once planted they come back year after year from any tubers that stay in the soil, so the main job is keeping them in their place.
Fork a bucketful of garden compost into each square metre, then plant firm tubers, each a bit smaller than an egg, 10–15cm deep and 30cm apart, any time from February to May. Leave 1m between rows if you need to walk between them, or set the rows just 30cm apart to make a block. A big tuber can be cut in two, as long as each half has a bud. Water them in.
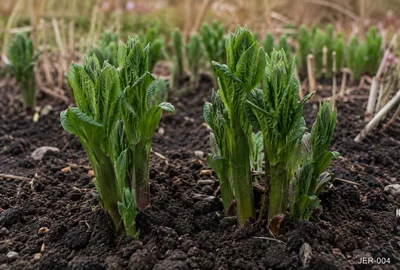
Shoots come up in spring and nothing needs thinning. Cover the surface with a layer of compost to keep the soil damp and smother weeds, and water if the weather turns dry.
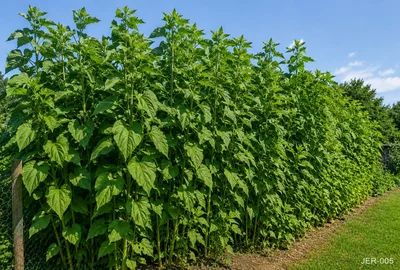
The plants can reach 3m by late summer. When the stems reach roughly 30cm, pull soil up round their base into a mound about 15cm high to steady them. On windy sites, push tall canes or hazel poles in round the outside of the planting and run string between them to hold the stems in.

Yellow, sunflower-like flowers open in late summer and autumn and are good for bees and other pollinators. You can leave them, or cut them off — this may send a little more energy into the tubers, but the gain is small.
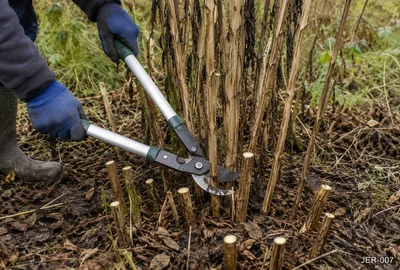
Once the foliage yellows in autumn, cut each stem back to a stump about 8cm tall. The stumps show you where to dig, and laying the cut stems on top keeps the soil warmer and easier to fork over in frost.
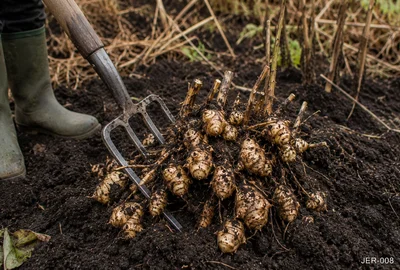
Dig the tubers with a garden fork from November, as you need them, right through the winter. Each plant usually gives ten or more, and they can spread wide and, in light soil, go quite deep. Any piece left in the ground will grow again next year — leave a few on purpose if you want another crop in the same spot.

| Region | Sow / plant | Harvest | Notes |
|---|---|---|---|
| Scotland & Far North | Feb–May | Nov–Feb | Plant from February to May, once the ground can be worked; if it is frozen or sodden, start the tubers in pots outdoors and plant them out later in spring. Dig from November through the winter; cover the bed with the cut stems or a thick mulch so it can still be dug in hard frost. · Feb–May (tuber planting) |
| Northern England | Feb–May | Nov–Feb | Plant from February to May. Dig from November through the winter. A reliable winter crop for northern plots — cover the bed in hard frosts so you can still dig. · Feb–May (tuber planting) |
| Midlands & Wales | Feb–May | Nov–Feb | Plant from February to May. Dig as needed from November through the winter. · Feb–May (tuber planting) |
| Ireland & Isle of Man | Feb–May | Nov–Feb | Plant from February to May. Dig as needed from November through the winter. Avoid ground that stays waterlogged, where the tubers can rot. · Feb–May (tuber planting) |
| South & SE England | Feb–May | Nov–Feb | Plant from February to May. Water in dry summer spells so the tubers swell. Dig from November through the winter, and lift every tuber you do not want back. · Feb–May (tuber planting) |
| South Coast & SW | Feb–May | Nov–Feb | Plant from February to May. Dig as needed from November; in mild winters the bed rarely freezes, so digging is easy right through to February. · Feb–May (tuber planting) |
Jerusalem artichokes start from tubers rather than seed, so no propagator is needed. Most are planted straight into the ground from February to May.
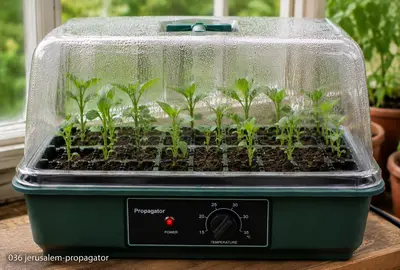
Not applicable. Jerusalem artichokes are planted as tubers directly into open ground. There is no seed germination stage requiring heat.
Not needed. If your ground is frozen, too wet or not ready in late winter, start the tubers in pots of compost outdoors instead, then plant them out in late spring. There is no indoor stage.
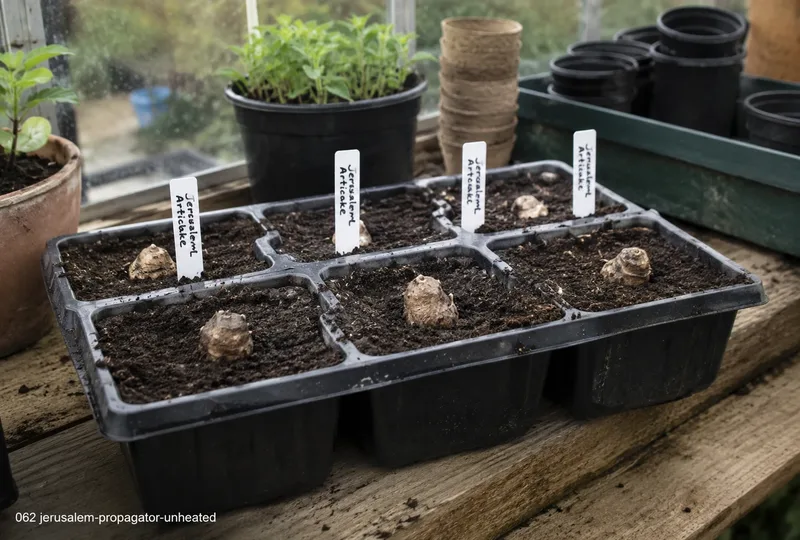
Standard unheated propagator — A lidded seed tray traps warmth and humidity around germinating seeds without electricity. Performance depends entirely on room temperature — best placed on a warm windowsill and used from March onwards. Replace the lid promptly after watering. Remove it completely the moment seedlings emerge to prevent damping off.
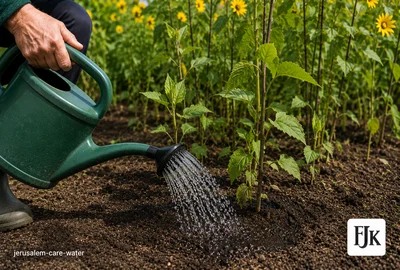
Water regularly in dry summer spells so the tubers swell — plants that go short tend to give tubers that are smaller, knobblier and awkward to peel. Water new plantings in well, and keep plants in pots watered all season. A compost mulch spread as winter ends keeps the ground from drying out.
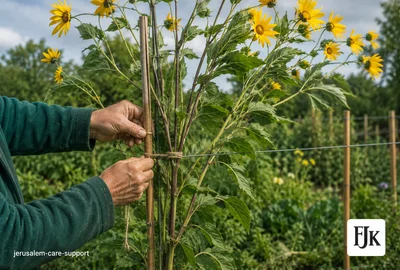
Plants can reach 3m, and strong wind can snap or flatten them, or rock the stems so the tubers loosen and grow less. Once the stems reach roughly 30cm, draw soil up round the base into a mound about 15cm high. On windy sites, set tall canes or hazel poles round the outside of the planting and tie string between them. If you cannot stake, cut the stems back to about 1.5m during late July or in August — but no lower, or the crop will suffer.
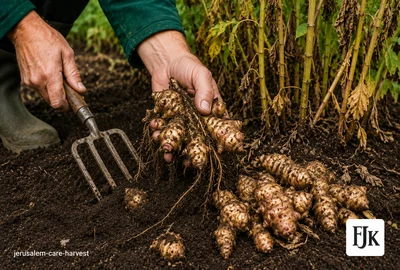
Dig tubers from November, once the foliage has died down, and keep lifting as needed through the winter — they keep best in the ground and do not turn woody. Use a garden fork and dig with care, as the tubers can spread wide and, in light soil, deep. Lift every last piece from any ground you want back, as anything left will regrow.
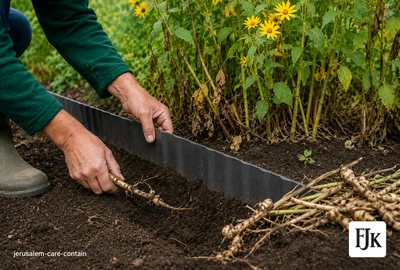
Jerusalem artichokes spread aggressively — any tuber left in the ground will produce a new plant. To control spread, harvest every tuber thoroughly each autumn. Consider growing in a sunken container or raised bed with solid sides to prevent underground spread into other beds.
Jerusalem artichokes are notorious for causing flatulence — the inulin fibre is indigestible for most people. Introduce gradually. A few missed tubers will re-grow every year, so choose their position carefully.
Full identification and treatment advice is in the Pests and Diseases sections.
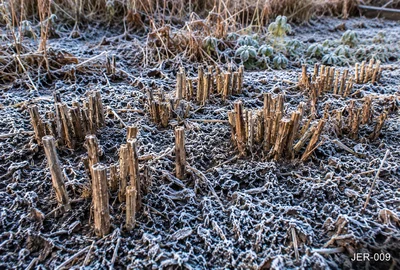
Jerusalem artichokes keep best in the ground and do not store well once lifted. Dig them as needed from November through the winter. In cold areas, lay the cut stems, a deep mulch or sheets of cardboard over the bed so the ground stays diggable in a hard frost. Frost is often said to sweeten the flavour.
Scrub and roast whole or halved in olive oil until golden and tender. The finest way to eat them — serve immediately.

Jerusalem artichoke soup is one of the great winter soups. Cook with onion and stock and blend until silky. Cool it quickly, then keep it covered in the fridge and eat within 2 days, or freeze in portions and use within 3 months.
Plant firm, smooth tubers a little under egg size. Save the best and smoothest from each harvest to replant next year, and halve any big ones, keeping at least one bud on every piece.
Leave the stems until the leaves turn yellow in autumn, then cut them to about 8cm. Cutting tall stems below 1.5m during the summer reduces the crop, so on windy sites stake the plants rather than chopping them hard.