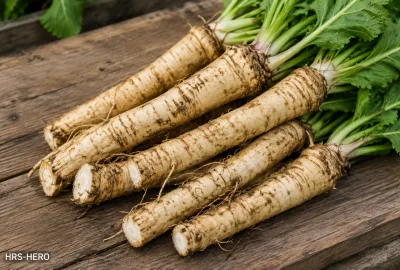
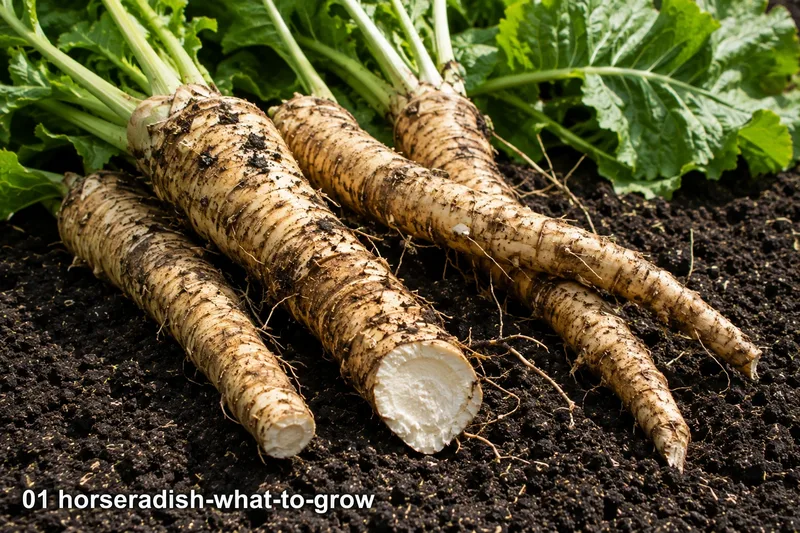
Plant pieces of root (thongs) about 15cm long upright, with the top 5cm below the surface, from March to June
A large pot 30cm or more across and deep is the easiest way to grow it — in open ground it spreads and regrows from any piece of root left behind
Lift roots in autumn or early winter — the flavour is usually thought stronger after frost
Leave some root in the ground — it will regrow reliably each year without replanting
Grate fresh with cream for sauce — home-grated horseradish is in a completely different league to shop-bought
🌱 SowPlant roots Mar–Jun
🌾 HarvestSep–Dec
☀ PositionFull sun or partial shade
📐 Spacing30–45cm
DifficultyEasy
⚡ Quick facts
Difficulty
Very Easy
Crop type
Hardy Perennial
Position
Full Sun or Partial Shade
Soil
Most soils — not waterlogged or very dry
Container friendly
Yes — the recommended way, in a pot 30cm or more across and deep
Greenhouse recommended
Not needed
Outdoor suitable
Yes — very hardy, UK-wide
Frost hardy
Fully hardy — roots survive all UK winters in ground
01 About
Horseradish is one of the most rewarding perennial root crops in the kitchen garden — impossibly easy to grow, almost impossible to eradicate once established, and producing roots of a heat and freshness that commercially grated horseradish never approaches. A single crown planted in spring will provide a lifetime of roots. The challenge is not growing it but containing it: horseradish spreads vigorously from even the smallest piece of root left in the soil, making bed placement a one-time decision with permanent consequences.
02 What to Grow
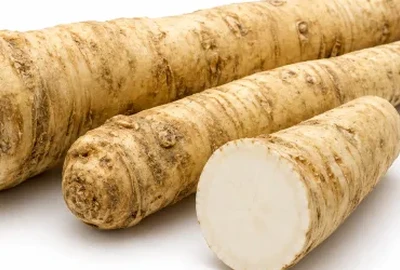
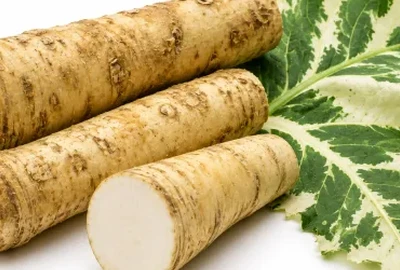
Almost all horseradish sold in the UK is the plain species, Armoracia rusticana, with green leaves and strong-tasting white roots. The one named form is Variegata, whose big leaves are splashed and streaked with pale cream; it grows a little less strongly, and its roots are used in just the same way. A healthy young plant or root from a reputable supplier will give good roots.
03 Varieties
The number of varieties shown for each crop is based on UK consumption data (2025/26) — the more popular the crop, the more variety choices we include.
🌿 Standard Horseradish
Armoracia rusticana — the only culinary horseradish. Grown as a species rather than named varieties in almost all UK kitchen gardens.
Common Horseradish
The standard culinary horseradish. Vigorous, hardy, and reliably productive in all UK conditions. Large paddle-shaped leaves and deep-growing roots with powerful heat and complex flavour. Self-perpetuating once established — a single planting lasts indefinitely.
Hardy
Perennial
Self-Perpetuating
Variegata
A form with large leaves irregularly splashed and streaked with pale cream. It grows a little less strongly than plain horseradish, and its roots are used in the same way. A handsome plant for a herb garden.
Ornamental
Variegated
Edible Roots
04 Where to Source
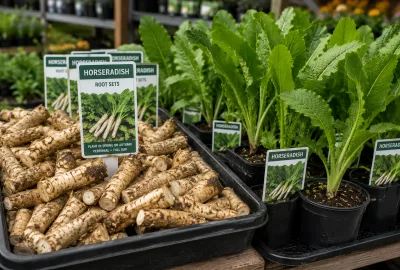
Horseradish is sold as young plants in pots, from about 9cm up to 2 litres, by garden centres and online suppliers in spring and summer, and as pieces of root (thongs) by online vegetable and herb suppliers in spring. Both settle in quickly and can be harvested from their second year. Seed is sometimes offered but takes much longer to make a clump. A piece of root from a friend's established plant works just as well. Avoid supermarket horseradish roots as a planting source — treated roots may not establish reliably.
📬 Specialist Suppliers Online
Online vegetable and herb suppliers sell horseradish roots (thongs) in spring, and young plants in pots through spring and summer. Order early, as roots can sell out. Buy from a reputable supplier so you start with healthy stock.
🏪 Garden Centres
Many garden centres stock young horseradish plants in pots in spring and summer. Useful if you miss the thong-ordering window. Check plants are healthy and showing vigorous new growth.
🤝 Divisions from Other Gardeners
The most reliable and free source. Any established horseradish plant has roots to spare. A piece of root about 15cm long, taken when lifting in autumn, is all that is needed to start a new plant, and big clumps can also be divided in spring or autumn.
Timing tip: Order seeds in January and February. Popular varieties sell out quickly. Garden centres and markets are a reliable backup from April onwards.
05 Planting Options
🌿 Open Ground (Dedicated Bed)
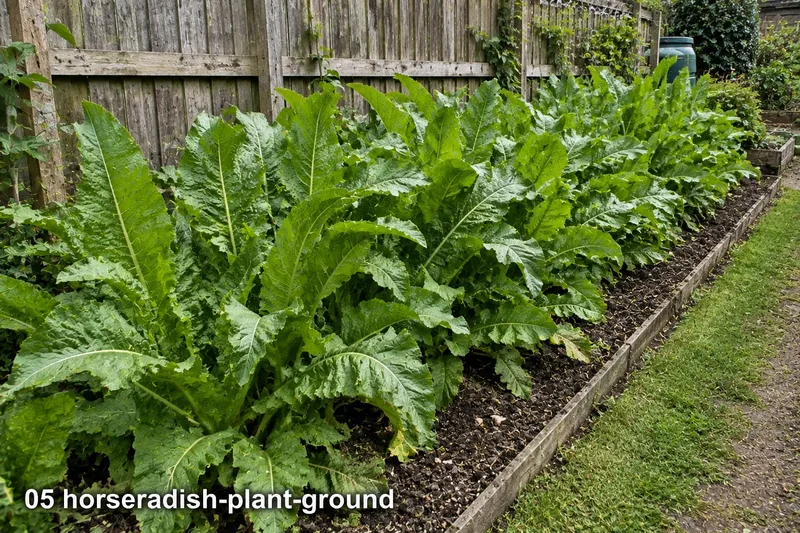
Planting horseradish straight into open ground is not the recommended way — it makes a spreading clump that roots deeply and regrows from any piece left behind, so it is very hard to remove. If you are happy to give it a permanent spot, such as a strip along a fence, plant roots upright with the top 5cm below the surface, 30–45cm apart, in sun or part shade. Most soils suit it, as long as they do not waterlog; on poor soil, mix some well-rotted compost into the soil you put back round each root.
Suitable varieties: All horseradish. Only where you are happy for it to spread.
🪴 Large Container (Recommended)
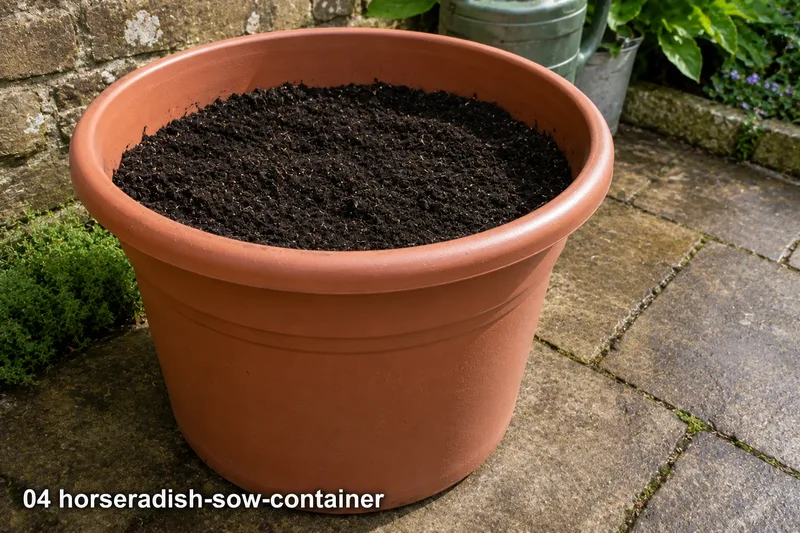
Use a pot 30cm or more across and as deep, filled with peat-free multipurpose compost. Set a single young plant in the middle, or up to three roots, each upright with its top 5cm below the surface. A pot keeps horseradish from spreading and makes harvesting easy: each autumn, tip it out, take up to about half of the roots and replant the rest in fresh compost.
Suitable varieties: All horseradish. The recommended method for most gardens.
A traditional pairing, with horseradish set at the corners of the potato bed. Plant it in a sunken pot there, as it spreads. There is no good evidence that it keeps pests or disease off the potatoes.
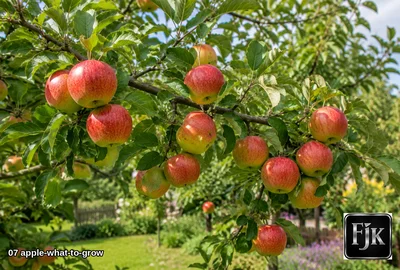
Horseradish will grow in the light shade under fruit trees, and its large leaves cover the ground and help smother weeds round the base of the tree in summer.
🌸 Nasturtiums
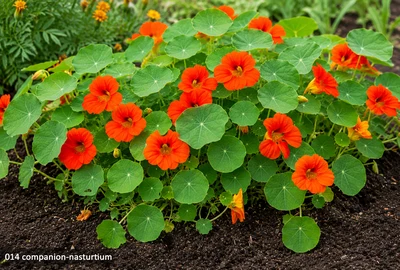
Nasturtiums give bright ground cover round the edge of the planting and are grown here for colour — do not count on them to draw aphids away.
❌ Keep apart
🚫 Permanent Beds — Horseradish should not be planted into established permanent beds — it will spread into and through them and prove almost impossible to remove. Grow in a dedicated spot or in a container.
🚫 Small Raised Beds — In small raised beds the invasive roots will take over. Use a buried container or a dedicated strip of ground you are happy to sacrifice permanently to horseradish.
07 Sowing — How To
🌿 Planting Thongs (Standard Method)
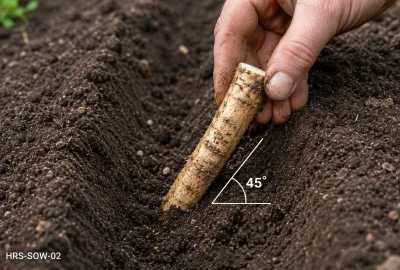
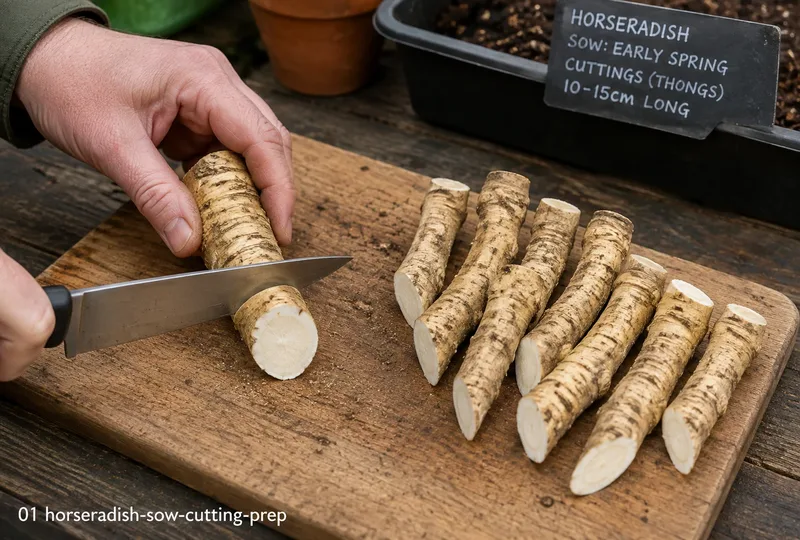
Horseradish is grown from root cuttings called thongs — pencil-thick lengths of root roughly 15cm long — or from young potted plants. Plant thongs upright with the top end uppermost (cut flat at the top and slanting at the bottom, so you can tell which way up they go). Planted the right way up, they shoot reliably.
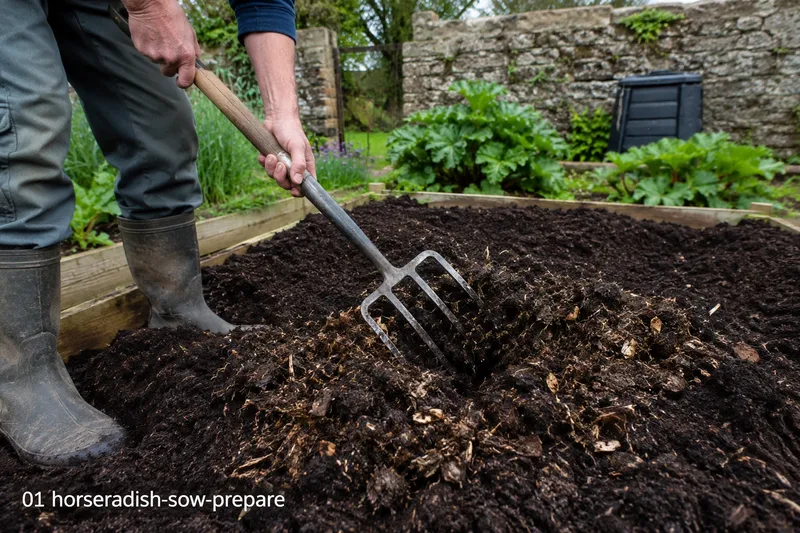
Prepare the ground
Horseradish grows in most soils and usually needs no special preparation. Clear perennial weeds, and on poor soil mix some well-rotted compost into the soil. Avoid ground that waterlogs, where the roots rot, and very dry spots, where they do not develop well.
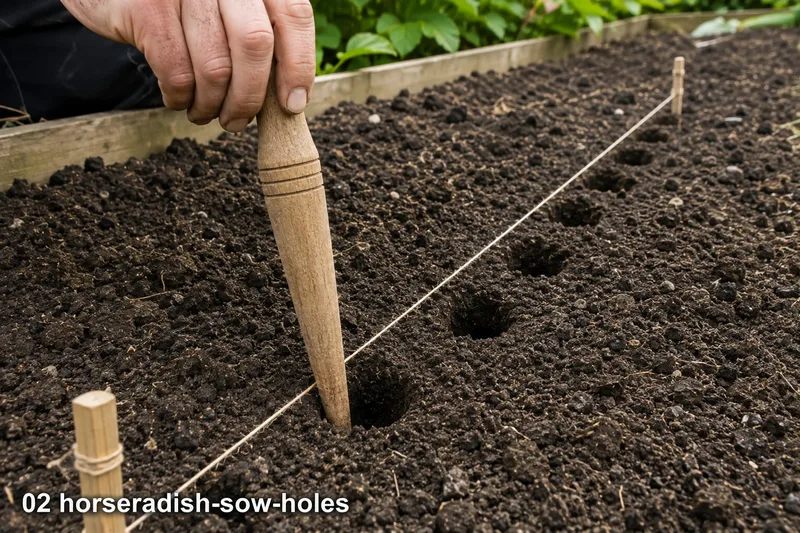
Mark planting holes
Use a dibber or trowel handle to make deep, upright holes 30–45cm apart, each deep enough for a thong to stand with its top 5cm below the surface. Closer spacing produces more but thinner roots; wider spacing gives fewer, larger roots.
Insert thongs vertically
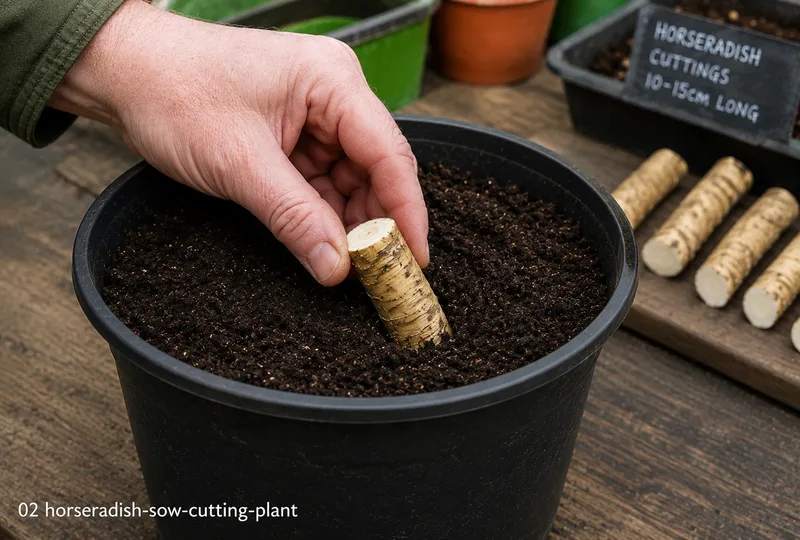
Drop a thong into each hole with the flat-cut end at the top and the angled end pointing down, so the top sits 5cm below the surface. This orientation is important — thongs planted upside down rarely shoot. Firm the soil over each thong.
Water in and mark
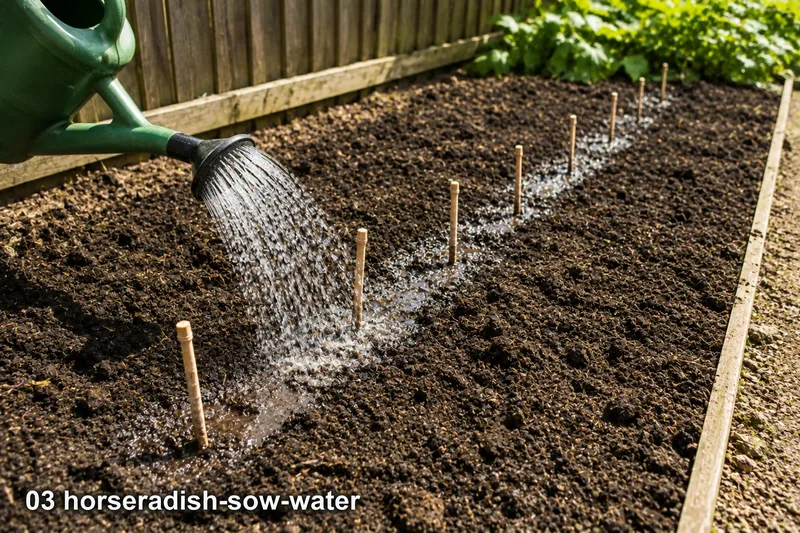
Water well after planting and mark each position with a cane — new shoots may not appear for 4–6 weeks. Keep the soil moist during establishment.
First shoots appear
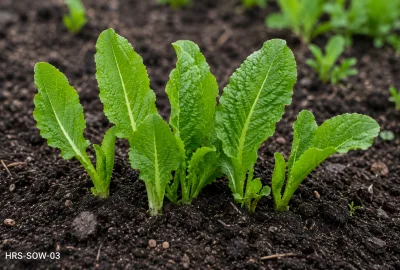
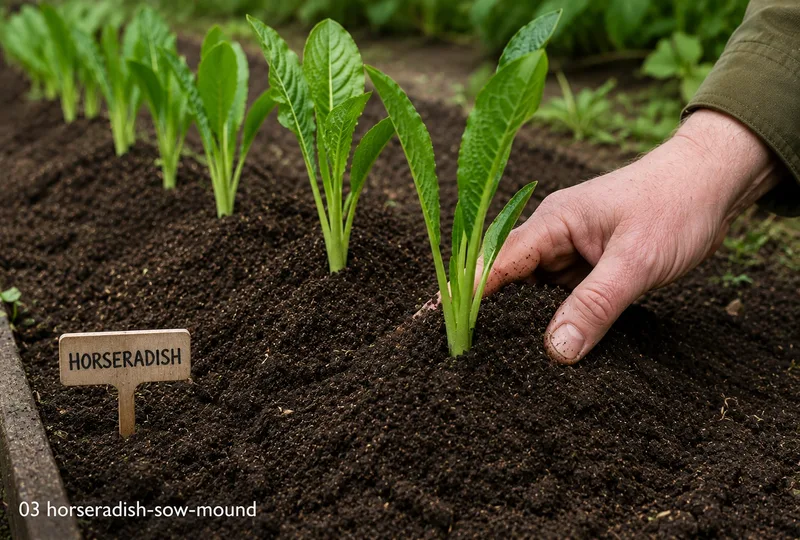
Green shoots will emerge 4–6 weeks after planting, and large, paddle-shaped leaves develop through spring and summer. Plants in the ground need no feeding; spreading compost round them as winter ends helps keep the soil moist.
Harvest from September
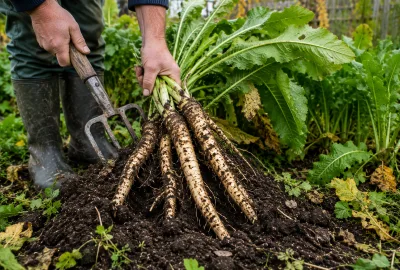
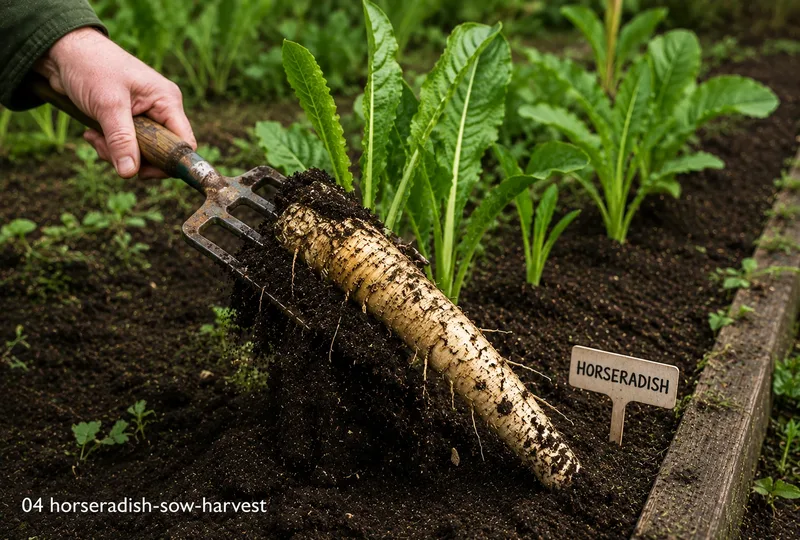
Lift roots from September into early winter using a fork — dig widely and deeply to avoid breaking roots and leaving pieces in the soil. Harvest only what you need and leave the rest to provide next year's crop.
A large pot uses the same root cuttings (thongs) as the open-ground method, but stops the spreading problem — the roots stay in the pot instead of taking over the bed around it.
Prepare the thongs
When you lift roots in autumn, or in early spring, cut pencil-thick pieces about 15cm long from a healthy root. Cut the top end flat and the bottom end at an angle so you can tell which way up they go when planting.
Plant up to three thongs
Fill a pot 30cm or more across and as deep with peat-free multipurpose compost. Push up to three thongs in upright, flat end uppermost, so the tops sit 5cm below the surface — or set a single young plant in the middle. Water in well.
Growing on
Shoots appear within 4–6 weeks. Water through the growing season so the compost stays evenly damp — pots dry out faster than open ground — and give a general liquid feed every few weeks between mid-spring and the end of summer. Top up with fresh compost if the level settles.
Harvest by lifting
From autumn, tip the pot out and take about half, or fewer, of the thin white roots for the kitchen. Replant the rest in fresh peat-free compost so the pot crops again next year.
Container Growing (Step by Step) — regional timing
Region
Sow / plant
Harvest
Notes
Scotland & Far North
Apr–Jun
—
Northern England
Mar–Jun
—
Midlands & Wales
Mar–Jun
—
Ireland & Isle of Man
Mar–Jun
—
South & SE England
Mar–Jun
—
South Coast & SW
Mar–Jun
—
08 Soil Requirements
pH
6.0–7.5
Best
Loam, Sandy loam
Tolerates
Most soil types, Clay loam
Avoid
Waterlogged, Shallow stony
💡 Grows in almost any well-drained, fertile soil. It is fully hardy and tolerant of most UK soil types — the only real requirement is good drainage, since roots rot in waterlogged ground.
09 Ongoing Care
💧 Watering
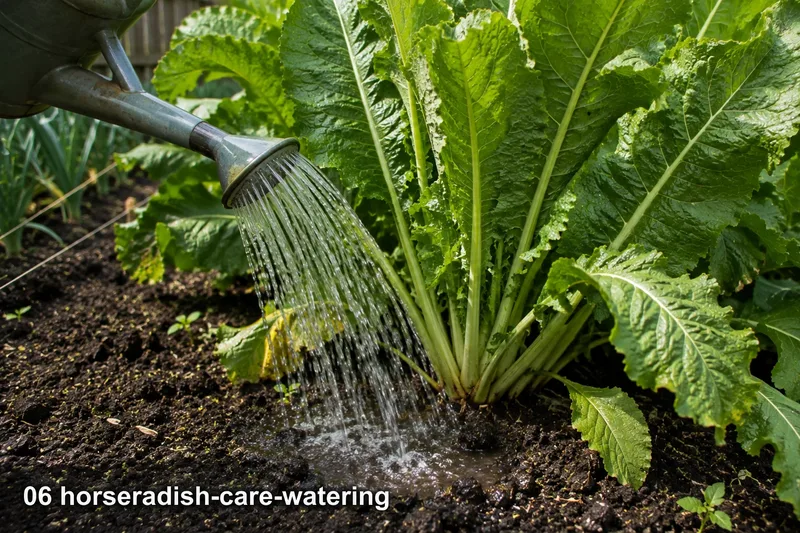
Plants in the ground need watering only in dry spells during their first year; once settled, they should not need extra water. Plants in pots are different — water them through the growing season, especially in warm, dry weather, so the compost stays evenly damp. Leaves that flop are a sign the pot is too dry, and moving it into light shade in a hot spell cuts down on watering. In the ground, spread 5–7.5cm of compost round the clump as winter ends; ground plants need no feed, but potted ones do better with a general liquid feed every few weeks between mid-spring and the end of summer.
🌿 Leaf Management
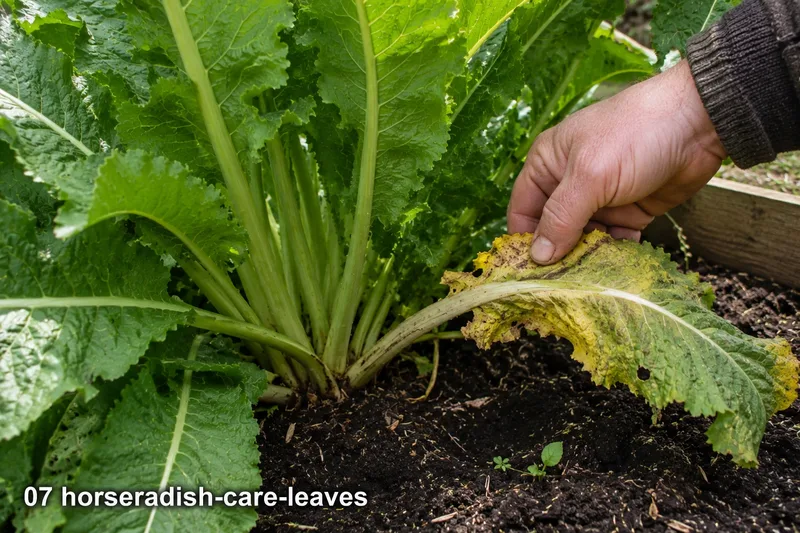
Horseradish grows into a big clump of large, paddle-shaped leaves, up to about 90cm tall. Remove damaged or yellowing leaves at the base, but leave healthy ones in summer — they are building up the root. The leaves die down in autumn; cut away the faded foliage then, or wait and clear it just before the spring shoots appear. Young leaves can be picked in spring and summer to add to salads or cook as greens — they taste like the root.
🚫 Containing Spread
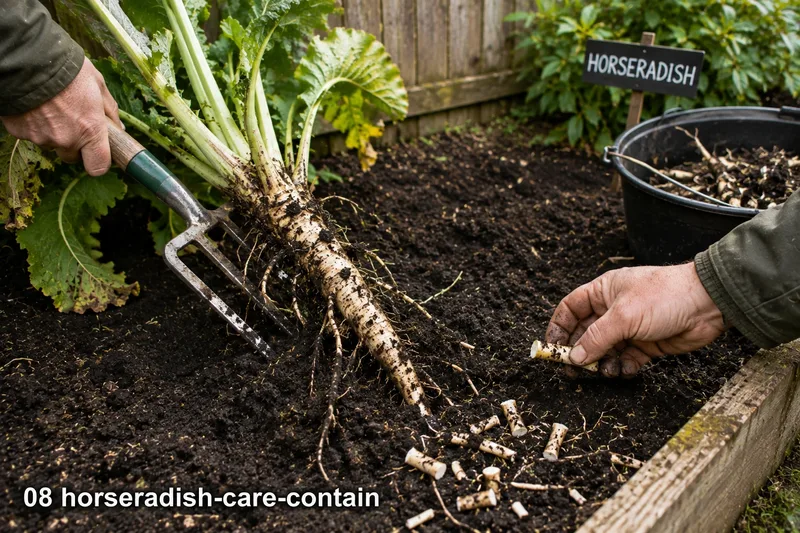
The single most important ongoing task with horseradish is preventing it spreading beyond its allocated area. Even small pieces of root will grow into new plants. In open ground, lift all roots in autumn and replant only selected thongs in spring. In containers, restrict the plant to a single large container and repot annually. Never rotavate through horseradish — each fragment becomes a new plant.
10 Watch Out For
Warning
Horseradish can become a real nuisance in the garden. Every root fragment left in the soil will regrow — eradication once established requires sustained effort over several years. Plant only in a location you are entirely happy to dedicate permanently to this crop, or grow exclusively in a large, deep container. The container method is strongly recommended for most gardens.
🍄 Diseases to watch
🥦 Clubroot — Clubroot (Plasmodiophora brassicae) is arguably the most feared soil-borne disease in UK kitchen gardens. It persists in the soil as resting spores for up to 20 years — meaning a bed that becomes infected is effectively lost for brassica growing for two decades without extraordinary intervention. Crop rotation is the most critical preventive measure.
Full identification and treatment advice is in the Pests and Diseases sections.
11 Storage & Preserving
🌱 In the Ground
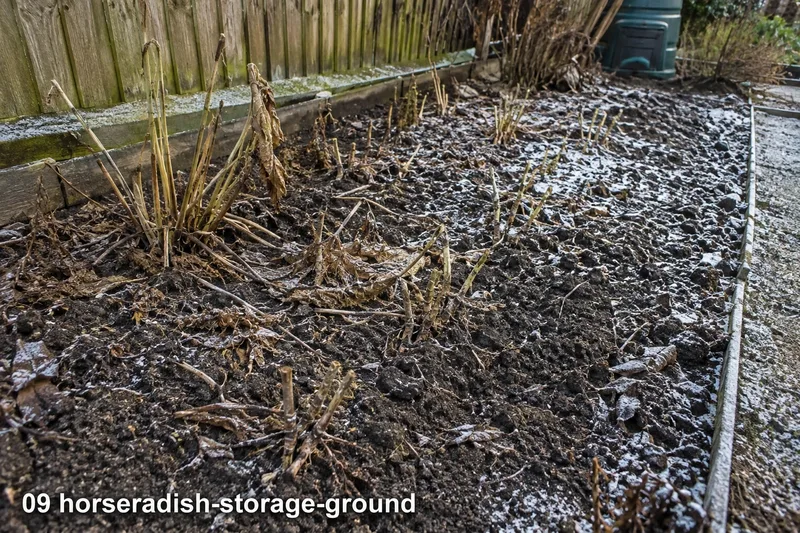
The simplest way is to leave roots in the ground and lift what you need. Autumn and early winter is the best time to dig, and the roots are usually thought to taste stronger after frost; they can also be lifted in spring or summer if needed. Wash and grate them straight after lifting.
🏺 Layered in Sand
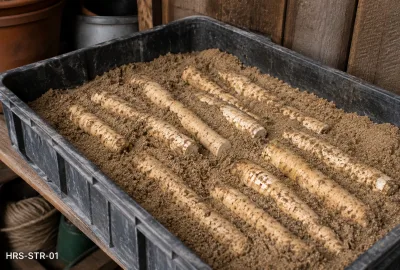
If you'd rather lift the whole crop at once, pack roots in barely damp sand in a box or tray and keep somewhere cool, dark and frost-free — a shed or garage works well. Stored this way roots keep well, staying firm and ready to use without needing to dig through frozen or waterlogged ground.
❄️ Refrigerated Root
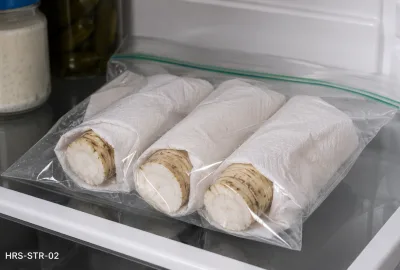
Lifted roots will keep for several months in the fridge if sealed in an airtight box. Peel and grate as needed. Freshly grated horseradish discolours and loses its heat quickly, so grate it just before you need it.
🫙 Prepared Horseradish Sauce
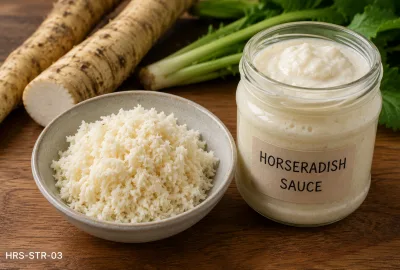
Grate freshly lifted root into a bowl of cold water with a dash of white wine vinegar to prevent browning. Drain, mix with double cream or crème fraîche, season, and keep in a covered container in the fridge; use within a few days. Far superior to any commercial product.
12 Expert Tips
💡 Mark thong polarity before cutting
When cutting thongs from a lifted root, make a flat cut at the top and an angled cut at the bottom. This way you always know which end goes up. Thongs planted upside down rarely establish — the extra 30 seconds of care at cutting time prevents loss of stock.
💡 Lift after frost for a stronger taste
Horseradish roots are best lifted in autumn or early winter, and many growers find the flavour stronger once the plants have had some frost. Go easy on new plants: take just a few roots in their second autumn.
💡 Grate over cold water
Freshly grated horseradish is one of the most volatile foods in the kitchen garden — the isothiocyanate compounds responsible for its heat dissipate rapidly. Grate directly over cold water with a splash of white wine vinegar to halt enzymic activity, drain immediately, and serve within minutes.
13 Common Mistakes
⚠ Planting straight into a shared vegetable bed
⚠ Trying to fully dig out an established patch
⚠ Stripping healthy leaves during the growing season