Sow in modules indoors Mar–Apr, or divide an existing clump in March for instant results
Plant in almost any position — sun or part shade, most soil types
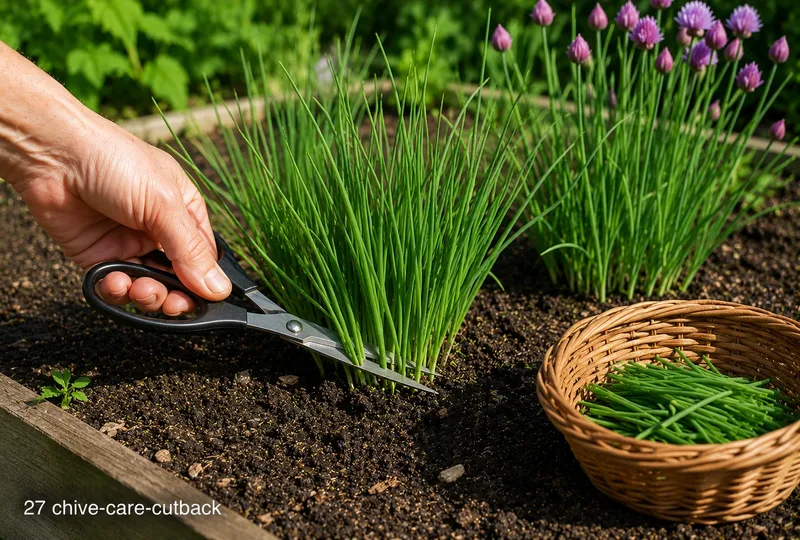
Cut clumps back to 5cm two or three times per season to trigger fresh growth
Leave some flowers for bees — the purple pompoms are one of the finest bee plants in the herb garden
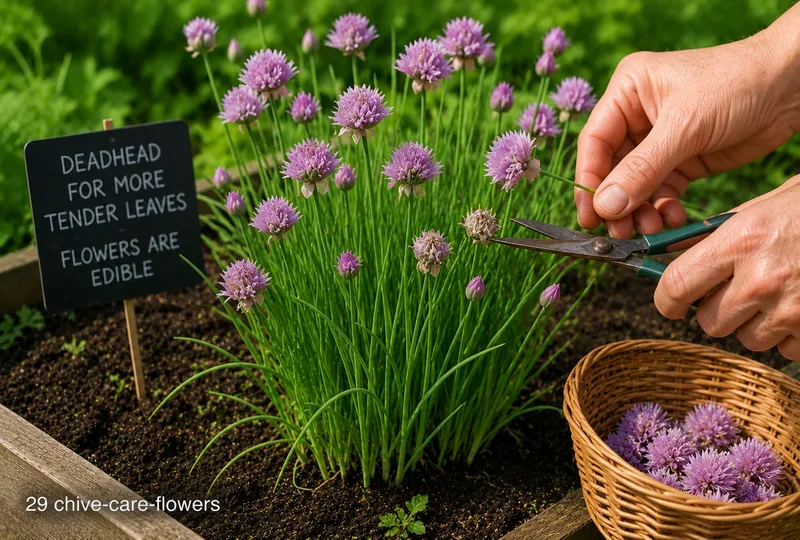
Deadhead after flowering to prevent excessive self-seeding
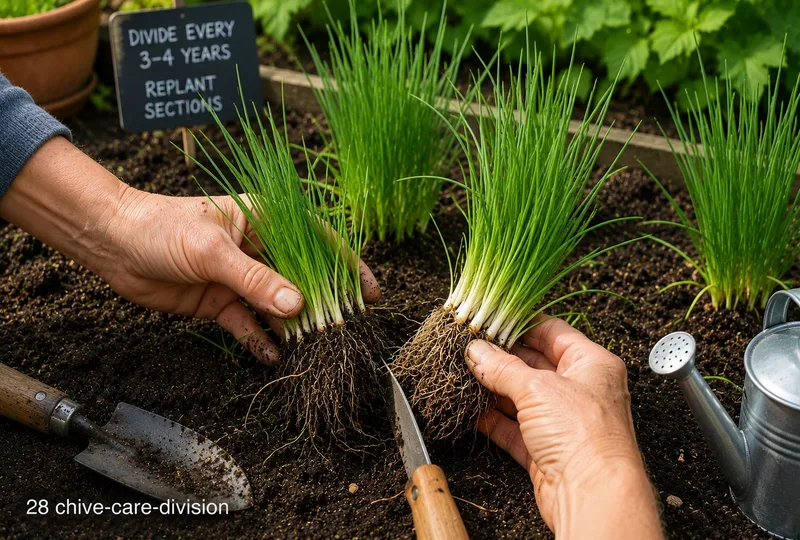
Divide every 2–3 years to keep clumps vigorous and productive
Chives die back in winter but regrow reliably from the base each spring
🌱 SowMar–Apr (seed or division)
🌾 HarvestMar–Nov
☀ PositionSun or part shade
📐 Spacing20–30cm
DifficultyEasy
⚡ Quick facts
Difficulty
Easy
Start indoors
Mar–Apr (modules)
Plant out
May (or division direct in Mar)
Harvest
Mar–Nov
Position
Sun or part shade
Spacing
20–30cm between clumps
Height
25–40cm
Type
Hardy perennial
Water
Low to moderate
01 About
Chives are the most self-sufficient herb in the garden. Hardy perennials that return reliably every year, producing fine hollow stems with a delicate onion flavour from early spring through to late autumn. The purple pompom flowers are edible, beautiful, and beloved by bees. Garlic chives offer a gentler garlic note; Giant Siberian adds bold architectural presence. Plant them once and they will reward you for decades with minimal attention.
02 What to Grow
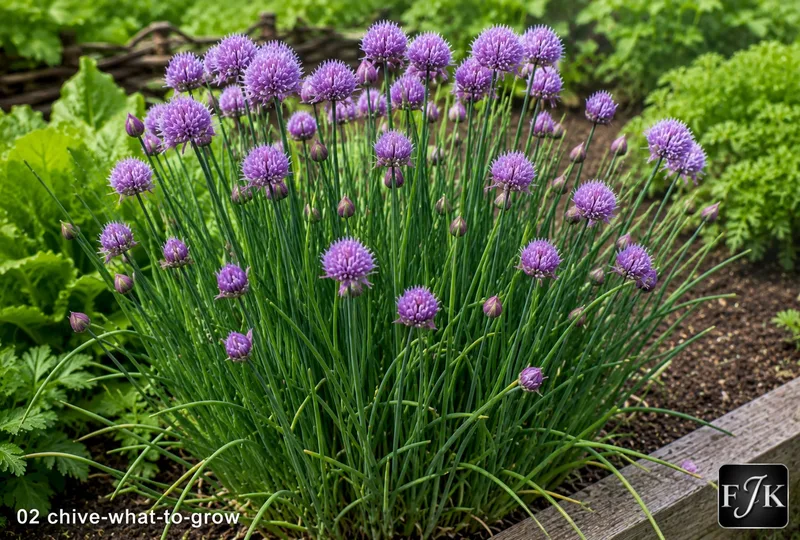
Chives deserve their reputation as the gardener's most reliable herb. They ask for almost nothing — a reasonable soil, occasional water, and a cut-back two or three times a year — and deliver months of mild, versatile onion flavour that works in salads, omelettes, soups, and as a garnish for almost anything savoury. Garlic chives are a different plant with flat leaves and white flowers, offering a gentler garlic note perfect for Asian cooking. Forescate is the choice if maximum leaf production is the priority. Giant Siberian and the ornamental forms add beauty as well as flavour.
03 Varieties
The number of varieties shown for each crop is based on UK consumption data (2025/26) — the more popular the crop, the more variety choices we include.
Common Chives
Culinary · Classic
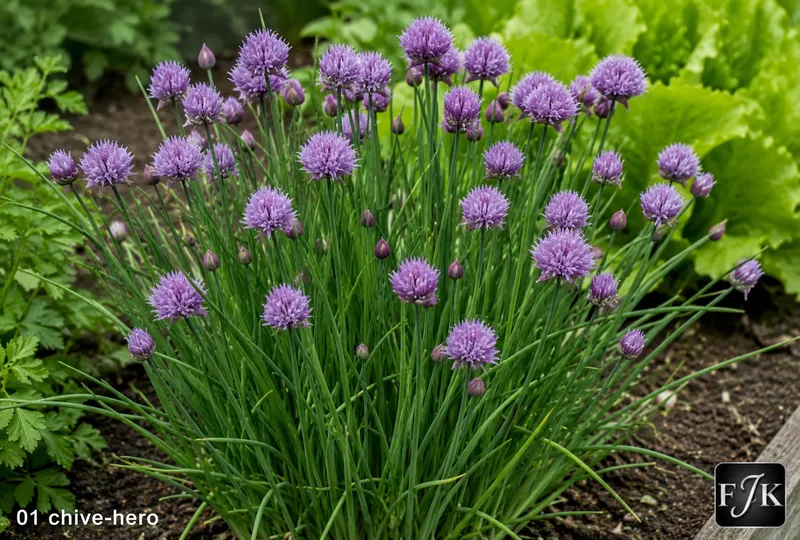
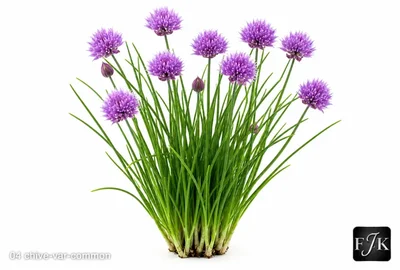
Fine, hollow stems with a clean, mild onion flavour. Purple globe flowers in June are edible and beautiful. The most widely grown and versatile variety — equally at home in cooking, as a garnish, or as an ornamental edging plant. Extremely hardy and reliably perennial.
Garlic Chives
Culinary · Garlic Note
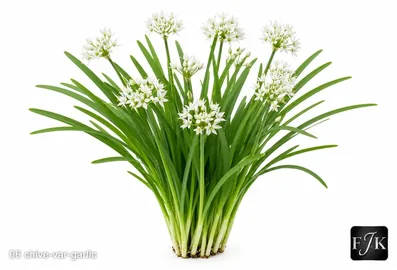
A different species (Allium tuberosum) with flat, broader leaves and a gentle garlic rather than onion flavour. White, star-shaped flowers in late summer. Essential in Chinese and Japanese cooking. Excellent raw in noodle dishes, dumplings, and stir-fries. Less hardy than common chives — mulch in cold winters.
Giant Siberian
Culinary · Bold
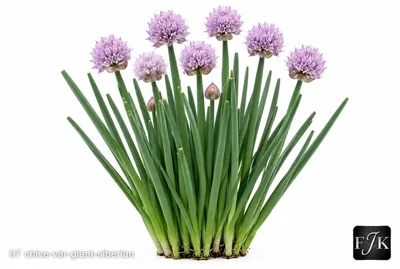
Allium ledebourianum — a larger, more robust species with thick, substantial hollow leaves and a strong onion flavour. Significantly more impressive in the garden than common chives. Large pale purple flower heads. Very hardy. Excellent where bold architectural presence is wanted alongside good flavour.
Forescate
Culinary · Productive
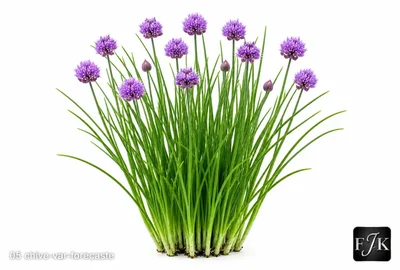
A variety selected specifically for maximum leaf production and flavour. Vigorous, upright growth with long, fine leaves. Recovers fast after cutting and maintains productivity throughout the season. The top choice for kitchen gardeners who want maximum yield from minimum space. Purple flowers.
Pink Perfection
Ornamental · Culinary
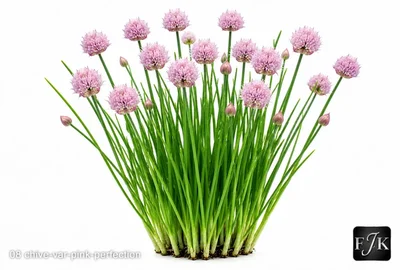
A beautiful cultivar with soft pink-mauve flower heads rather than the typical deep purple. The flavour is identical to common chives. Excellent as an ornamental edging plant. Flowers are just as attractive to bees as the standard form. Grows and behaves exactly like common chives.
White Perfection
Ornamental · Culinary
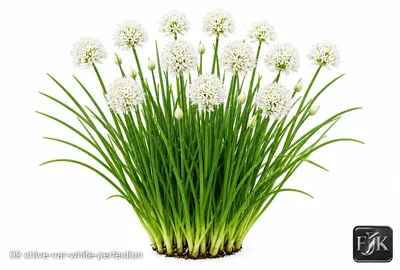
Produces elegant white pompom flowers rather than purple, making it a striking ornamental form. Leaf flavour is the same as common chives. The white flowers are beautiful in salads and as garnishes where a subtle visual contrast is wanted. Works well planted alongside common chives and Pink Perfection for a colour sequence.
04 Where to Source
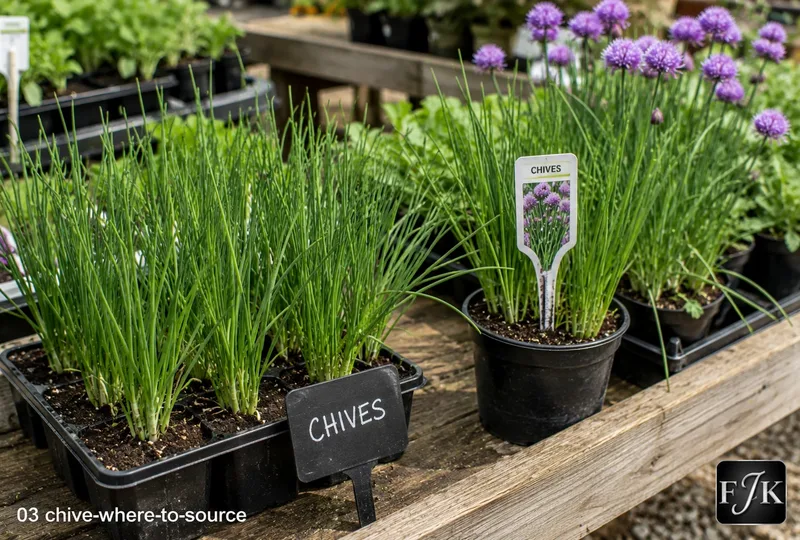
Common chives are available as seeds from all major UK seed suppliers and as plug plants from most garden centres in spring. Forescate is available from specialist vegetable and herb seed suppliers. Garlic chives are widely sold as seed. Giant Siberian, Pink Perfection, and White Perfection are best sought from specialist herb nurseries. All varieties can be obtained as divisions from other gardeners — chives divide so freely that a single established clump can provide dozens of new plants.
05 Planting Options
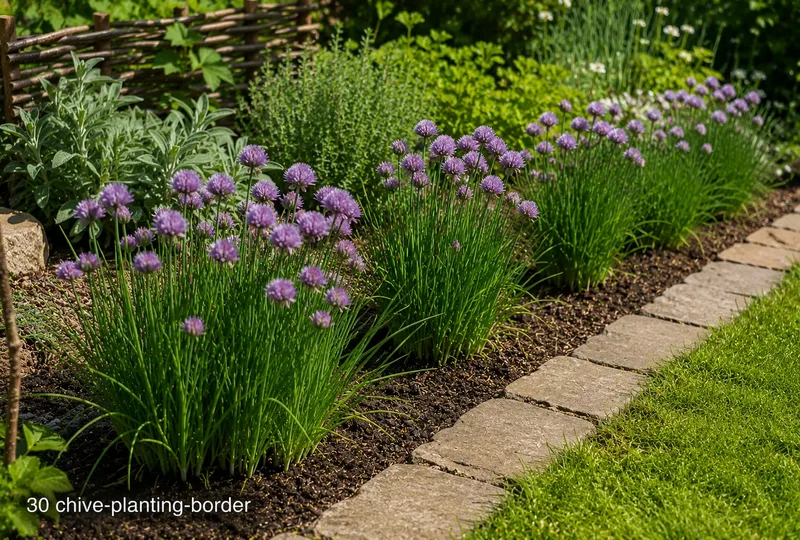
🌿 In the Garden Border
Chives thrive in border conditions and make excellent edging plants along vegetable or herb beds. They are one of the few herbs that genuinely tolerates part shade, making them useful under taller crops or against a north-facing fence. Plant in clumps of 5–7 plants for visual impact and productive harvesting.
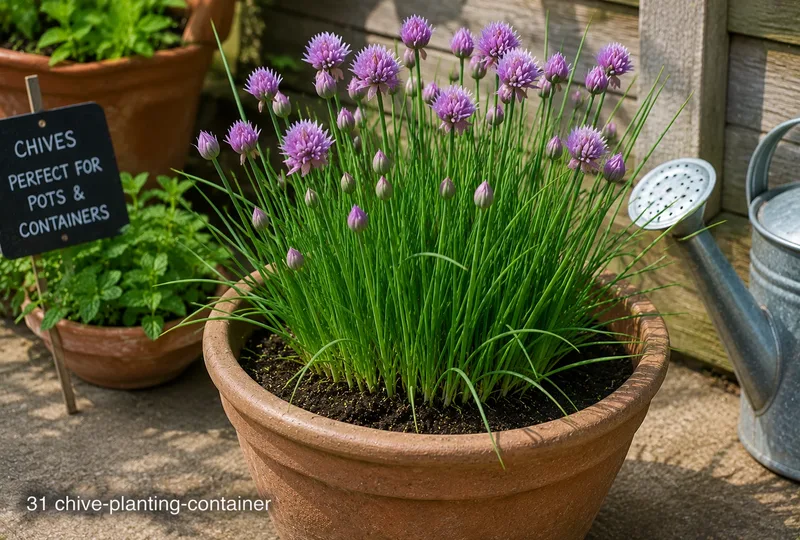
🪴 In a Container
Chives grow well in containers and are an excellent choice for patio herb pots. Use a pot at least 20cm wide and fill with good peat-free compost. Container chives may need dividing annually and benefit from regular liquid feeding to compensate for the restricted root run.
Both are low-maintenance perennial herbs that thrive in similar free-draining soil.
❌ Keep apart
🫘 Beans — Alliums including chives are thought to stunt bean growth and inhibit their nitrogen-fixing ability.
🫛 Peas — Like beans, peas are legumes that alliums such as chives are thought to inhibit when planted too closely.
07 Sowing — How To
🌱 From Seed (Indoors)
Fill modules with seed compost
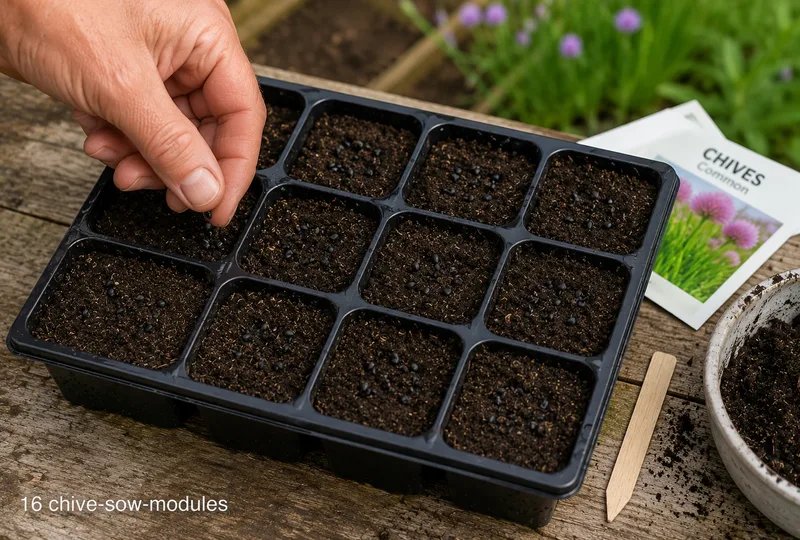
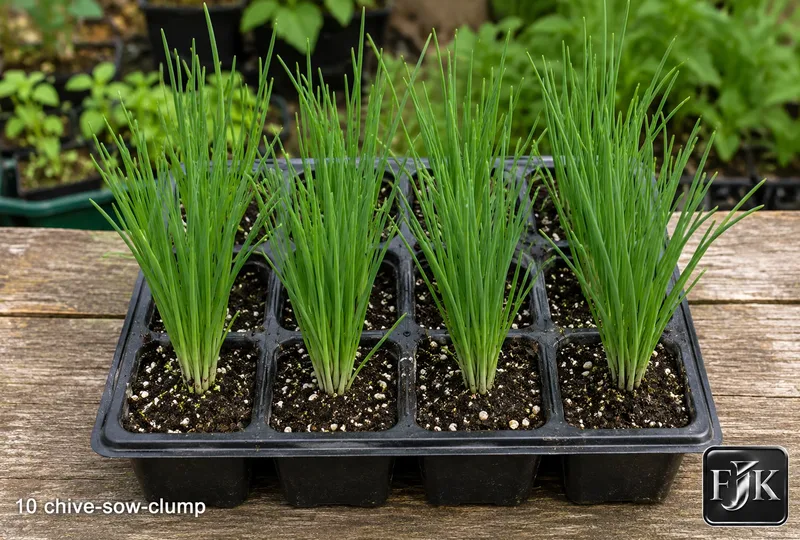
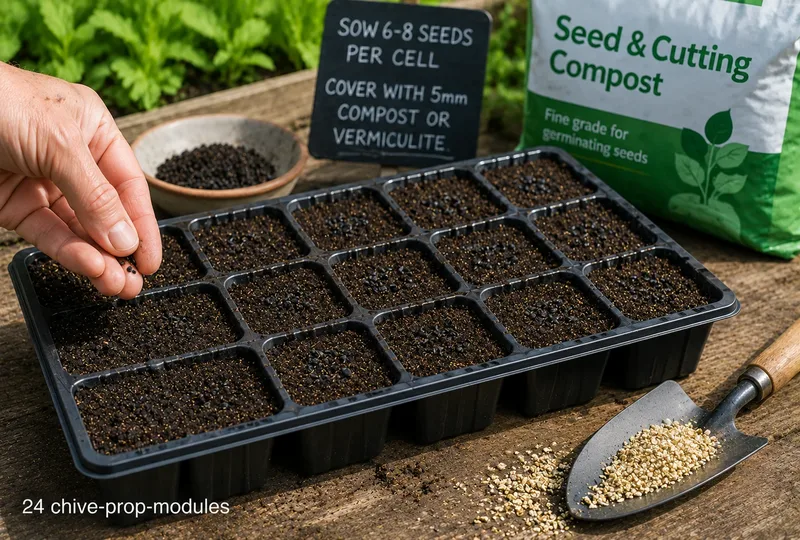
Fill module trays or small pots with moist seed compost. Sow 6–8 seeds per module — chives grow happily as a clump from the start and do not need single-seed sowing. Press seeds lightly into the surface.
Cover lightly and germinate
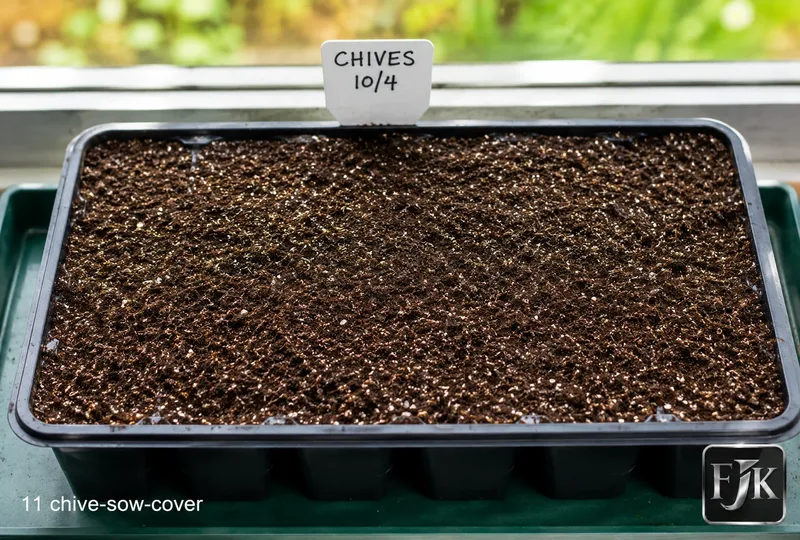
Cover seeds with a fine layer of vermiculite or compost — just 5mm. Place on a warm windowsill or in a propagator at 15–18°C. Germination takes 10–14 days. Chives are slower than many herbs — be patient.
Grow on in good light
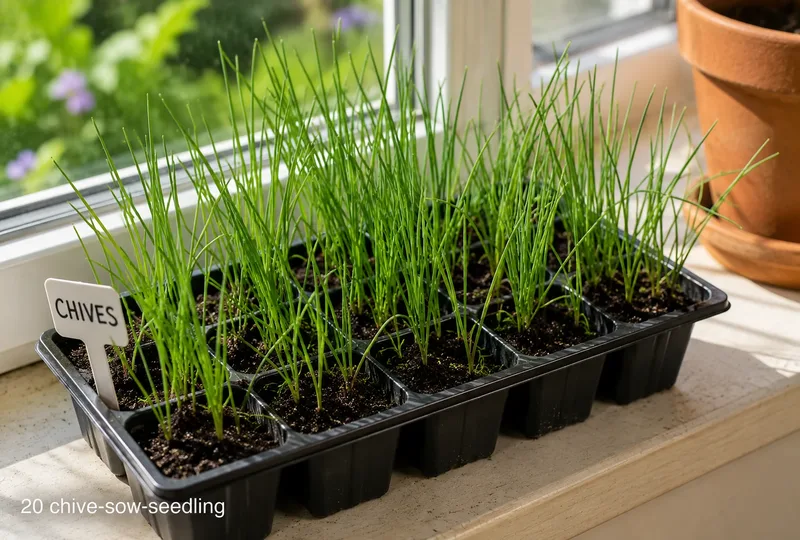
Once germinated, move to a bright windowsill. Chive seedlings are grass-like and thin — they need good light to avoid becoming weak and leggy. Do not over-water; allow the surface to dry slightly between waterings.
Do not thin
Unlike most crops, chive seedlings in modules do not need thinning. The whole clump of 6–8 plants will be planted out together and grow as a productive multi-stemmed clump from the start.
Plant out as a clump
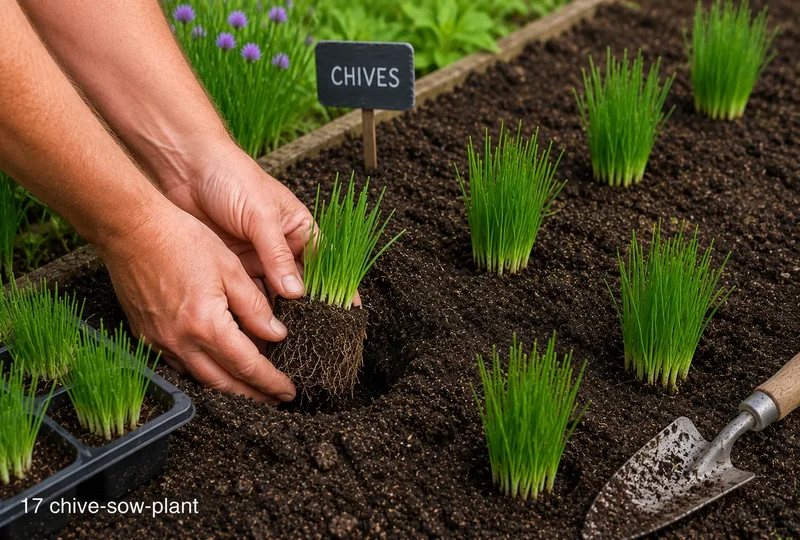
Plant out entire module clumps when roots fill the module and plants are 5–8cm tall. Space clumps 20–25cm apart. Firm in well and water. The clump will establish quickly and can be lightly harvested within 4–6 weeks.
First harvest
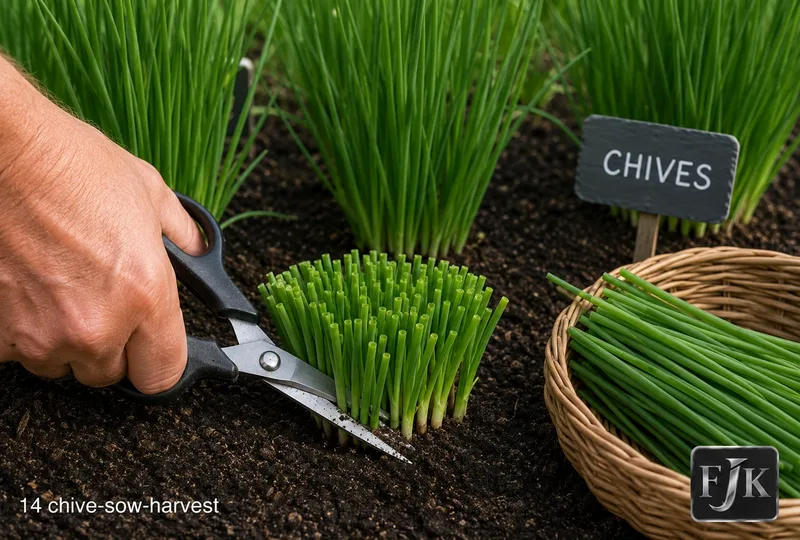
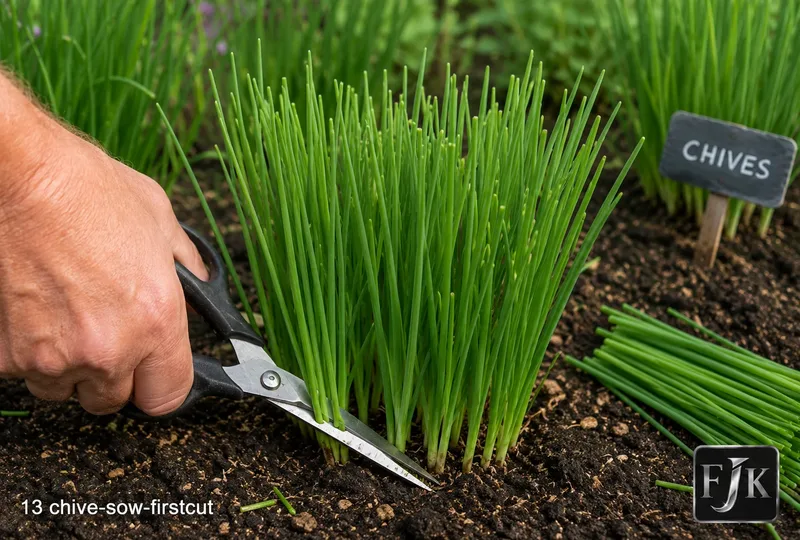
Begin harvesting when stems are 15cm tall by cutting the whole clump to 5cm above ground with scissors. Do not be timid — this cut-back stimulates the strongest, most vigorous regrowth. The clump will regrow fully in 3–4 weeks.
From Seed (Indoors) — regional timing
Region
Sow / plant
Harvest
Notes
Scotland & Far North
Apr–May
Jun–Oct
Apr · Plant: May · Harvest: Jun–Oct
Northern England
Mar–May
May–Nov
Mar–Apr · Plant: Apr–May · Harvest: May–Nov
Midlands & Wales
Mar–Apr
May–Nov
Mar · Plant: Apr · Harvest: May–Nov
Ireland & Isle of Man
Mar–Apr
May–Nov
Mar · Plant: Apr · Harvest: May–Nov
South & SE England
Feb–Apr
Apr–Nov
Feb–Mar · Plant: Mar–Apr · Harvest: Apr–Nov
South Coast & SW
Feb–Apr
Apr–Nov
Feb–Mar · Plant: Mar–Apr · Harvest: Apr–Nov
🌿 Division (Fastest Method)
Lift an established clump
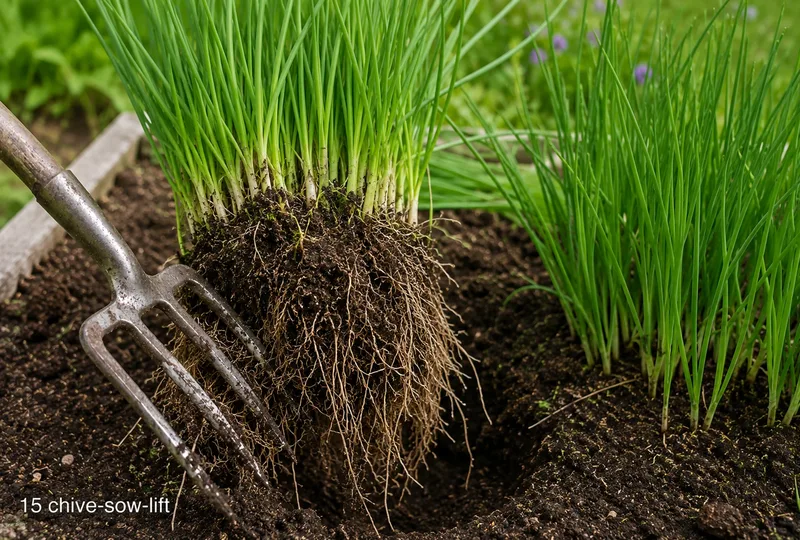
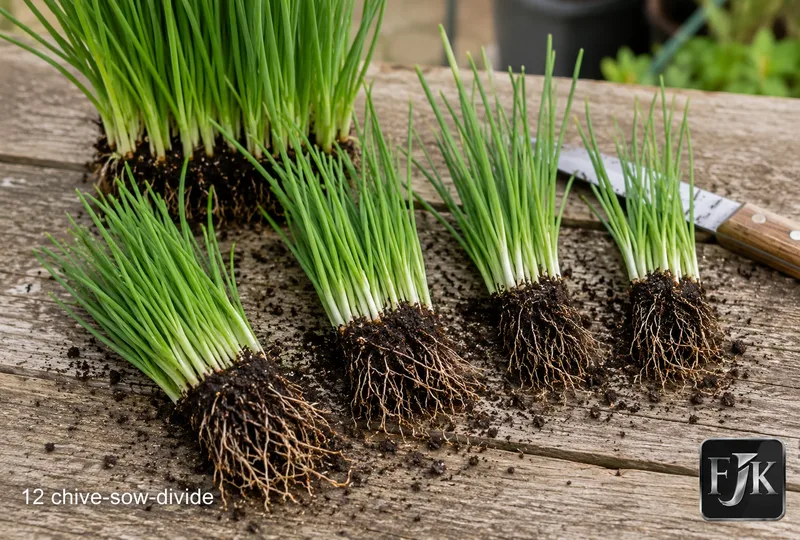
Dig up an established chive clump in early spring as new shoots emerge. Use a fork to loosen the roots — chive roots are dense and fibrous. One established clump can be divided into 6–10 new plants.
Pull or cut into sections
Pull the clump apart by hand or cut with a sharp knife into sections, each containing 5–8 shoots with a good root section attached. Discard any dead or completely dry material from the centre.
Replant immediately
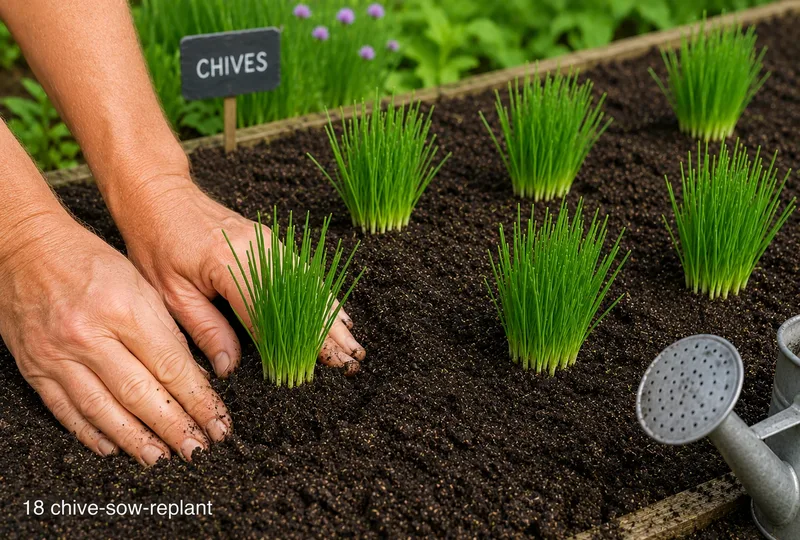
Replant divisions at the same depth they were growing, 20–25cm apart. Firm in well. Water thoroughly. Divisions establish within days and will be ready to harvest much faster than seed-grown plants.
Water for 2 weeks
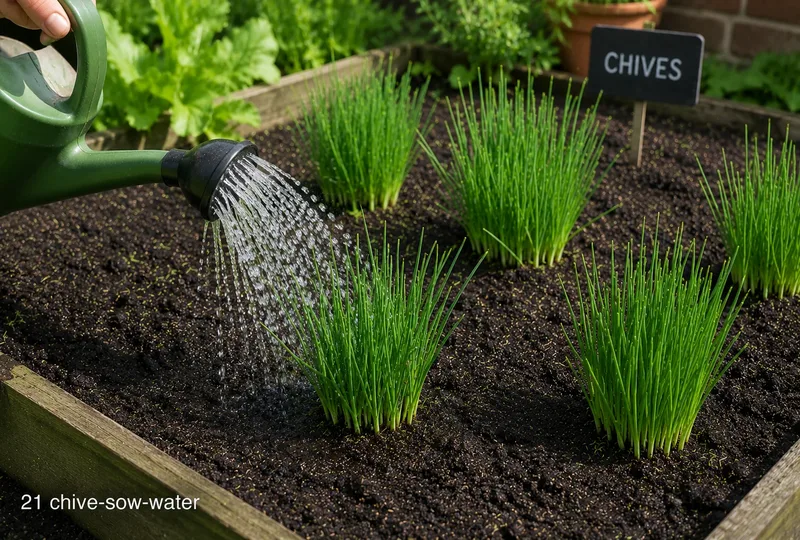
Water daily for the first two weeks while divisions re-establish. Once you see new upright growth, the division has taken successfully. After 2 weeks, normal watering (only in dry spells) is sufficient.
First cut 4 weeks after dividing
Allow 4 weeks after dividing before the first harvest. This gives the clump time to build a strong root system. The first cut after division often produces the most vigorous, tender growth of the season.
Establish a rotation
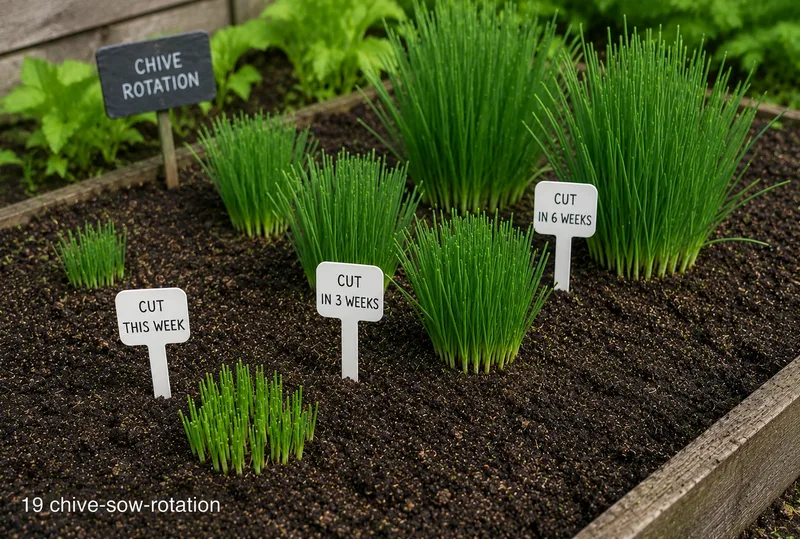
With 6+ clumps, cut one section of the garden back at a time on a 3-week rotation. This gives a constant supply of young, fresh chive growth throughout the season rather than a glut followed by a gap.
Division (Fastest Method) — regional timing
Region
Sow / plant
Harvest
Notes
Scotland & Far North
Apr–May
Jun–Oct
N/A · Plant: Apr–May · Harvest: Jun–Oct
Northern England
Mar–Apr
Apr–Nov
N/A · Plant: Mar–Apr · Harvest: Apr–Nov
Midlands & Wales
Mar–Apr
Apr–Nov
N/A · Plant: Mar–Apr · Harvest: Apr–Nov
Ireland & Isle of Man
Mar–Apr
Apr–Nov
N/A · Plant: Mar–Apr · Harvest: Apr–Nov
South & SE England
Mar
Apr–Nov
N/A · Plant: Mar · Harvest: Apr–Nov
South Coast & SW
Feb–Mar
Mar–Nov
N/A · Plant: Feb–Mar · Harvest: Mar–Nov
08 Using a Propagator
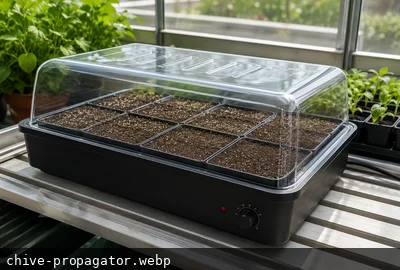
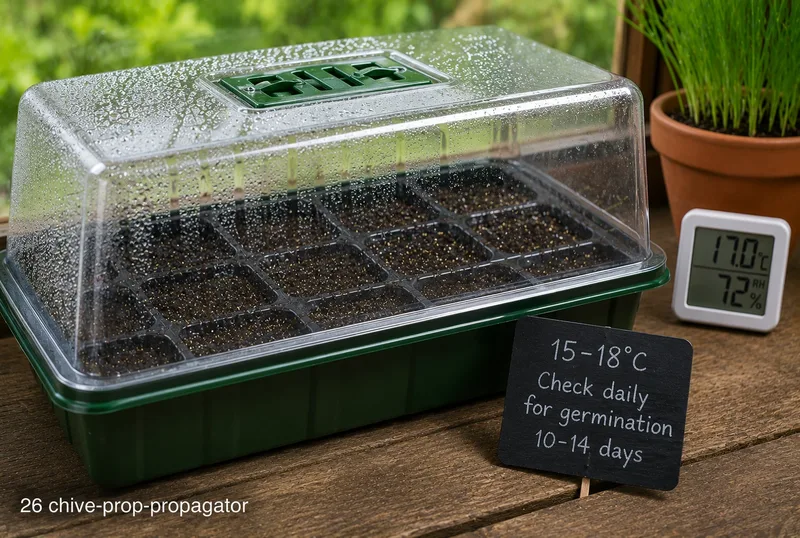
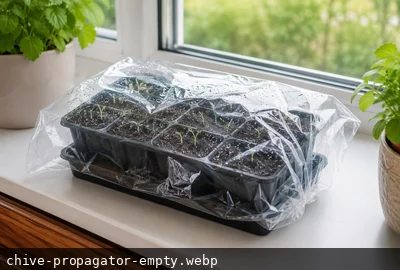
Chives do not require a heated propagator — they germinate reliably at 15°C on a bright windowsill. A propagator is useful in February for an early start, maintaining the 15–18°C needed for good germination when rooms are still cold. By March, a warm windowsill is entirely sufficient.
Unheated propagator
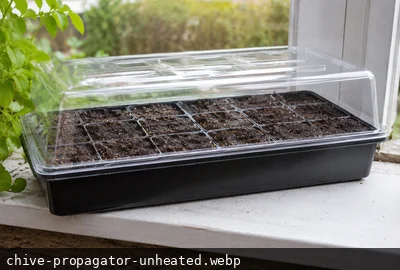
An unheated propagator on a warm windowsill is adequate from March onwards. Chives germinate reliably at 15°C without bottom heat once spring arrives. Keep the lid on until seedlings emerge, then remove promptly to prevent damping off.
Standard unheated propagator — A lidded seed tray traps warmth and humidity around germinating seeds without electricity. Performance depends entirely on room temperature — best placed on a warm windowsill and used from March onwards. Replace the lid promptly after watering. Remove it completely the moment seedlings emerge to prevent damping off.
Sow into module trays
Fill modules with seed compost and sow 6–8 seeds per cell. Cover with 5mm of compost or vermiculite. The multi-seed method means each cell produces a ready-made clump.
Place in propagator at 15–18°C
Set the propagator to 15–18°C or use an unheated propagator in a warm room. Close the lid to maintain humidity. Check daily for germination — chives take 10–14 days.
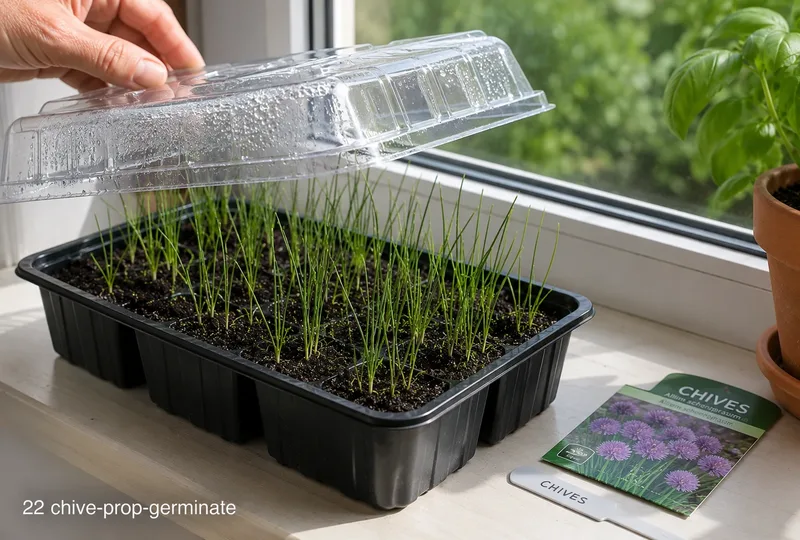
Remove lid on germination
Once the characteristic grass-like shoots appear, open the lid and increase ventilation. Move to a bright windowsill. Do not allow the lid to stay closed once seedlings are up — damping off occurs rapidly in stagnant humid air.
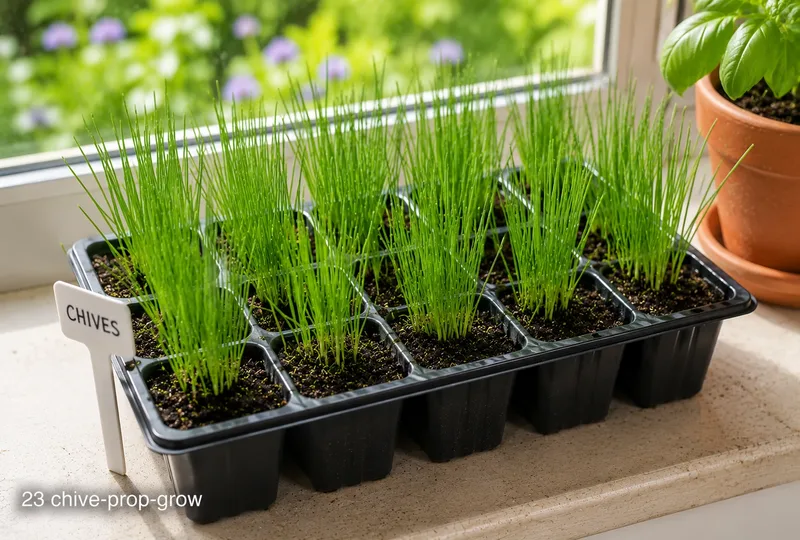
Grow on without thinning
Do not thin the seedlings — the whole cell of 6–8 seedlings will be planted as one productive clump. Grow on in good light until the module is full of roots, then plant out.
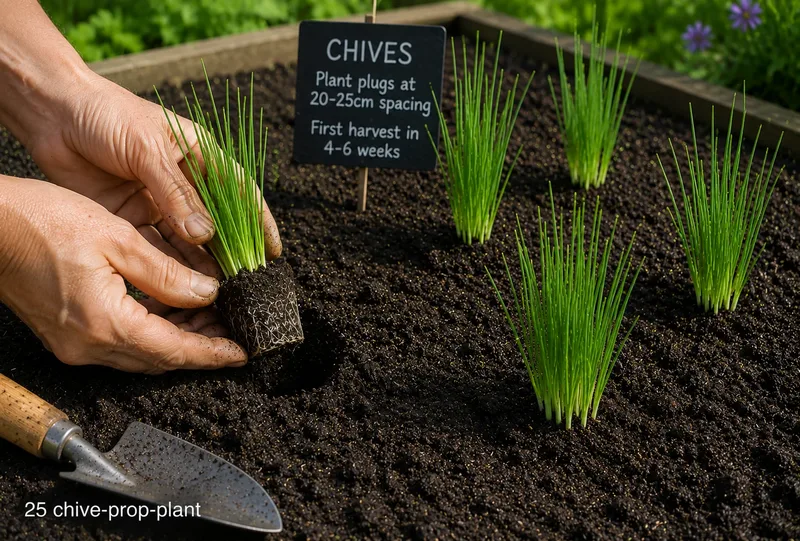
Plant out as established clumps
Plant out entire module plugs when roots are visible at the base and plants are 5–8cm tall. Plant at 20–25cm spacing and firm in well. First harvest in 4–6 weeks.
Windowsill alternative: A bright south-facing windowsill can substitute from late February. Place a clear polythene bag loosely over the pot during germination. Remove immediately once seedlings appear.
09 Soil Requirements
pH
6.0–7.0
Best
Loam, Sandy loam
Tolerates
Most soils
Avoid
Waterlogged, Very poor
💡 Very adaptable perennial. Tolerates most well-drained garden soils.
10 Ongoing Care
✂️ Cutting Back
Cut the entire clump back to 5cm above ground 2–3 times per growing season. This is the single most important maintenance task for chives. Each cut-back triggers a flush of fresh, tender new growth that is more flavourful than old stems. The first cut-back should happen before flowering if maximum leaf production is the goal, or after flowering if you want to enjoy the flowers and feed the bees.
🌸 Deadheading & Flowers
The purple pompom flowers are edible, beautiful, and magnets for bees. Leave some to flower for wildlife and for use as a garnish in salads — separated into individual florets, they are one of the most decorative edible flowers in the herb garden. Deadhead flowers before they set seed to prevent excessive self-seeding, which can become weedy over time. After flowering, cut the whole clump back hard to encourage a second flush of leaves.
🌱 Division
Divide chive clumps every 2–3 years in early spring. Lift the whole clump, split into sections of 5–8 shoots each, discard the woody central material, and replant the vigorous outer sections. This rejuvenates the plant, maintains productivity, and provides new plants for elsewhere in the garden. Clumps left undivided for many years become congested and produce fewer, thinner stems.
11 Watch Out For
Warning
Chives are largely trouble-free. Downy mildew can appear in very humid conditions — cut affected clumps back hard, improve airflow, and avoid overhead watering. Onion white rot can occasionally affect chives in soils where alliums have been grown repeatedly in the same spot — rotate if this becomes a problem.
🐛 Insects & pests
🐜 Aphids (Blackfly & Greenfly) — Curled, distorted, or stunted growing tips — aphids inject saliva that causes leaf curl to protect them
🐌 Slugs & Snails — Silver slime trails on leaves, soil, and pots — often the first sign before damage is found
🍄 Diseases to watch
🧅 Allium White Rot — Allium white rot (Sclerotium cepivorum) is one of the most persistent and devastating soil-borne diseases in UK gardens. The sclerotia (resting bodies) persist in soil for up to 20 years, and are stimulated to germinate specifically by the scent of growing alliums. Once present, a bed is effectively lost for all allium crops for a generation.
🟠 Rust — Rust diseases are caused by a large family of obligate parasitic fungi, each specific to its host or a narrow range of hosts. Leek rust (Puccinia allii) is the most common in UK vegetable gardens, producing vivid orange pustules on leek leaves in summer and autumn. While rarely fatal, severe infections significantly weaken plants and reduce yields.
Full identification and treatment advice is in the Pests and Diseases sections.
12 Storage & Preserving
🌿 Fresh (Short Term)
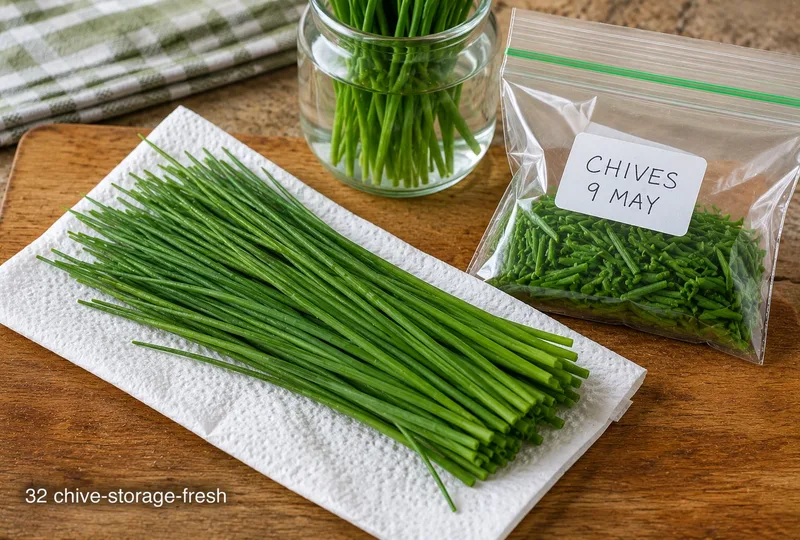
Freshly cut chives keep well for 5–7 days wrapped in a damp paper towel inside a sealed bag in the fridge. Alternatively, stand cut stems upright in a small glass of water on the worktop — they stay fresh for 3–4 days at room temperature. Cut only what you need from the garden; chives are far more useful growing in the garden than sitting in the fridge.
🧊 Frozen
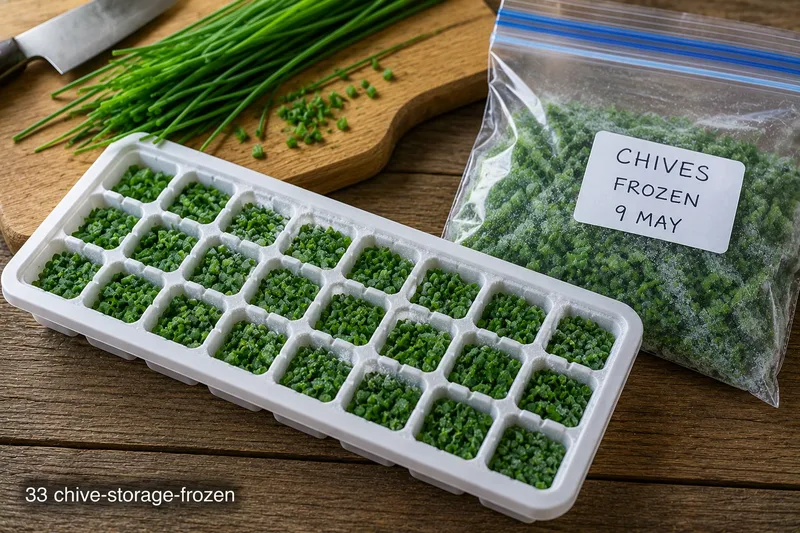
Chives freeze excellently and this is the best method for preserving a large harvest. Wash and dry the stems, then snip into 1cm lengths directly into ice cube trays. Top up with a little water and freeze. Transfer frozen cubes to a labelled bag. Drop directly into soups, sauces, and omelettes from frozen — no defrosting needed. Frozen chives retain their flavour well for up to 6 months.
🫙 Chive Flower Vinegar
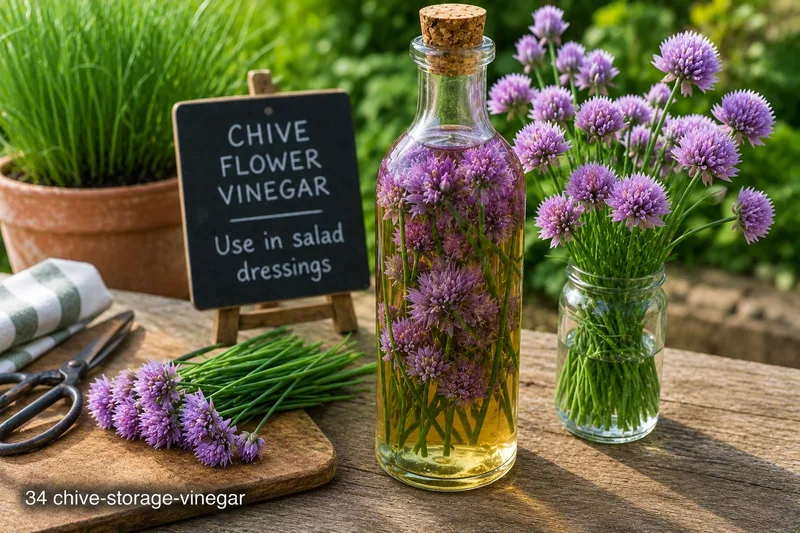
Chive flowers turn white wine vinegar a vivid pink and give it a gentle onion flavour. This beautiful pink vinegar is excellent in salad dressings, mayonnaise, and as a finishing vinegar for fish. Follow a tested recipe.
13 Expert Tips
💡 Bring Indoors for Winter
Pot up a small clump in autumn and bring indoors — chives will continue producing fresh leaves on a bright windowsill throughout winter when the outdoor plants are dormant.
💡 Use chive flowers to make a striking pink flower vinegar — one of the most beautiful and useful condiments you can make from the herb garden.
💡 Grow chives at the base of rose bushes — they are reputed to deter aphids, and the combination of purple pompoms with rose flowers is genuinely beautiful.