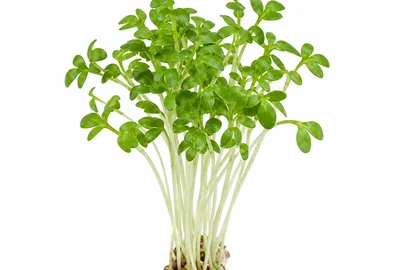
Plain (Curled) Cress
Standard curly-leaved type. Classic clean, peppery flavour. Fastest to harvest. The most widely sold garden cress.
Lepidium sativum
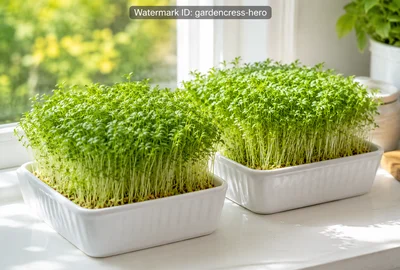
Garden cress is the fastest food crop you can possibly grow — ready to eat in just 4–7 days from sowing indoors, and 7–14 days outdoors. The peppery, clean, distinctive flavour of mustard and cress has been a British kitchen staple for generations, beloved in egg sandwiches, salads, and as a garnish. It can be grown on a damp paper towel, a windowsill tray, or directly in the garden with virtually no skill, cost, or equipment required. Perfect for children, beginners, and experienced growers alike.
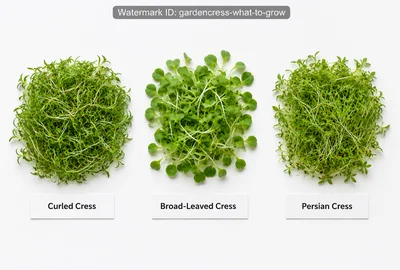
Garden cress (Lepidium sativum) is grown as a microgreen or seedling crop — it is always harvested at the cotyledon (seed leaf) or first true leaf stage. Varieties differ mainly in leaf shape, flavour intensity, and growth speed. For indoor windowsill use, any variety works; for outdoor growing, Broad-Leaved types are most practical. Persian Cress offers the most complex flavour but is slightly slower.
The number of varieties shown for each crop is based on UK consumption data (2025/26) — the more popular the crop, the more variety choices we include.
Classic garden cress. The most common, fastest, and most widely available.
Standard curly-leaved type. Classic clean, peppery flavour. Fastest to harvest. The most widely sold garden cress.
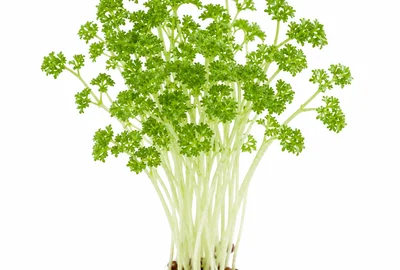
Very finely curled, lacy leaves. Decorative garnish type. Slightly milder than plain cress. Popular for presentation.
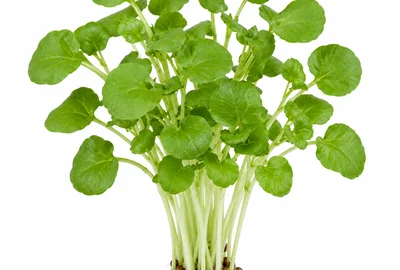
Larger, flatter leaves than curled types. Stronger, more complex peppery flavour. Better suited to outdoor growing. Slightly slower than curled types.
Slower to mature but with more complex, interesting flavour profiles.
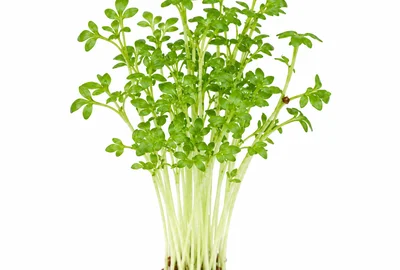
Heritage variety. Rich, complex, deeply peppery flavour with subtle sweetness. Slightly slower to harvest (7–10 days). Excellent for culinary use.
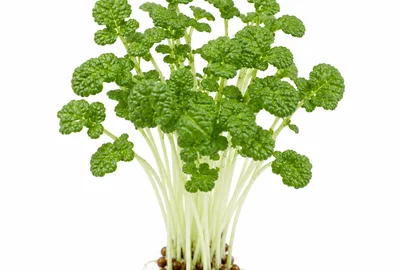
Deeply wrinkled, textured leaves. Attractive on the plate. Good peppery flavour. Grown as a microgreen or seedling crop.
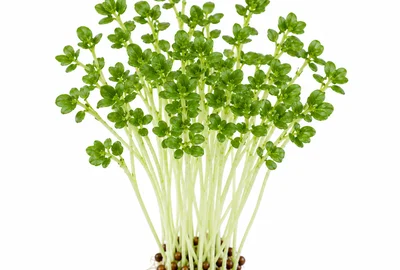
Small, compact leaves with mild flavour. Slow-growing. Used as a herb-like garnish in Mediterranean cuisine. Unusual and worth growing for variety.
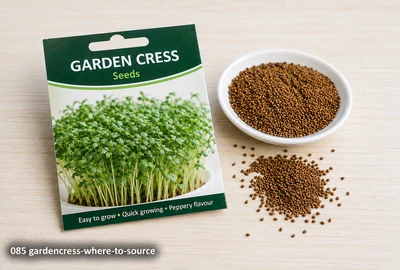
Garden cress seed is among the cheapest and most widely available vegetable seeds sold. Available in supermarkets, garden centres, online, and in mixed mustard-and-cress packets. A single small packet provides dozens of sowings — seed is inexpensive and germinates at near-100% reliability. For named varieties (Persian Cress, Broad-Leaved), use specialist online seed companies.
Supermarkets, garden centres, and hardware stores year-round
Specialist online seed companies for Persian Cress, Broad-Leaved and Greek types
Garden centres and online — includes Sinapis alba (mustard) for the classic paired crop
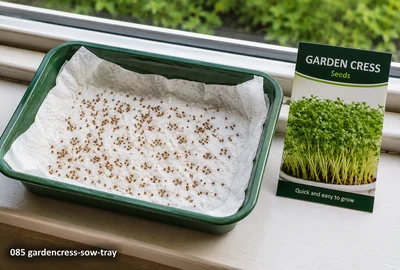
The classic method. Any shallow container, damp tissue, scatter seeds. The simplest food crop possible. No soil required.
Windowsill Tray (Primary Method) — regional timing: Year-round, any time
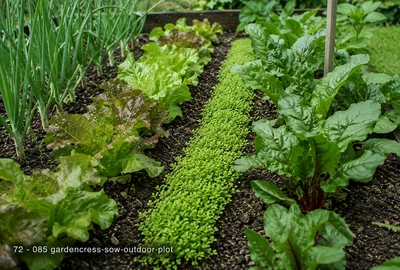
Direct sown in short rows for larger, more flavourful leaves. Best April–September. Ideal catch crop between slower vegetables.
Outdoor Garden Bed — regional timing: April–September
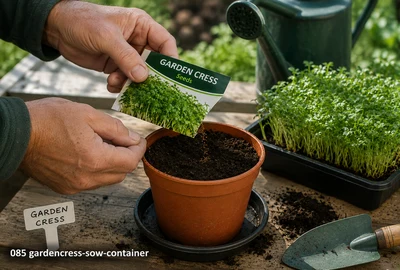
Grow in a pot of compost for larger leaves than tissue growing but still suitable for a patio, balcony, or greenhouse bench.
Pot or Container (Soil-Based) — regional timing: Year-round in a sheltered position
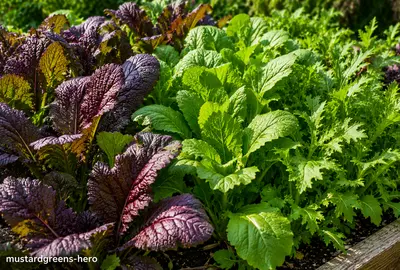
The traditional ‘mustard and cress’ combination. Sow mustard (Sinapis alba) 2–3 days before cress so both are ready to harvest at the same time.
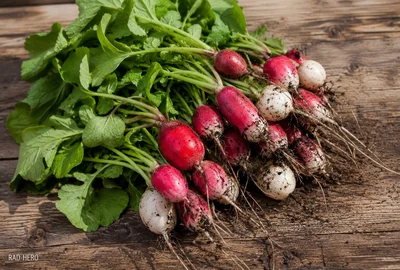
Both are fast-growing and share similar conditions. Grow as adjacent catch crops in the outdoor garden.
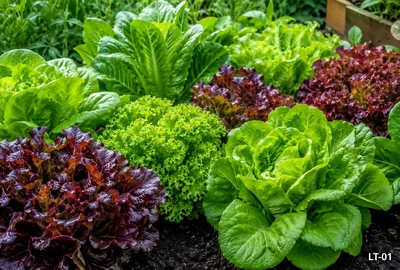
Classic salad companions in the outdoor garden. Cress fills space between lettuce plants and is harvested before lettuce needs full room.
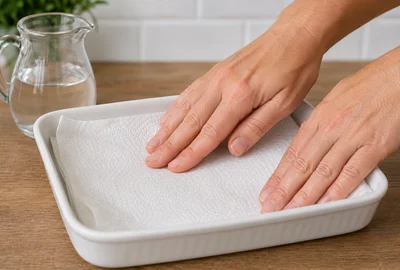
Use any shallow container — a jam jar lid, a seed tray, a cereal bowl. Line with 2–3 layers of damp kitchen roll or tissue paper. The paper should be wet but not swimming in water.
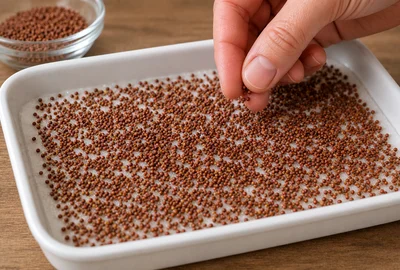
Scatter seeds thickly and evenly across the surface of the tissue. Garden cress is always sown very densely — unlike outdoor crops, you want a solid carpet of seedlings. No covering needed.
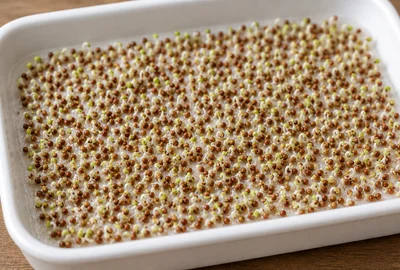
Place on a windowsill with good light but not full direct summer sun which can scorch tiny seedlings. Keep the tissue damp — add water if it starts to dry. Seeds germinate in 1–2 days.
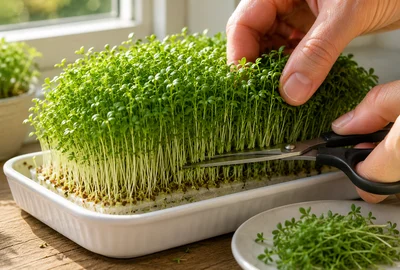
Cut with scissors just above the tissue when seedlings reach 5–8cm — typically 4–7 days. Cut cleanly and use immediately. The stumps do not regrow — discard tissue and start fresh.
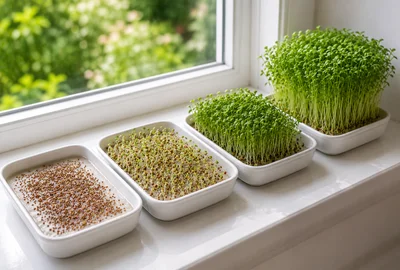
Start a new tray every 5–6 days. Three to four trays at different stages means fresh cress is available every day. Takes 30 seconds to set up a new tray.

| Region | Sow / plant | Harvest | Notes |
|---|---|---|---|
| Scotland & Far North | Jan–Dec | Jan–Dec | Windowsill growing reliable year-round. Outdoor sowing May–August only. Indoor supply all winter. · Year-round indoors |
| Northern England | Jan–Dec | Jan–Dec | Indoors year-round. Outdoors April–September. No heating needed — room temperature sufficient. · Year-round indoors |
| Midlands & Wales | Jan–Dec | Jan–Dec | Year-round windowsill growing. Outdoors April–September. Fastest crop for winter kitchen supply. · Year-round indoors |
| Ireland & Isle of Man | Jan–Dec | Jan–Dec | Reliable year-round indoors. Outdoors April–September. Mild climate extends outdoor season. · Year-round indoors |
| South & SE England | Jan–Dec | Jan–Dec | Year-round indoors. Outdoors March–October with protection at edges of season. · Year-round indoors |
| South Coast & SW | Jan–Dec | Jan–Dec | Year-round indoors. Outdoors March–October. One of the mildest UK regions for outdoor early sowing. · Year-round indoors |
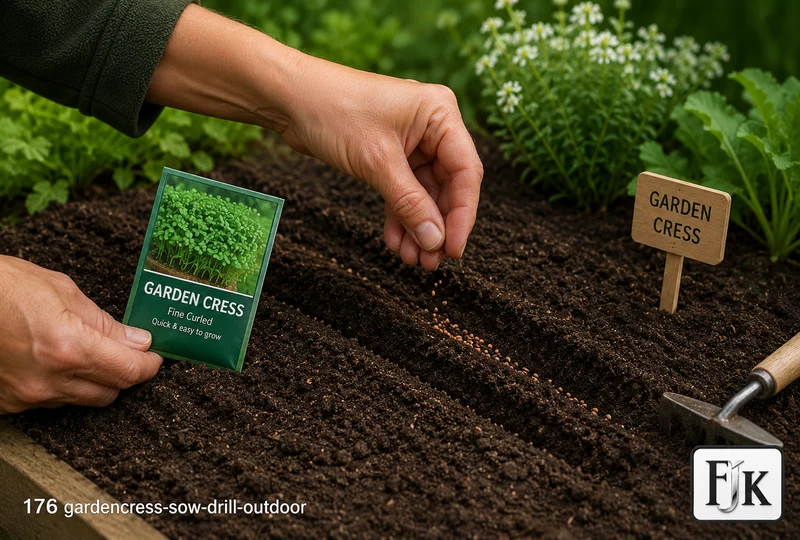
Rake a short section of bed to a fine tilth. Garden cress needs no special soil preparation — it grows in virtually anything. Mark a very shallow drill, 5mm deep.
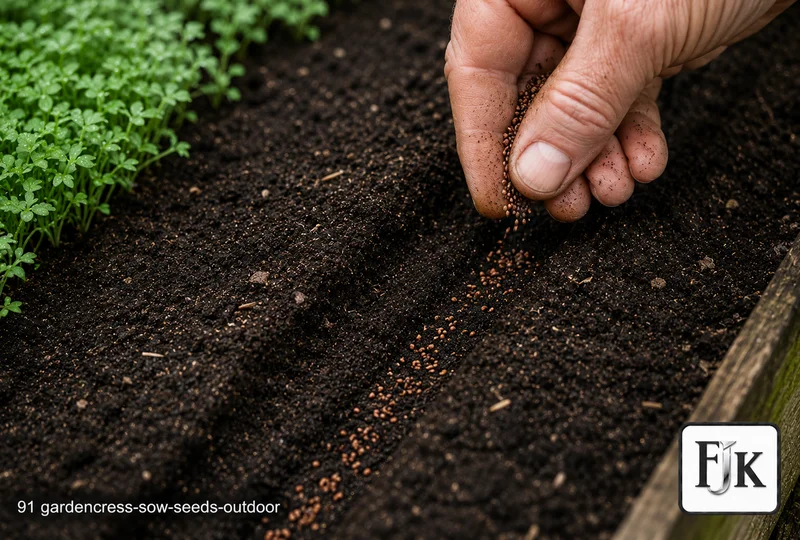
Scatter seed thinly along the drill. Unlike windowsill growing, outdoor cress should be sown thinly to allow individual plants to develop more fully. Cover lightly and firm with the back of a rake.
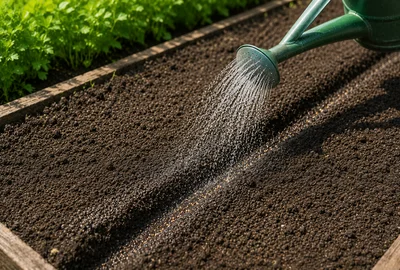
Water with a fine rose. Keep the seedbed moist — germination in 3–7 days outdoors depending on temperature. In warm weather germination is very rapid.
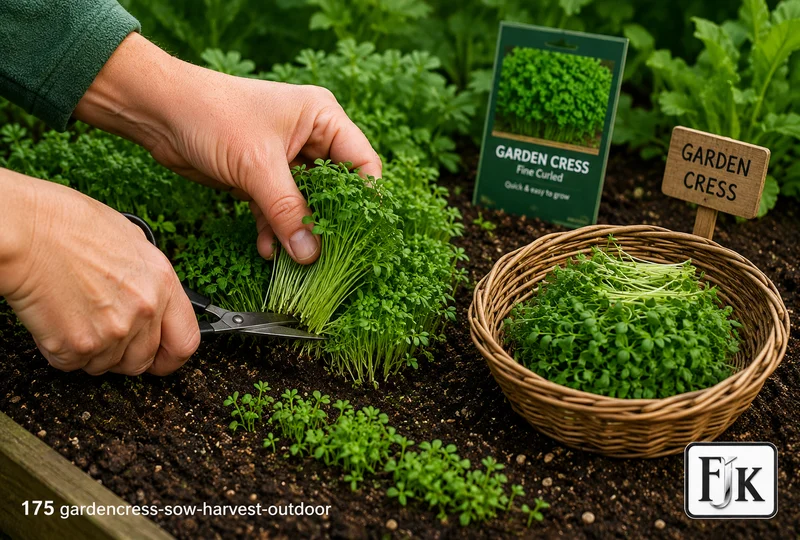
Cut the whole row at once with scissors when seedlings reach 5–10cm. Outdoor cress has more developed leaves and a stronger flavour than windowsill cress. Does not regrow well — sow a new row.
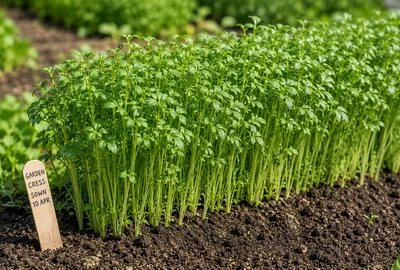
Sow a short row (30–50cm) every 2 weeks from April to September for continuous outdoor supply. Each row takes 7–14 days to reach harvest. Ideal to fill gaps between other crops.
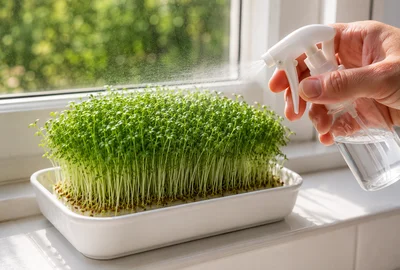
Garden cress has essentially one care requirement: keep the growing medium moist at all times. If the tissue or compost dries out — even briefly — tiny seedlings wilt and die within hours. Check the tray twice a day and add water if the tissue is starting to pale in colour or feel less damp. Do not drown the seeds — the tissue should be damp, not submerged. For outdoor growing, water with a fine rose immediately after sowing and keep the seedbed evenly moist until harvest. In dry summer weather, water morning and evening.
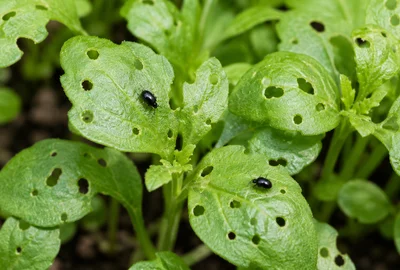
Flea beetle can attack outdoor cress — tiny round holes appear in leaves within days of germination. However, because cress is harvested so quickly (7–14 days outdoors), the simplest strategy is to harvest before flea beetle causes significant damage. If beetle pressure is high, cover outdoor rows with fine insect-proof mesh immediately after sowing and remove only at harvest. For indoor cress on a windowsill, flea beetle is never a concern.
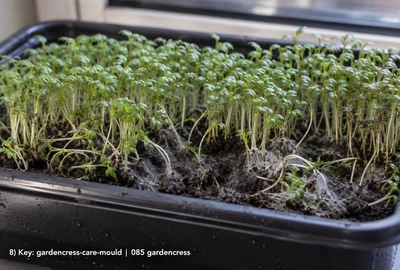
Indoor cress grown on tissue occasionally develops mould — a white, fuzzy growth on the tissue surface — particularly in warm, humid, or poorly ventilated spaces. Prevent this by: using fresh tissue for each sowing; not overwatering (damp, not wet); placing the tray in a position with some air movement. If mould appears, harvest immediately (the cress itself is unaffected), discard the tissue, and wash the container. The next sowing in the same container is rarely affected. Outdoors, mould is not an issue.
Garden cress is virtually problem-free when grown indoors. Outdoors it can attract flea beetle — use fine mesh or grow as a cut-and-use-immediately crop rather than leaving it to stand. Always keep the growing medium moist — if it dries out even briefly, seedlings wilt and die within hours. Do not confuse garden cress (Lepidium sativum) with watercress (Nasturtium officinale) or land cress (Barbarea verna) — they are related but quite different crops.
Full identification and treatment advice is in the Pests and Diseases sections.
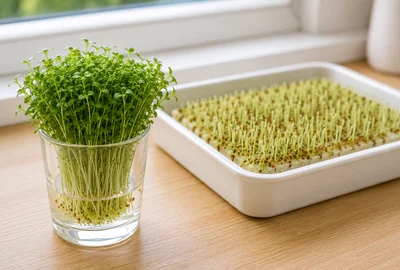
Garden cress is at its absolute best within minutes of cutting. The peppery flavour is most vivid and fresh when cut and used immediately. For windowsill trays, cut with scissors and use directly in sandwiches, salads, or as a garnish. Stagger your sowings so a fresh tray is always available rather than trying to store cut cress. A new tray takes 30 seconds to set up and is the best 'storage' strategy.
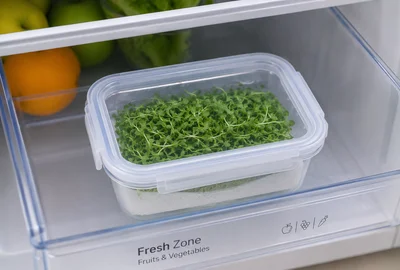
Cut cress can be refrigerated for up to 2 days if necessary. Place in a sealed container or bag with a damp paper towel to maintain humidity. It will wilt somewhat but recovers partially if placed in a glass of cold water for 10 minutes before use. For best results, cut only what you need immediately and leave the remaining seedlings on the tray — they will keep growing for a few more days at room temperature.
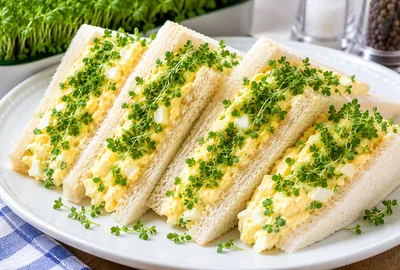
The quintessential British use for garden cress: egg mayonnaise sandwiches with cress. The peppery, fresh flavour of cress is the perfect foil for rich egg mayonnaise and soft white bread. Always add cress at the very last moment before serving — it wilts quickly under mayonnaise. Also superb in cream cheese sandwiches, scattered over soups as a garnish, tossed into salads at the last minute, or placed on avocado toast. Use always as a fresh garnish, never cooked.
The trick to always having fresh cress is maintaining three to four trays at different stages. Set up a new tray every 5–6 days: when Tray 1 is ready to harvest, Tray 2 is halfway through, and Tray 3 is just germinating. Harvest Tray 1, set up Tray 4 immediately. This takes about 30 seconds per new tray and gives you fresh cress every day of the year. Label each tray with the sowing date to keep track.
Classic 'mustard and cress' uses white mustard (Sinapis alba) alongside garden cress. The two grow at different rates — mustard is slower. For a perfectly simultaneous harvest, sow the mustard seed 2–3 days before the cress seed. They will then be ready to harvest at the same time. Mustard seed is sold separately or in combined packs. The flavours complement each other beautifully: cress is clean and peppery; mustard adds warmth and depth.
Garden cress grown outdoors in soil is a significantly different product from windowsill cress. The plants grow larger (10–15cm), the leaves are more fully developed, and the flavour is considerably more complex and intense. If you've only ever grown windowsill cress, try a short outdoor row in April — the difference in flavour is striking. Outdoor cress is also more useful in cooking (soups, sauces, garnishes for hot dishes) where the more developed leaf structure holds up better.