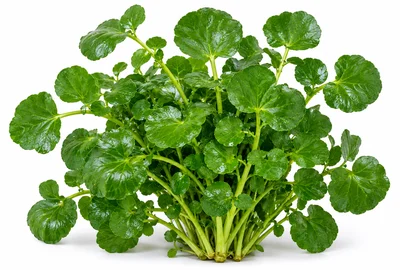
Aqua
Vigorous, dark green, very peppery. Excellent disease resistance. The benchmark named variety for garden use.
Nasturtium officinale
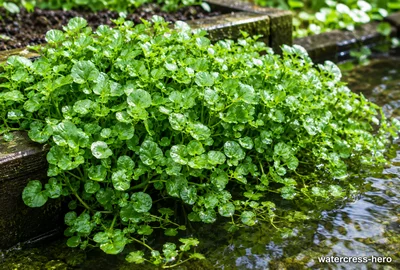
Watercress is one of Britain's oldest cultivated salad plants and one of the most nutritionally dense vegetables in existence. Rich in iron, calcium, vitamins C and K, and powerful antioxidants, it has been eaten medicinally and culinarily for centuries. Its peppery, slightly bitter flavour is superb in salads, soups, sandwiches, and sauces. It naturally grows in fast-flowing chalk streams, but with attentive watering it can be grown successfully in garden beds, containers, and even on windowsills.
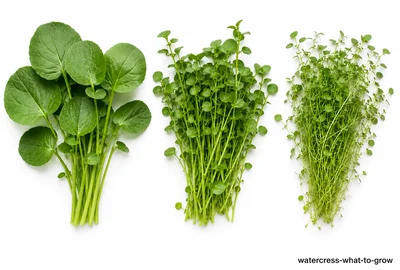
Watercress divides into two groups: true watercress (Nasturtium officinale) and land cress (Barbarea verna). True watercress has the finest flavour but demands consistently wet conditions. Land cress is easier to grow in ordinary well-watered soil with a similar peppery flavour. For garden growing, always seek named variety 'Aqua' over generic seed — it is far more vigorous, disease-resistant, and productive.
The number of varieties shown for each crop is based on UK consumption data (2025/26) — the more popular the crop, the more variety choices we include.
Nasturtium officinale. Classic peppery flavour, needs consistently moist or wet conditions.
Vigorous, dark green, very peppery. Excellent disease resistance. The benchmark named variety for garden use.
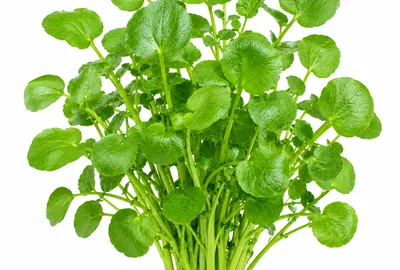
Slightly milder than Aqua. Good for salad use. Reliable cropper in moist beds and containers.
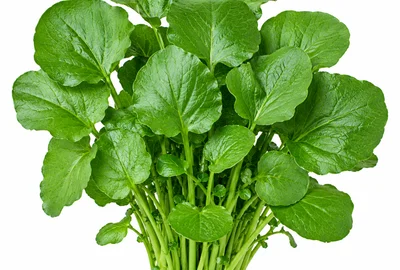
Larger leaves than standard types. Bold peppery flavour. Vigorous grower. Good for soups and cooking.
Barbarea verna. Drier-soil substitute with similar peppery flavour. Easier to grow.
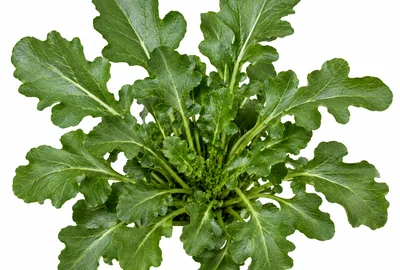
Barbarea verna. Grows in ordinary moist soil without waterlogging. Peppery, slightly bitter flavour. Excellent winter hardiness.
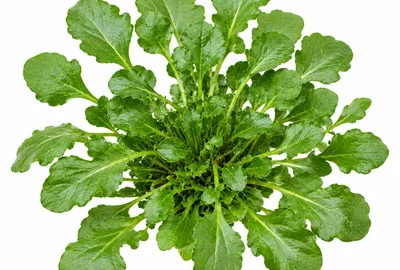
Similar to land cress but with a more delicate leaf structure. Good in salad mixes. Tolerates drier conditions than true watercress.
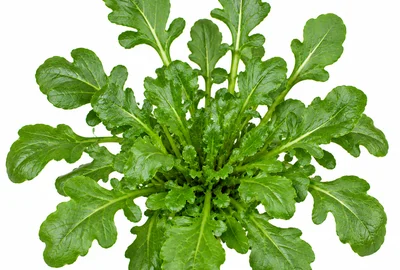
Heritage variety. Attractive rosette form. Strong, complex peppery flavour. Hardy and easy to grow in the UK climate.
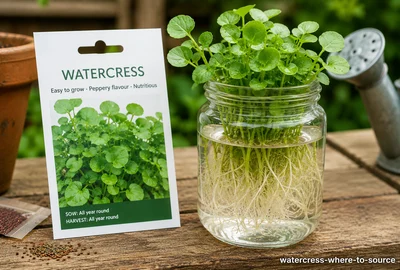
Watercress seed is readily available from most online seed companies and larger garden centres. Look for the named variety 'Aqua', which is significantly more vigorous and productive than generic unnamed types. Some supermarket watercress bunches can be rooted in a glass of water and planted out — a reliable shortcut in spring and summer. Land cress (Barbarea verna) is often sold as an alternative and is easier to grow without constant moisture.
Specialist online seed companies
Most garden centres and online suppliers. Often sold as ‘American Cress’
Root fresh supermarket watercress bunches in a glass of water in spring/summer and plant out
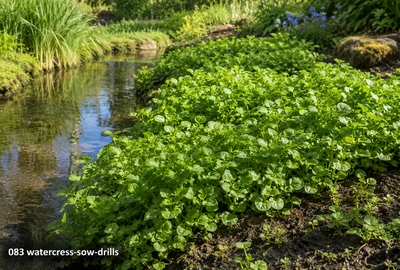
Best results in a permanently moist bed, beside a pond, stream, or at the lowest point of the plot where water collects naturally.
Outdoor Bed — regional timing: Plant out April–September
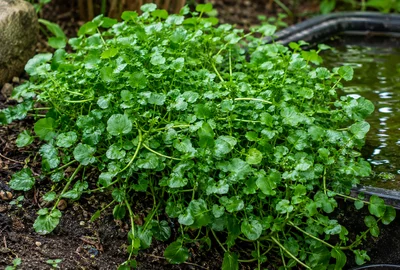
The most reliable method for most gardens. Grow in a large pot or trough permanently standing in a tray or saucer filled with water.
Container in Water Tray — regional timing: Sow or plant year-round on a windowsill; April–October outdoors
Provides year-round cropping in a heated greenhouse and extends the season significantly in a cold frame or unheated greenhouse.
Greenhouse or Cold Frame — regional timing: Year-round in heated greenhouse; autumn–spring in cold frame
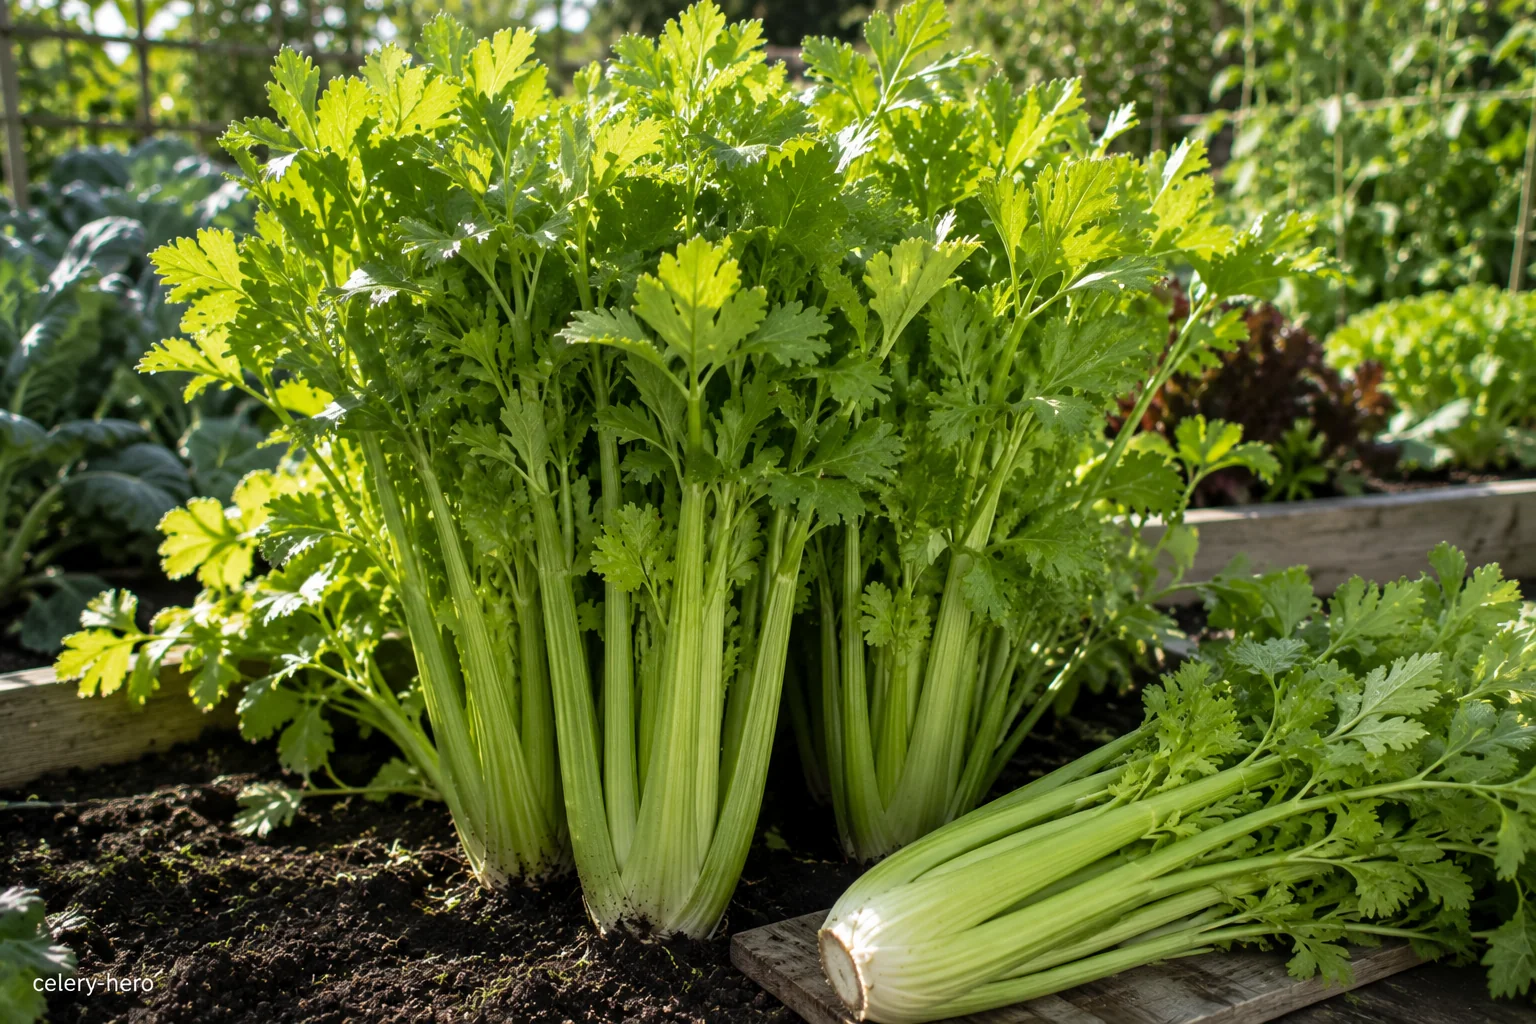
Both require consistently moist conditions and grow well together without competing. Similar feeding requirements.
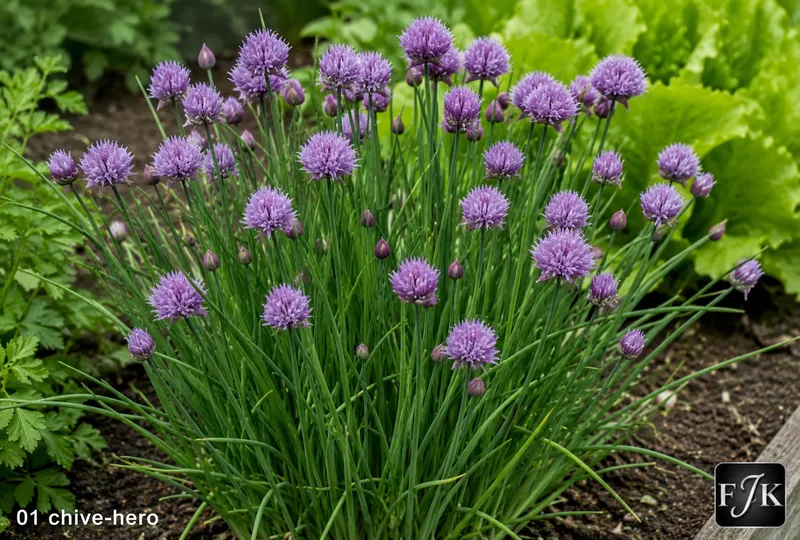
Mild pest deterrent and tolerates moist soil. Useful companion at the bed edge.
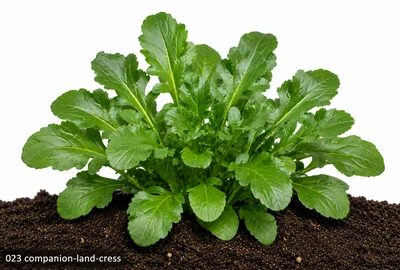
Not competing — grown alongside as a drier-soil substitute for gaps in the bed where moisture is less reliable.
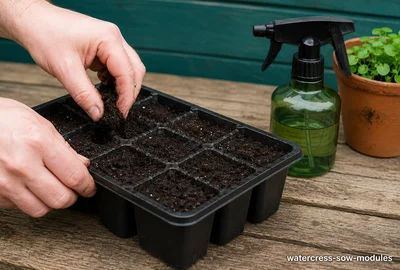
Fill module trays with moist multipurpose or seed compost. Firm gently. Pre-wet the compost before sowing — watercress seed is tiny and can wash off dry compost.
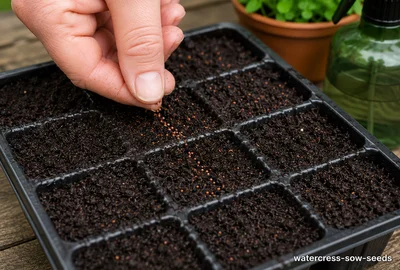
Scatter 3–5 seeds per module on the surface. Do not cover — watercress needs light to germinate. Germination is typically 5–10 days at 15–20°C.
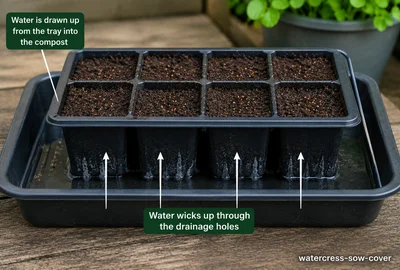
Place the tray in a shallow container of water so modules can absorb moisture from below. Never let the surface dry out — even brief drying kills germinating seedlings.
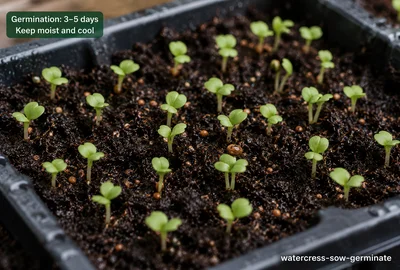
Once seedlings appear, move to a bright windowsill, greenhouse bench, or cold frame. Good light is essential for strong, compact growth. Leggy seedlings in low light establish poorly.
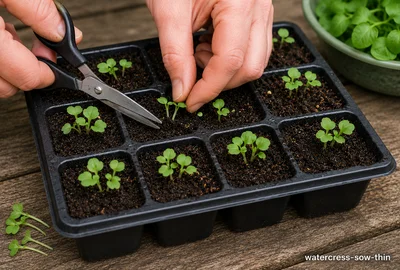
Once seedlings reach 2cm, thin to the 2–3 strongest per cell. Overcrowding causes thin, weak transplants. Use scissors rather than pulling to avoid disturbing roots.
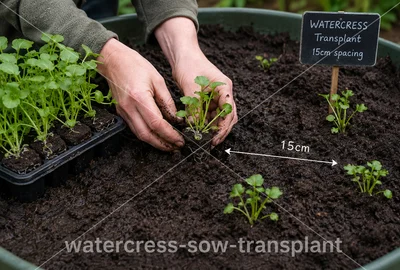
Transplant into permanently moist ground or containers at 15cm spacing after 3–4 weeks. Water in well. Choose the dampest position available or set containers in trays of water.
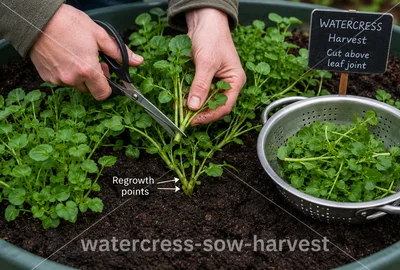
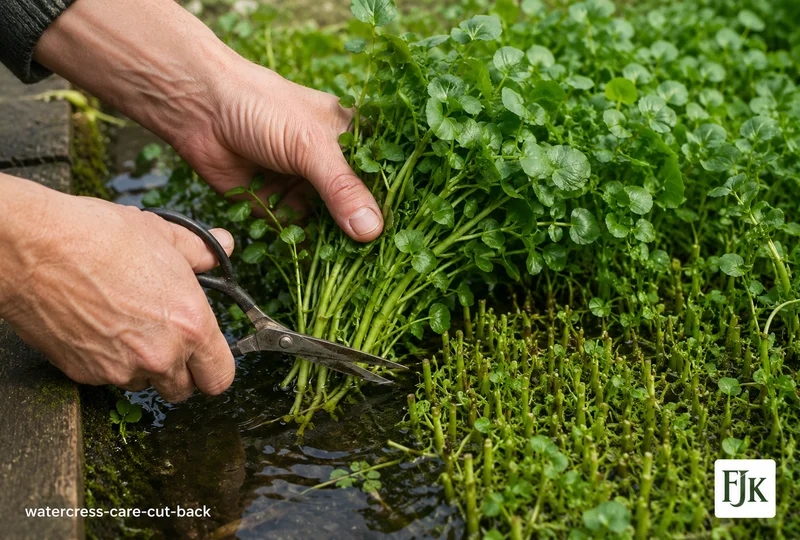
Once plants are growing strongly and reaching 15cm, begin harvesting by cutting stems above a leaf joint. Plants will regrow 2–3 times from a single sowing.

| Region | Sow / plant | Harvest | Notes |
|---|---|---|---|
| Scotland & Far North | Apr–Aug | May–Oct | Sow March in greenhouse; plant out April–May. Harvest June–October. Use containers inside for autumn extension. · Apr–Aug |
| Northern England | Mar–Sep | May–Oct | Sow under cover from March; plant out April. Harvest May–October. Keep well watered through summer. · Mar–Sep |
| Midlands & Wales | Mar–Sep | Apr–Oct | Sow March–April under cover; plant out from April. Continuous cutting May–October. Autumn sowing for winter. · Mar–Sep |
| Ireland & Isle of Man | Mar–Sep | Apr–Oct | Sow March–April; plant out April–May. Harvest May–October. Mild winters allow near year-round harvest. · Mar–Sep |
| South & SE England | Mar–Oct | Apr–Nov | Sow February–March under cover; March–April direct. Harvest April–November. Year-round in mild winters. · Mar–Oct |
| South Coast & SW | Feb–Oct | Mar–Dec | Near year-round growing possible. Harvest almost all year in mild conditions. Best results spring and autumn. · Mar–Oct |
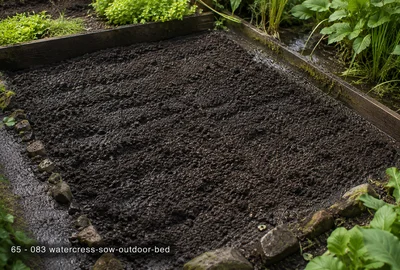
Choose the lowest, dampest part of the plot. Dig over and incorporate moisture-retaining organic matter. Water the bed thoroughly before sowing.
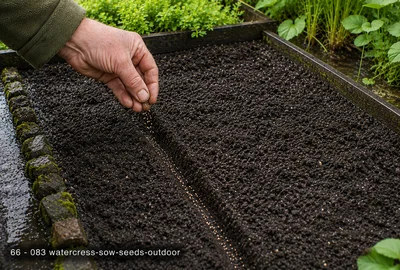
Draw a very shallow drill (5mm). Scatter seeds thinly along the drill. Do not cover — just press lightly with a board or the back of a rake to ensure contact with the soil.
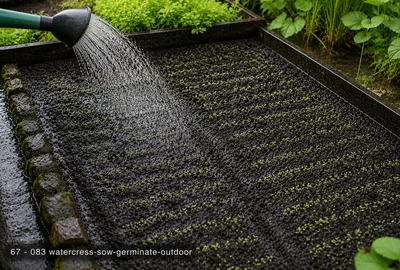
Keep the seedbed consistently moist. In dry weather this means watering morning and evening. Any drying out at the surface will kill germinating seeds. Germination in 7–14 days.
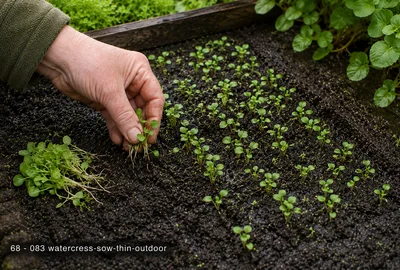
When seedlings reach 3–5cm, thin to 10–15cm apart. Use thinnings in salads. Do not leave plants too congested — good air circulation helps prevent botrytis in wet conditions.
Cut stems once plants reach 15cm. Always cut above a leaf node so the plant regrows. Regular harvesting encourages bushy, productive plants.
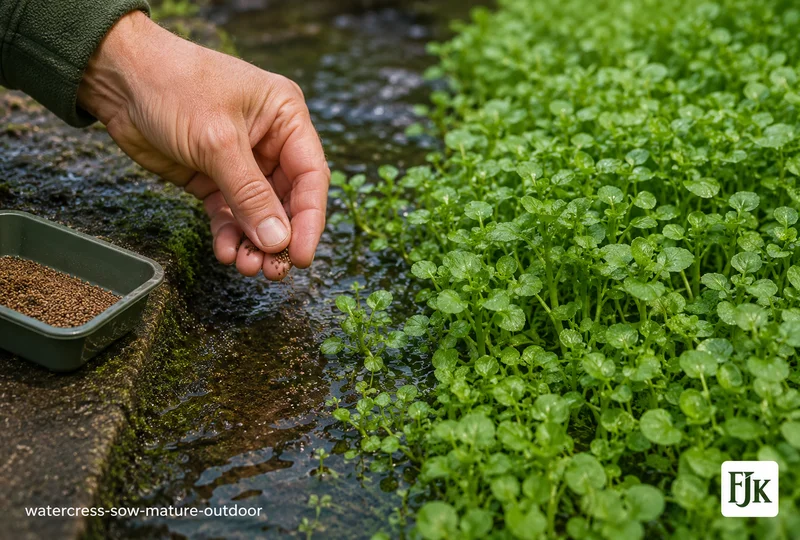
Established watercress can spread by stem contact with moist soil. Allow it to sprawl in a dedicated bed or trim edges regularly. In very wet conditions plants become exuberant growers.
Watercress benefits from module propagation indoors before planting out. Seeds are tiny and need constant moisture to germinate — a propagator helps maintain the humid conditions they require, especially for early sowings in February and March.
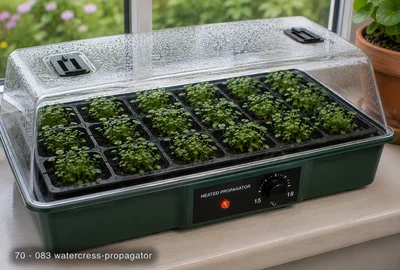
For February–March sowings, a heated propagator at 15–18°C accelerates germination significantly. Keep the base tray filled with a small amount of water so modules stay moist from below. Do not mist heavily from above — tiny seeds wash off easily.
An unheated propagator on a warm windowsill is adequate from April onwards when ambient temperatures are sufficient. Watercress germinates freely at 10°C+. Ensure the lid retains moisture but ventilate daily to prevent damping off.
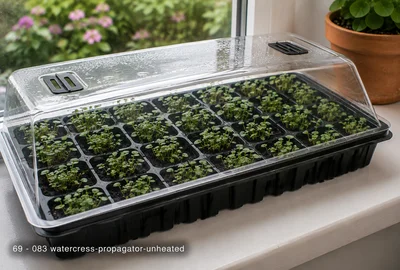
Standard unheated propagator — A lidded seed tray traps warmth and humidity around germinating seeds without electricity. Performance depends entirely on room temperature — best placed on a warm windowsill and used from March onwards. Replace the lid promptly after watering. Remove it completely the moment seedlings emerge to prevent damping off.
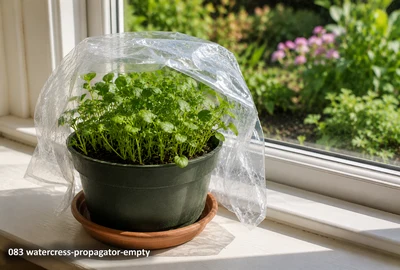
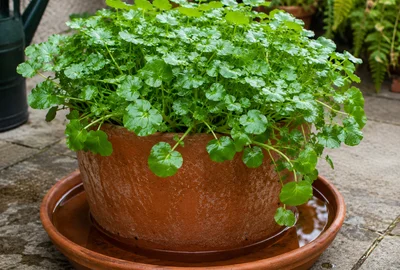
Watercress is unique among salad crops in that it demands continuous moisture at all times — not 'water when dry' but genuinely never dry. In a garden bed, this means watering once or twice daily in dry weather. The best system is to grow in containers standing permanently in a shallow tray of water, refreshed every 2–3 days to prevent stagnation. In a dedicated bed beside a pond or stream, plants will thrive with minimal intervention. Any significant dry spell causes bolting, bitterness, and leaf scorch from which plants rarely recover fully.
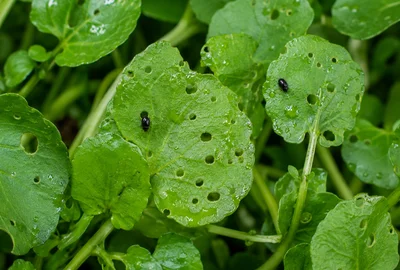
Flea beetle creates tiny round holes in leaves and is worst in warm, dry conditions — though even well-watered watercress can be attacked. Cover with fine insect-proof mesh from planting. Aphids can colonise the growing tips in spring and summer; blast off with a strong water jet rather than using insecticide on a food crop harvested so frequently. Under glass, whitefly can be an issue — introduce biological controls (Encarsia formosa) early in the season for glasshouse production.
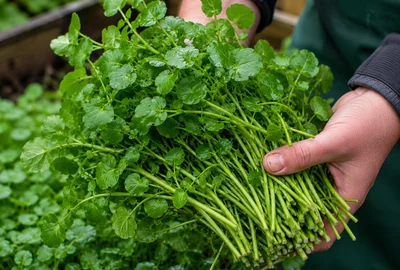
Always harvest by cutting — never pulling. Cut stems to just above a leaf node (junction), leaving at least 5–8cm of stem with leaves remaining. The plant will branch and regrow from the cut point, producing 2–3 further harvests from each plant. Harvest the top 10–15cm of each stem once growth is vigorous. Harvesting the tips also delays bolting by preventing the plant from setting seed. In peak summer, check plants every 2–3 days — growth is rapid.
Never harvest watercress from wild streams, ditches, or rivers — it can carry liver fluke (Fasciola hepatica), a parasitic flatworm transmitted via water contaminated by livestock. Even clear, fast-flowing water can be infected. Only eat watercress grown in controlled conditions from clean water sources. Home-grown watercress is completely safe. Always wash before eating.
Full identification and treatment advice is in the Pests and Diseases sections.
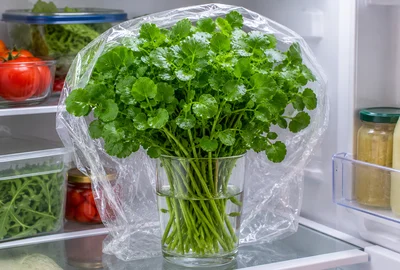
Watercress wilts very quickly once harvested — typically within 24–48 hours at room temperature. Refrigerate immediately in a sealed bag or container with a damp paper towel. It will keep for 2–3 days in the fridge. For best results, stand the stems in a glass of cold water (like cut flowers) in the fridge, covered loosely with a bag. This preserves both freshness and nutritional content significantly better than dry storage.

Watercress freezes poorly in raw form but makes exceptional soup that freezes excellently. Sauté onion and potato, add stock, simmer until tender, add a large bunch of watercress, blend immediately (to preserve colour), season, and cool rapidly. Freeze in portions for up to 3 months. The classic French watercress soup (potage au cresson) is one of the finest uses of a glut crop. Thaw overnight in the fridge and reheat gently.

Slightly past-their-best watercress leaves are ideal for cooking rather than salad. Stir-fry with garlic and a little sesame oil for 60–90 seconds — it wilts dramatically like spinach but retains a beautiful deep green and distinctive peppery flavour. Also excellent added to pasta, risotto, or scrambled eggs at the last moment. The heat mellows the bitterness considerably. Use within the same day for cooked applications.
Buy a bunch of fresh watercress from the supermarket (not pre-washed or pre-packaged in bags — whole bunches only). Place the stems in a glass of water on a windowsill. Within 7–10 days in spring and summer, you'll see white roots developing from the cut ends. Once roots are 2–3cm long, pot up or plant directly into a moist bed. This is completely reliable between April and September and gives you established plants instantly for free.
Watercress bolts quickly in hot weather and long days. The trigger is the plant 'deciding' to flower and set seed. Regular tip harvesting — cutting the top 10cm of each stem every 1–2 weeks — removes the dominant growing point and delays this process significantly. In midsummer, also provide light afternoon shade (a net or fleece) and keep watering absolutely consistent. Bolt stems develop a bitter, hollow character — remove them immediately when spotted.
The warning about liver fluke from wild watercress is genuine — but it is also a strong argument for growing your own. Home-grown watercress from a clean water supply or container is completely safe and far superior in freshness and flavour to anything in a supermarket. It is one of the crops where growing your own makes the most compelling practical case: safer, fresher, zero food miles, available year-round.