Sow indoors in April at 18°C — seeds need light, do not cover
Division in spring is faster than seed — dig up, split, and replant immediately
Harvest leaves before flowering for the strongest lemon fragrance
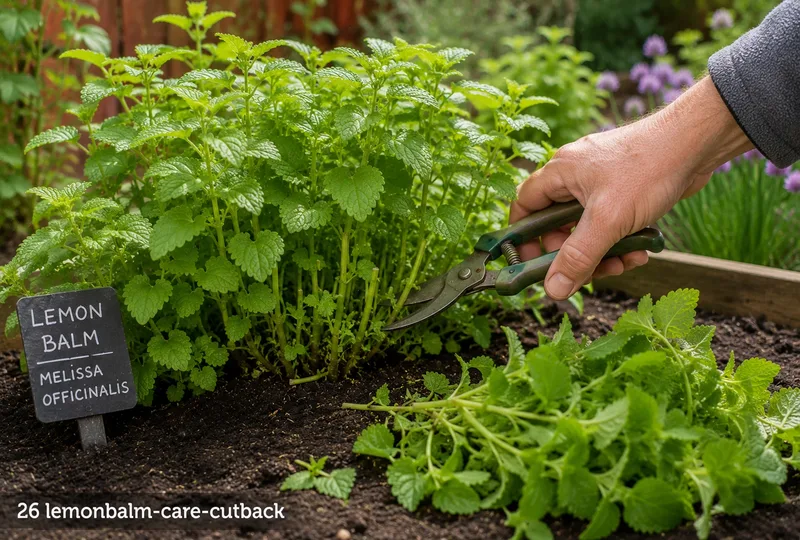
Cut the whole plant back to 10cm after flowering to prevent seeding and trigger fresh growth
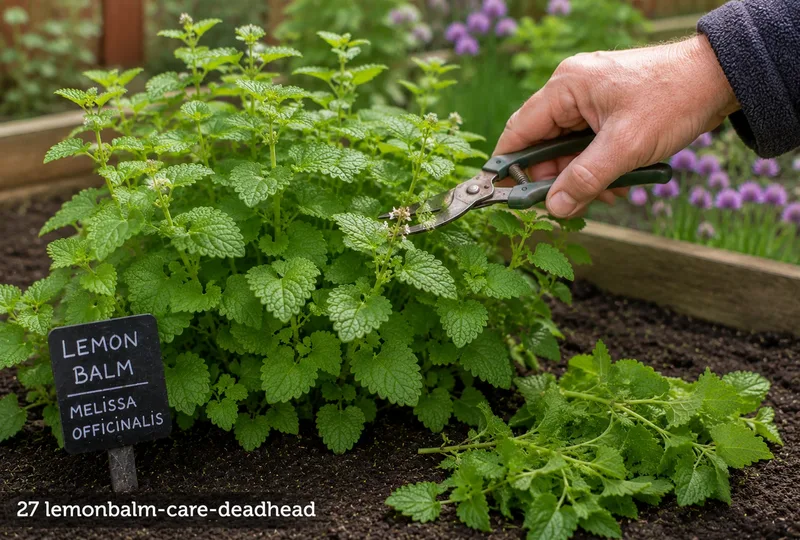
Deadhead flower heads rigorously to prevent self-seeding around the garden
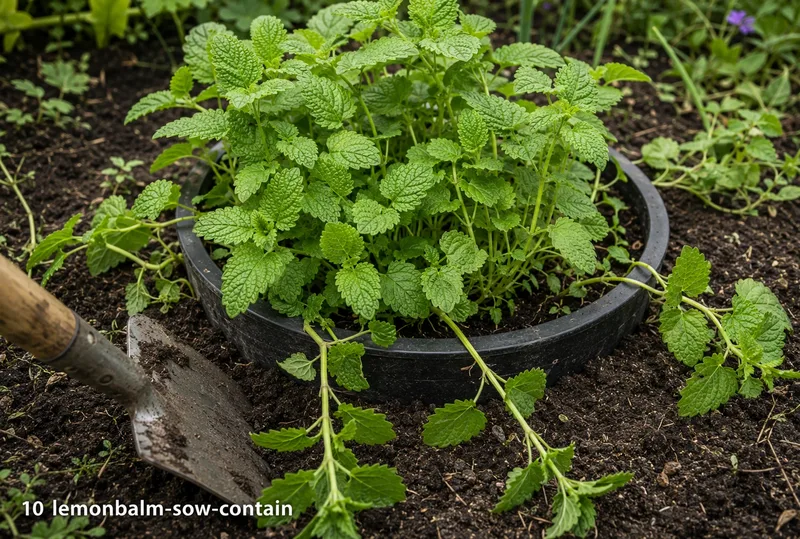
Sink a large pot into the ground to contain spreading roots if you want to restrict spread
Leaves are best picked in the morning when essential oil content is highest
🌱 SowSow Apr–May or divide spring
🌾 HarvestMar–Oct (best before flowering)
☀ PositionSun or part shade
📐 Spacing45–60cm
DifficultyEasy
⚡ Quick facts
Difficulty
Easy
Start indoors
Apr–May (seed, 18°C) or divide spring
Plant out
May (seedlings) or Mar–Apr (divisions)
Harvest
Mar–Oct (best before flowering in Jul–Aug)
Position
Sun or part shade — tolerates most conditions
Spacing
45–60cm
Height
60–90cm (in flower)
Type
Hardy perennial
Water
Low to moderate — tolerates drought once established
01 About
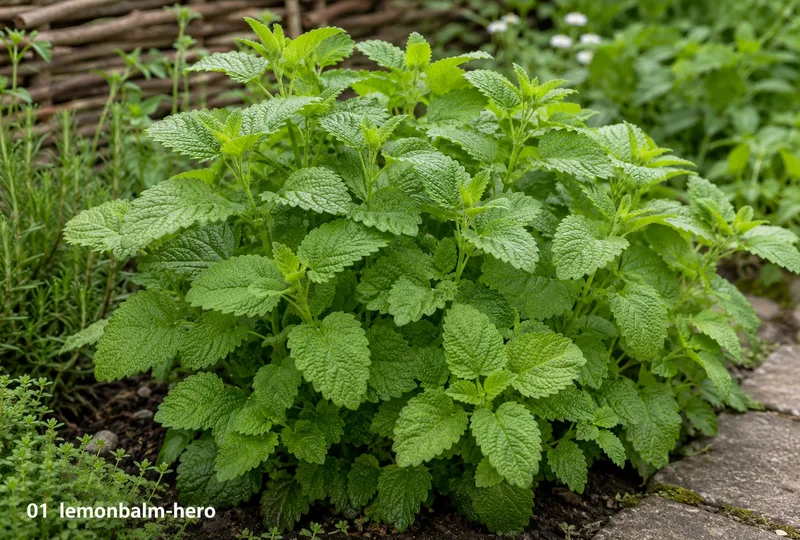
Lemon balm is a hardy, almost indestructible perennial herb with a fresh, clean lemon fragrance that fills the air with every touch. The leaves make a calming herbal tea beloved for centuries, are outstanding in summer drinks and desserts, and attract bees in extraordinary numbers when in flower. Its only drawback is vigour — left unmanaged it spreads by runners and self-seeds prolifically. Managed well, it is one of the most rewarding and generous herbs in the garden.
02 What to Grow
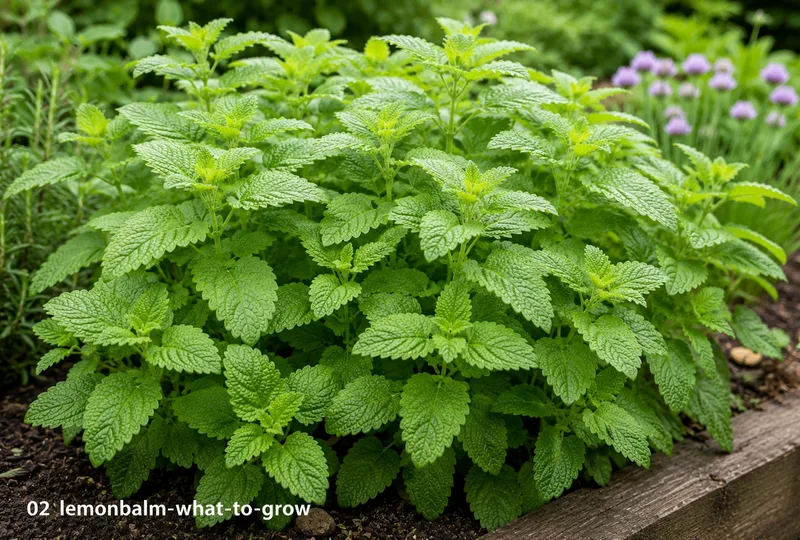
Common lemon balm is the most fragrant and vigorous form — the one to grow for tea, drinks, and abundant harvest. All Gold has beautiful golden-yellow leaves and is less vigorous, making it better for smaller spaces and containers. Aurea is the classic gold-variegated form, excellent in ornamental kitchen gardens. Quedlinburger Niederliegende is a compact, low-growing form ideal for raised beds and small plots. Citronella has an intensely concentrated lemon scent and is outstanding for tea production. Lime lemon balm offers a pleasantly different citrus note for cocktails and cold drinks.
03 Varieties
The number of varieties shown for each crop is based on UK consumption data (2025/26) — the more popular the crop, the more variety choices we include.
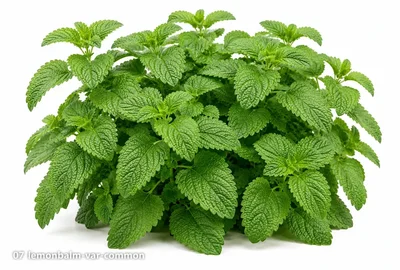
Common Lemon Balm
Culinary · Vigorous
The standard species with the strongest lemon fragrance and the most vigorous growth. Large, bright green, wrinkled leaves. Outstanding for herbal tea, summer drinks, and desserts. Self-seeds prolifically if not deadheaded. The most productive variety for kitchen use — one established plant provides more leaves than most households can use. Deadhead religiously to prevent it spreading everywhere.
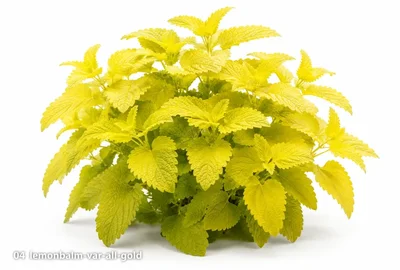
All Gold
Ornamental · Compact
A beautiful golden-yellow leaved form that is significantly less vigorous than the species — an advantage in small gardens. The lemon fragrance is good, though slightly lighter than the common form. Outstanding ornamental value in the kitchen garden and in containers where the gold foliage provides a striking colour accent. Avoid very hot, dry sun which can scorch the leaves.
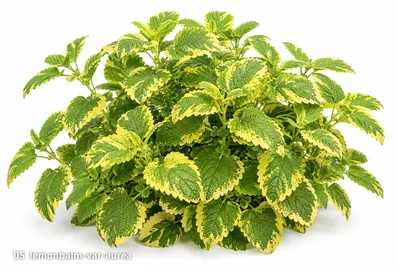
Aurea
Ornamental · Variegated
The classic gold-variegated form with green leaves splashed and edged with gold-yellow. Less vigorous than the common species. The variegation is strongest in spring and fades in hot summers — cut back in midsummer to produce a fresh flush of well-variegated growth. Good fragrance and fully culinary. Excellent in mixed herb containers.
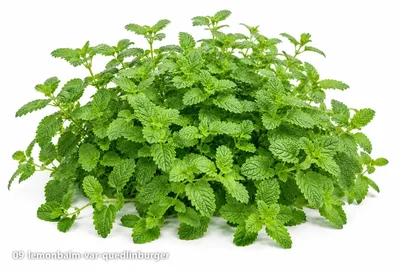
Quedlinburger Niederliegende
Compact · Productive
A compact, low-growing lemon balm with a more prostrate habit than the species. Well suited to raised beds, smaller borders, and large containers where the typical species would overwhelm the space. Good lemon fragrance. Developed in Germany as a productive, manageable form of the species. An excellent choice for gardeners who want lemon balm in a more controlled, space-efficient form.
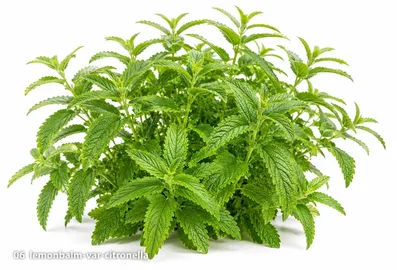
Citronella
Culinary · Intense Scent
A distinct variety with an exceptionally concentrated, intense lemon-citronella fragrance significantly stronger than the common species. Outstanding for herbal tea production where its powerful scent translates directly into flavour. The leaves are slightly narrower than common lemon balm. A vigorous grower. The best variety for anyone who grows lemon balm primarily for tea or dried herb production.
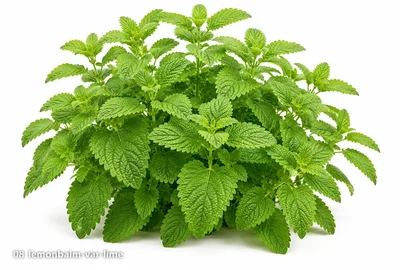
Lime
Culinary · Citrus Variant
A lemon balm variety with a distinctive lime-citrus note alongside the classic lemon character — the result is a pleasantly different, multi-dimensional citrus fragrance. Excellent in cold drinks, cocktails, and with fish where a lime note is wanted. Fully hardy and perennial. Similar vigour to common lemon balm. A novel and genuinely useful variant that is well worth growing alongside the standard form.
04 Where to Source
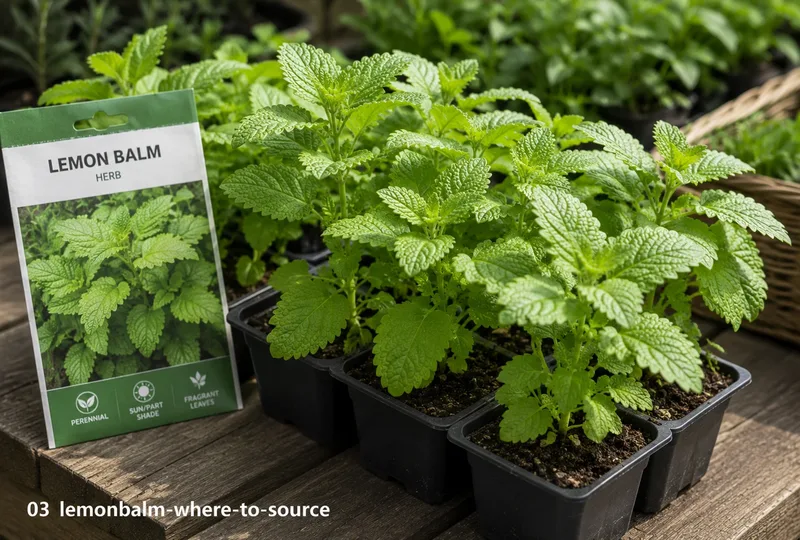
Common lemon balm is available as plants from most garden centres in spring and as seed from all major seed suppliers. All Gold and Aurea are stocked by herb specialists and many garden centres. Quedlinburger Niederliegende is available from specialist herb nurseries. Citronella and Lime lemon balm are best sought from specialist herb seed and plant companies. All varieties can be obtained as divisions from existing plants — lemon balm divides extremely freely and one established clump yields dozens of new plants.
05 Planting Options
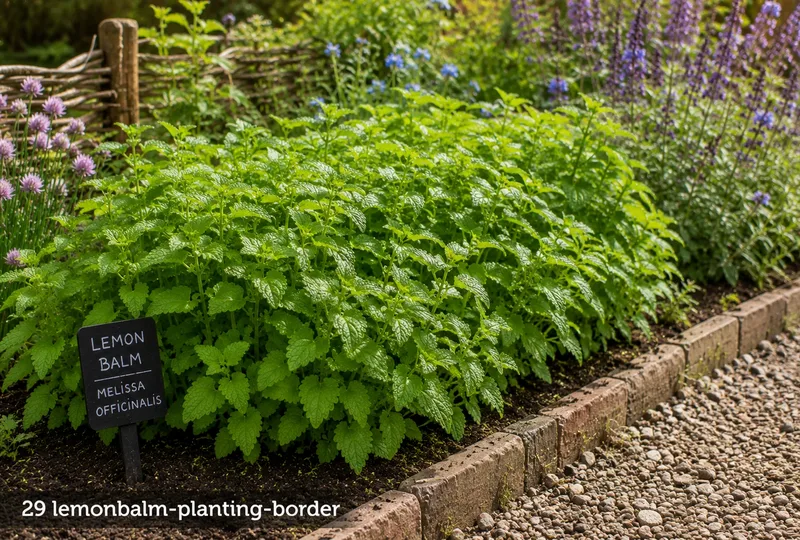
🌿 In the Garden Border
Lemon balm is one of the most adaptable herbs in the garden — sun or shade, most soil types, tolerating neglect that would kill other herbs. In borders, plant 45–60cm apart and expect it to fill its space within one season. Contain spreading with a deep pot sunk into the ground or cut back the edges of the clump each spring.
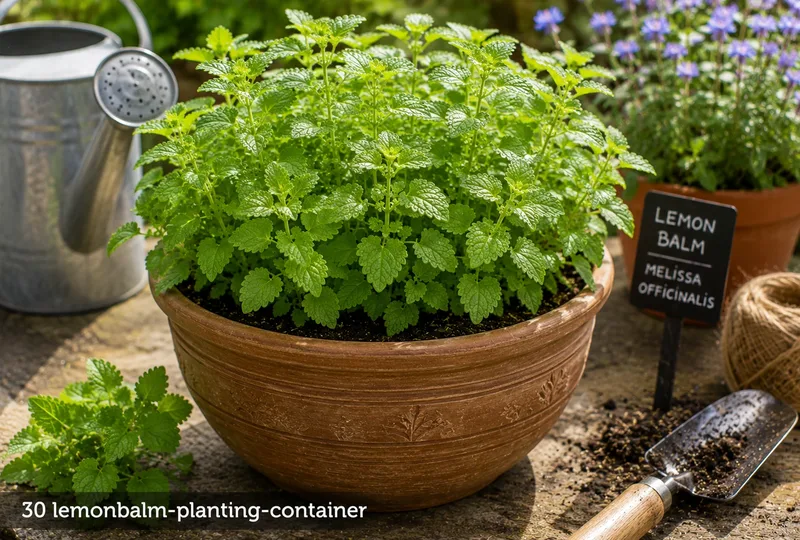
🪴 In a Container
Container growing is the most effective way to control lemon balm spread while keeping it productive. Use a large container (40cm+) with good drainage. Lemon balm in containers needs more frequent watering than border plants but stays perfectly contained. The ornamental varieties (All Gold, Aurea) are particularly well suited to container display.
Both are easy-going herbs that attract beneficial insects to the bed.
❌ Keep apart
🌱 Mint — Both are vigorous spreading members of the mint family and will compete aggressively for space if planted together.
🌿 Fennel — Fennel's allelopathic root secretions inhibit the growth of most nearby herbs, including lemon balm.
07 Sowing — How To
🌱 From Seed
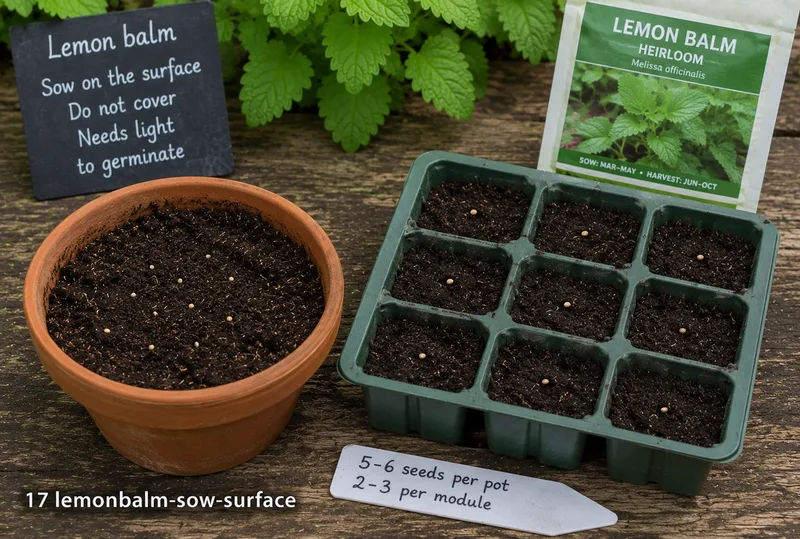
Sow on the surface
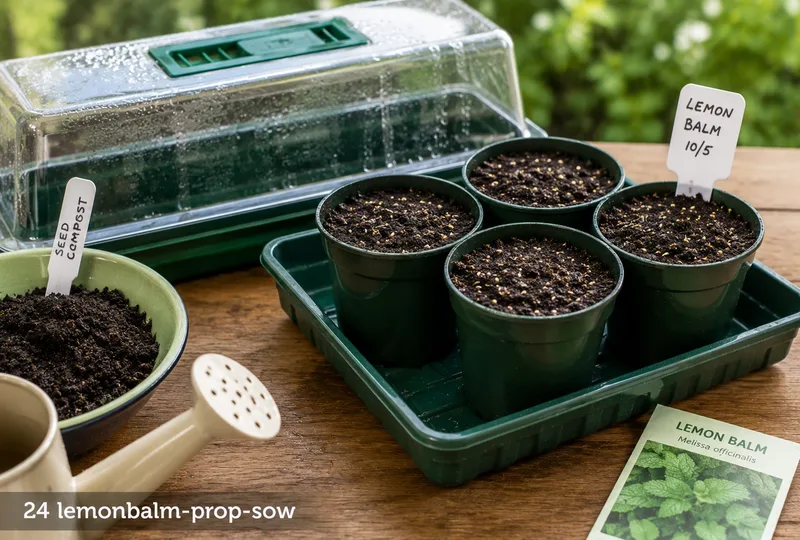
Scatter seeds on the surface of moist seed compost — do not cover, as lemon balm seeds need light to germinate. Use a 9cm pot or module tray. Sow 5–6 seeds per pot or 2–3 per module.
Maintain 18°C
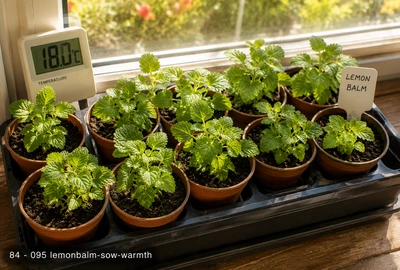
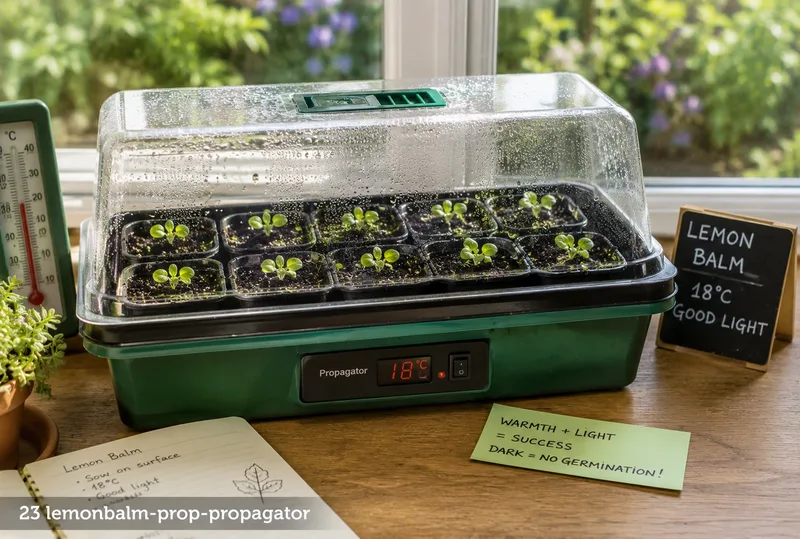
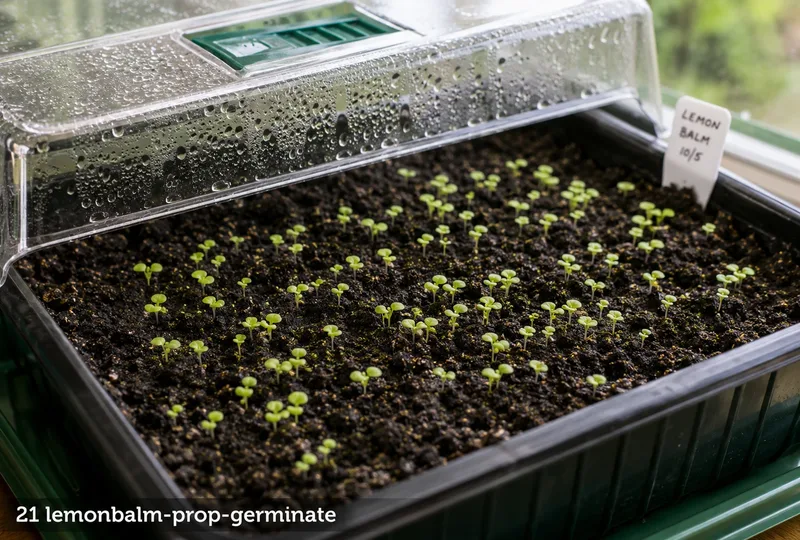
Place in a propagator at 18°C or on a warm, bright windowsill. Germination takes 10–14 days. The seedlings emerge as tiny, bright-green pairs of oval leaves.
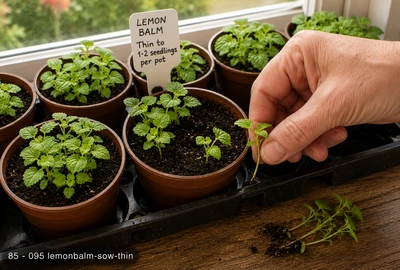
Thin to strongest seedlings
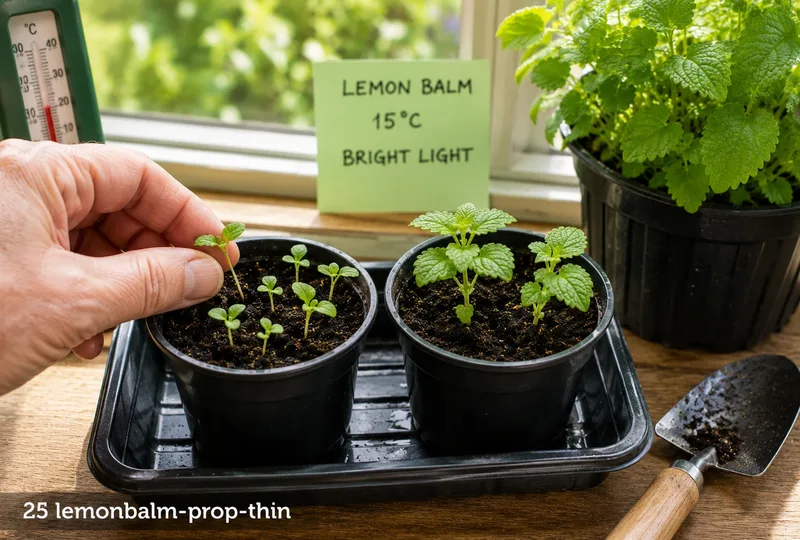
Once seedlings have two true leaves, thin to the strongest 1–2 per pot by snipping unwanted seedlings at soil level. Do not pull — this disturbs the remaining roots.
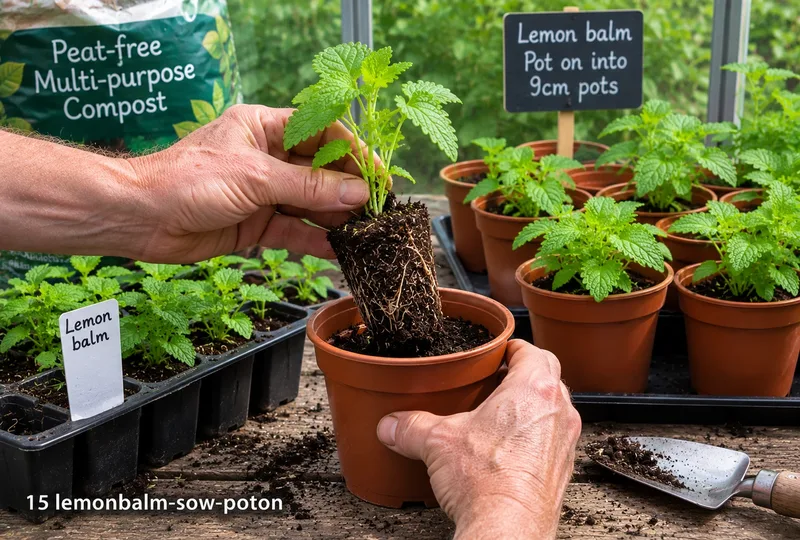
Pot on into 9cm pots
When the roots fill the module or pot, pot on into individual 9cm pots of peat-free compost. Grow on in good light at 12–15°C until large enough to plant out — usually 6–8 weeks after sowing.
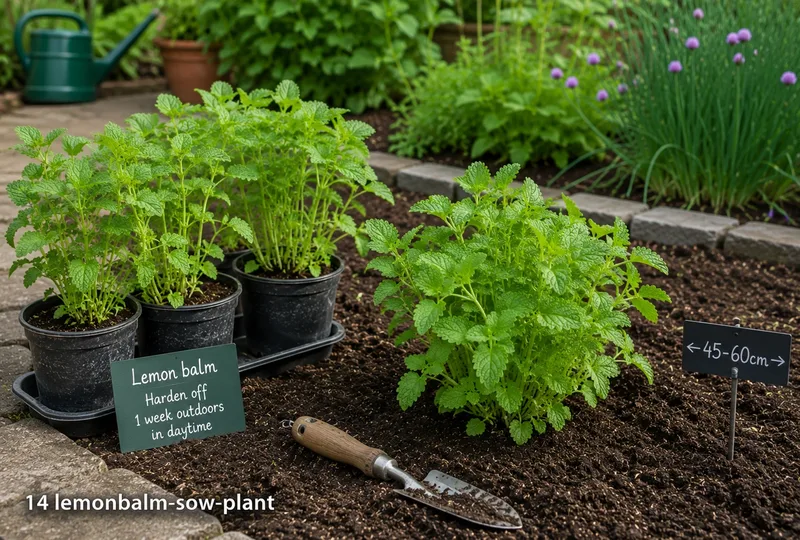
Harden off and plant out
Spend 1 week hardening off by moving pots outdoors during the day. Plant out 45–60cm apart after the last frost. In good conditions, first-year plants will be harvestable within 4–6 weeks of planting.
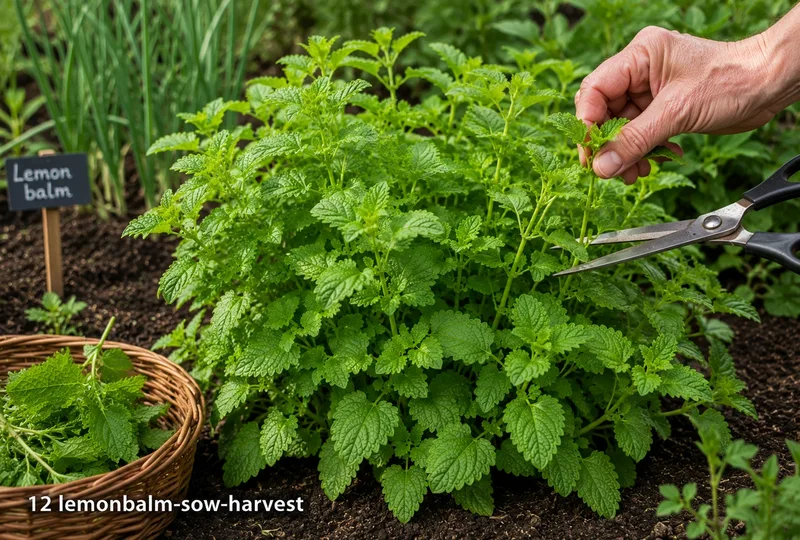
First harvest when 20cm tall
Begin harvesting by pinching stem tips or cutting the whole plant back to encourage bushy growth. The plant will not reach full productivity until its second year, when it re-emerges with much greater vigour from the overwintered root system.
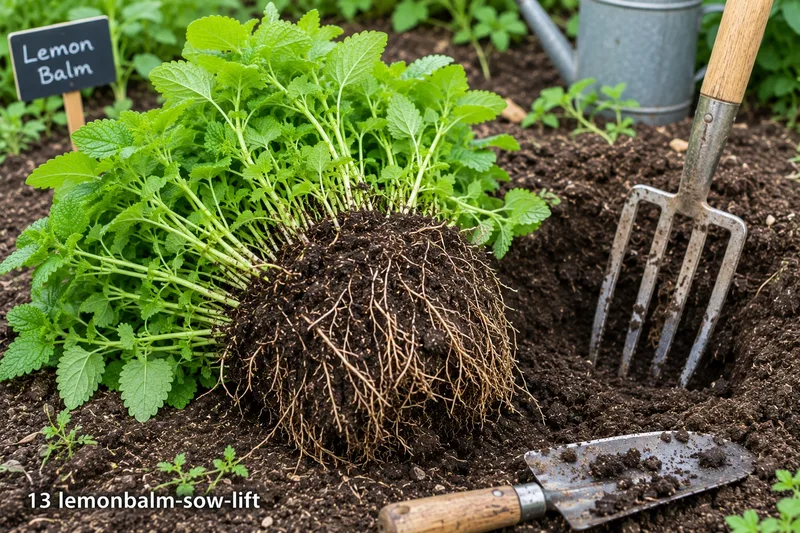
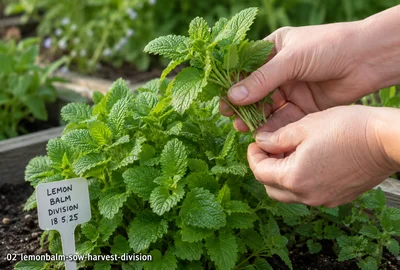
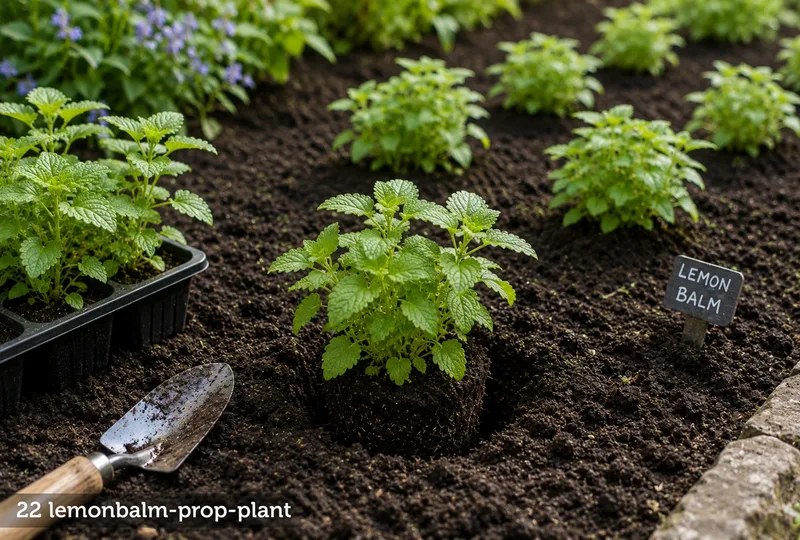
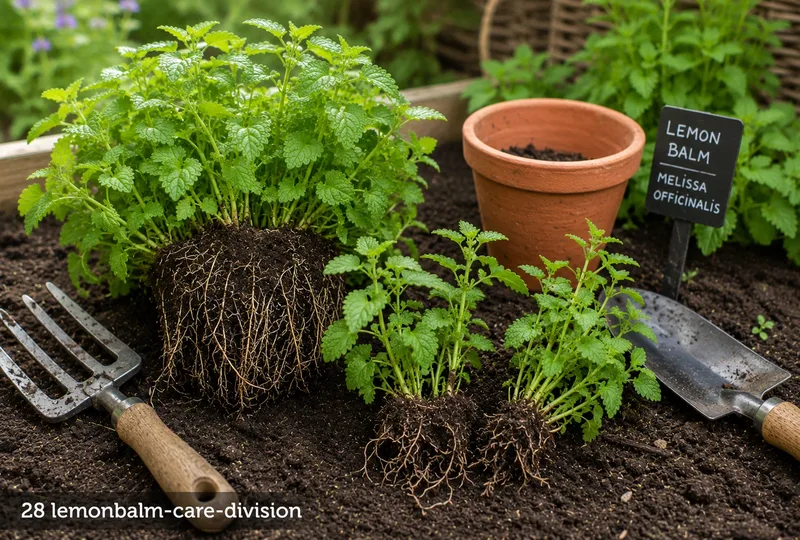
Dig up an established lemon balm clump as new growth emerges in early spring. Use a fork to loosen the roots. Even a small clump yields 4–6 good divisions. One large clump can produce 10–15.
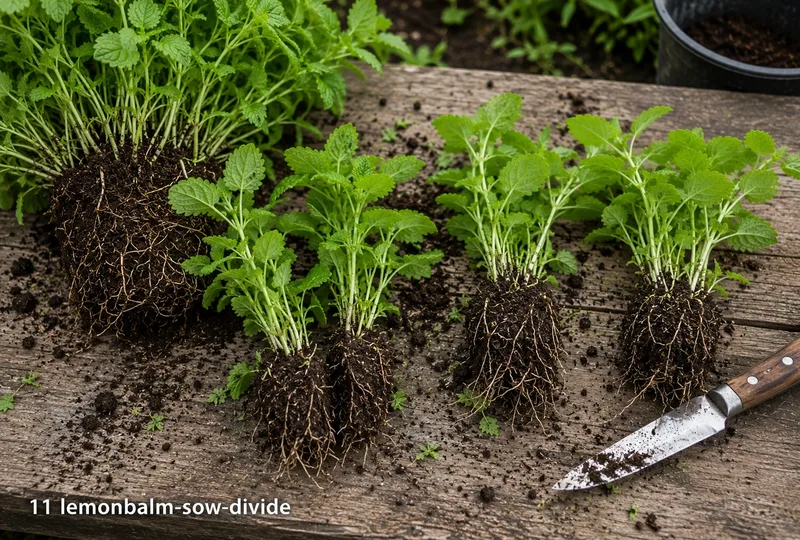
Divide into sections
Pull or cut the root mass into sections, each containing several shoots and a good portion of roots. Discard any completely dead or woody central material. The vigorous young sections at the edges are best.
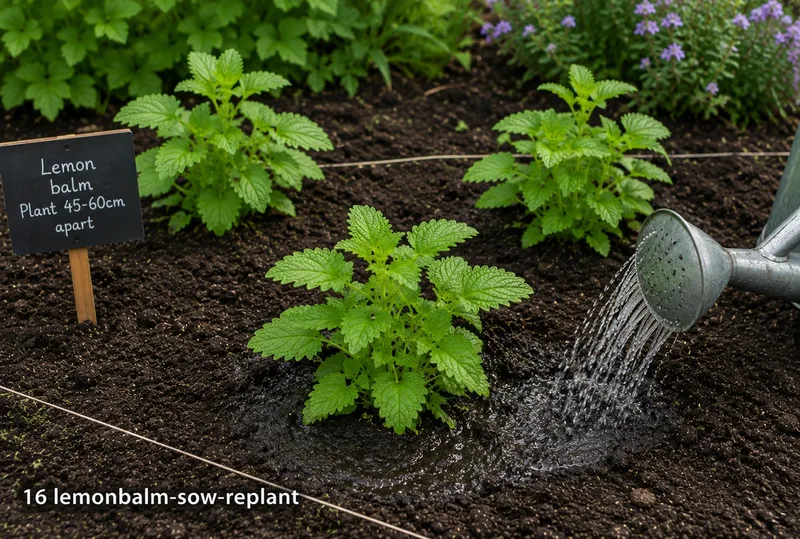
Replant immediately
Plant divisions at the same depth they were growing, 45–60cm apart. Firm in well and water thoroughly. Divisions establish within days of replanting and produce a harvestable plant within 3–4 weeks.
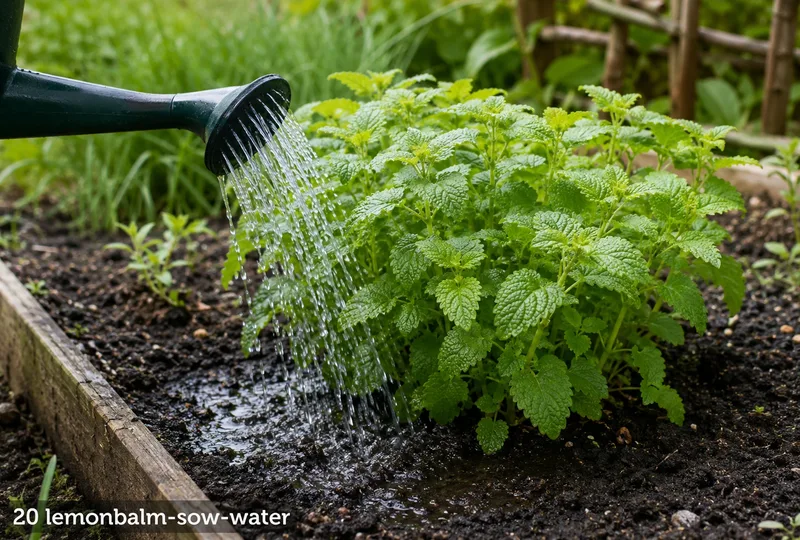
Water during establishment
Water daily for the first 2 weeks while divisions re-establish. Once you see vigorous new upright growth, the plant has taken. Reduce watering to only during dry spells after the first 2 weeks.
First harvest 3–4 weeks after dividing
Begin harvesting when plants are 15–20cm tall. Cut shoot tips to encourage branching. Division-grown plants are significantly more productive in their first season than seed-grown plants.
Control any unwanted spread
After planting, monitor the perimeter of each clump. If runners are extending beyond the intended space, cut them back with a spade. Sink a container around the base if permanent containment is needed.
Division (Fastest Method) — regional timing
Region
Sow / plant
Harvest
Notes
Scotland & Far North
Apr–May
Jun–Oct
N/A · Plant: Apr–May · Harvest: Jun–Oct
Northern England
Mar–Apr
May–Oct
N/A · Plant: Mar–Apr · Harvest: May–Oct
Midlands & Wales
Mar–Apr
Apr–Oct
N/A · Plant: Mar–Apr · Harvest: Apr–Oct
Ireland & Isle of Man
Mar–Apr
Apr–Oct
N/A · Plant: Mar–Apr · Harvest: Apr–Oct
South & SE England
Mar
Apr–Oct
N/A · Plant: Mar · Harvest: Apr–Oct
South Coast & SW
Feb–Mar
Mar–Oct
N/A · Plant: Feb–Mar · Harvest: Mar–Oct
08 Using a Propagator
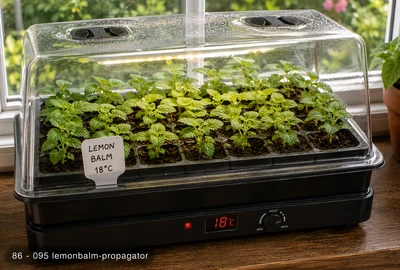
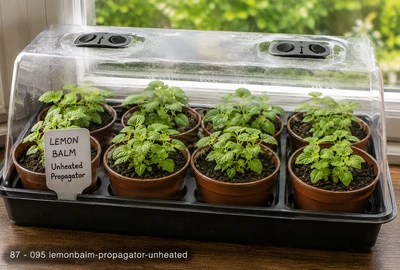
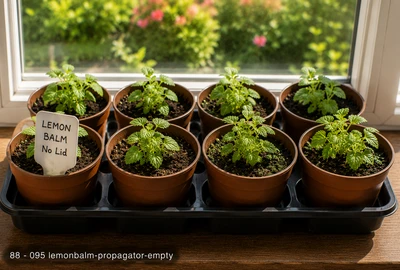
A heated propagator at 18°C is the most reliable way to germinate lemon balm seed, which needs consistent warmth and light. An unheated propagator or warm windowsill is adequate from late April onwards when ambient temperatures are more stable. The main benefit of a propagator is consistency — lemon balm germination at variable temperatures is erratic.
Heated propagator
Set to 18°C. Sow seeds on the surface of moist compost — lemon balm needs light to germinate. Keep the lid on until seedlings appear (10–14 days). Ventilate daily after germination begins and remove the lid completely once seedlings are 1cm tall.
Temperature: 18°C
Unheated propagator
Adequate from late April onwards when ambient temperatures are more stable. An unheated propagator on a warm south-facing windowsill maintains useful humidity around germinating seeds. Remove the lid promptly on germination to prevent damping off.
Standard unheated propagator — A lidded seed tray traps warmth and humidity around germinating seeds without electricity. Performance depends entirely on room temperature — best placed on a warm windowsill and used from March onwards. Replace the lid promptly after watering. Remove it completely the moment seedlings emerge to prevent damping off.
Sow on the surface of moist compost
Fill 9cm pots with seed compost, water well, and scatter 5–6 seeds on the surface. Do not cover — light is needed for germination. Place in the propagator and close the lid.
Maintain 18°C and good light
Set to 18°C. Critically, position the propagator in good light — lemon balm seeds need both warmth and light simultaneously. A heated propagator in a dark corner will not germinate reliably.
Germination in 10–14 days
Tiny seedlings appear in 10–14 days. Open vents immediately and remove the lid within 2–3 days of germination. Damp off is a risk with very small seedlings in humid conditions.
Thin and grow on
Thin to the strongest 2 seedlings per pot. Move to a bright windowsill at 15°C. Lemon balm seedlings grow quickly once established — pot on into individual 9cm pots when the roots fill the module.
Plant out after hardening off
Harden off over 7–10 days before planting out 45–60cm apart. Lemon balm is very hardy once established — even young plants tolerate light frost with no lasting damage.
Windowsill alternative: A bright south-facing windowsill can substitute from late February. Place a clear polythene bag loosely over the pot during germination. Remove immediately once seedlings appear.
Cut the entire plant back to 10cm as soon as flowering is complete in August. This is the most important annual maintenance task for lemon balm. It prevents prolific self-seeding (which can result in dozens of unwanted seedlings across the border), removes coarse post-flowering stems, and triggers a remarkable flush of tender, intensely fragrant new growth within 2–3 weeks. This new growth often provides the finest harvest of the year — fresh, young, and highly aromatic through autumn.
🌸 Deadheading
Deadhead flower stems before they set seed to prevent invasive self-seeding. Lemon balm produces tiny seeds in abundance and, left to ripen, will result in dozens or hundreds of seedlings across the garden. The flowers themselves are attractive and excellent for bees — enjoy them, but remove the dead flower heads before the seeds ripen. The moment flowers fade and the seed heads begin to form, cut back the entire plant.
🌱 Division & Spread Control
Divide clumps every 2–3 years in spring to maintain vigour and control spread. Lift the entire root mass, remove and discard the oldest, most congested central section, and replant 3–4 vigorous outer sections. This simultaneously rejuvenates the plant and reduces its footprint. Any surplus divisions are excellent plants to share with other gardeners. To contain spread permanently, sink a bottomless pot or metal sheet barrier into the soil around the plant.
11 Watch Out For
Warning
Lemon balm self-seeds prolifically and can become a nuisance weed in the garden if allowed to flower and set seed. Remove flower heads as soon as they appear, or cut the whole plant back hard immediately after flowering. Do not let it self-seed in areas of bare soil.
🐛 Insects & pests
🕷 Spider Mite — Fine, silky webbing on the underside of leaves and between growing tips — the definitive identification sign
🐜 Aphids (Blackfly & Greenfly) — Curled, distorted, or stunted growing tips — aphids inject saliva that causes leaf curl to protect them
🍄 Diseases to watch
⬜ Powdery Mildew — Powdery mildew is caused by a range of related fungi, each specific to its host plant — courgette mildew cannot infect peas, and vice versa. The characteristic white powdery coating on leaf surfaces appears in warm, dry conditions (unlike downy mildew which prefers cool and wet). Rarely kills plants but severely reduces yield and plant vigour.
🩶 Botrytis (Grey Mould) — Botrytis cinerea (grey mould) is the most ubiquitous fungal pathogen in temperate gardens — present in virtually every garden soil and on plant debris. It becomes a disease only when conditions favour it: cool, humid, poorly ventilated environments with damaged or senescent plant tissue. In a greenhouse in autumn it can destroy an entire tomato or grape crop.
Full identification and treatment advice is in the Pests and Diseases sections.
12 Storage & Preserving
🍵 Herbal Tea (Fresh & Dried)
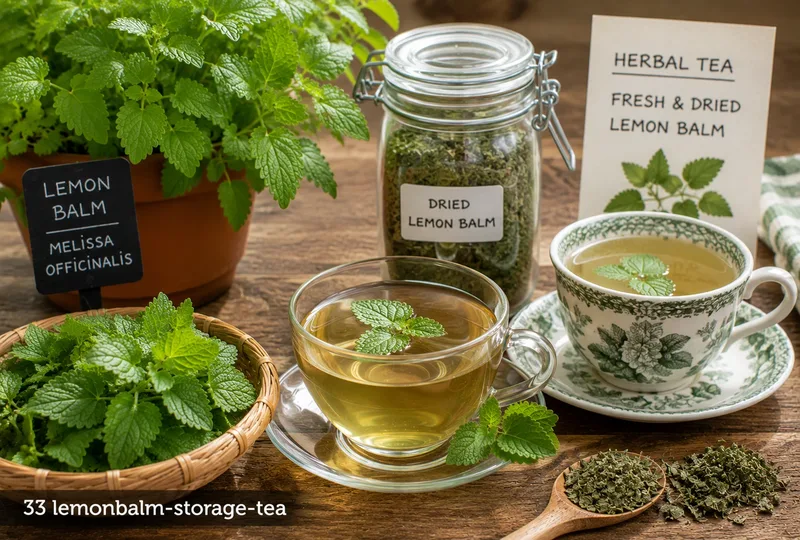
Fresh lemon balm tea is made by pouring boiling water over 6–8 fresh leaves per cup and steeping for 5 minutes. It is calming, lightly lemon-flavoured, and caffeine-free. For dried tea, harvest stems just before flowering and hang to dry for 2–3 weeks. Crumble dried leaves into an airtight jar — 2 teaspoons per cup. Home-dried lemon balm tea has a much more complex flavour than any commercial product.
🧊 Frozen
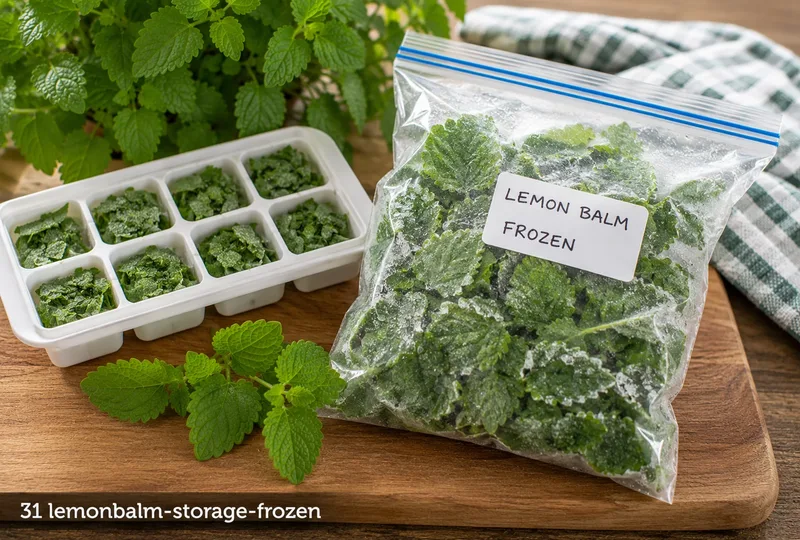
Freeze lemon balm leaves in ice cube trays topped up with water — each cube adds lemon balm flavour and fragrance to summer drinks, smoothies, or herbal teas. For cooking, blend leaves with a little olive oil and freeze in cubes for use in sauces and dressings. Frozen lemon balm retains its flavour for 3–4 months. The frozen leaf texture is poor but the flavour is preserved.
🫙 Lemon Balm Infusion
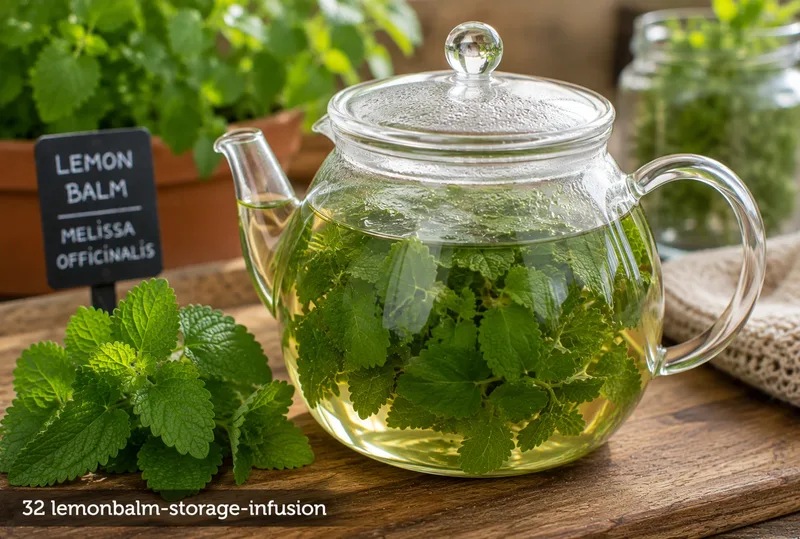
Lemon balm makes a beautiful pale green cordial with a clean lemon fragrance — dilute it with sparkling water for a summer drink. Follow a tested recipe.
13 Expert Tips
💡 Cut Back Hard in Midsummer
Cut lemon balm back hard in midsummer even if it has not flowered — the resulting flush of new growth is more fragrant than old leaves and gives a second harvest season in late summer and autumn.
💡 Grow lemon balm near beehives or in a bee garden — it has been planted by beekeepers for centuries to attract swarms and calm colonies.
💡 The Citronella variety has the strongest fragrance of all lemon balm forms — grow it specifically for tea if that is your primary use.