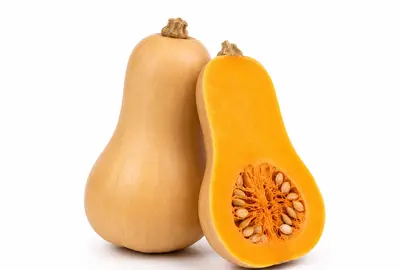
Butternut Sprinter F1
Butternut
The classic pear-shaped butternut, bred for earlier maturity in cooler UK summers. Dense orange flesh, excellent flavour, and outstanding storage life into the new year.
- F1
- Reliable
- Long Storage
Cucurbita maxima / C. moschata
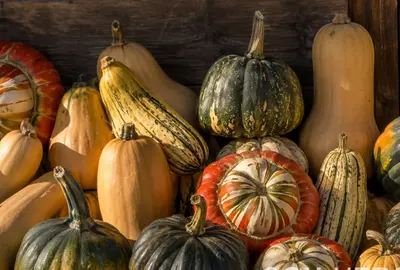
Winter squash are among the most rewarding crops in the kitchen garden — sown indoors in spring, sprawling vigorously through summer, and stored on a kitchen shelf well into the new year. Unlike summer squash and courgettes, winter squash are left to mature fully on the plant, developing a hard rind that allows them to keep for months after harvest. The range of shapes, colours, and flavours — from the familiar butternut to the slate-blue Crown Prince and the striped Delicata — makes this a crop worth growing for variety alone.
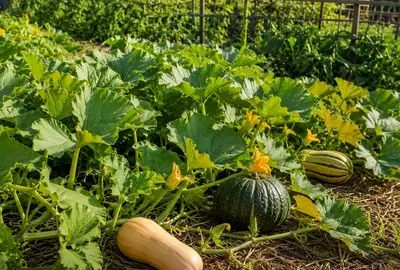
Winter squash varieties divide broadly by fruit size, storage life, and flavour rather than by growth habit — almost all winter squash are vigorous trailing vines, though a few compact bush types exist for smaller plots. Butternut types are the most reliable and widely grown, with dense orange flesh and excellent storage life. Crown Prince and other Cucurbita maxima types produce large, dense-fleshed fruits prized for flavour. Smaller acorn-type and Delicata varieties mature faster and suit shorter UK seasons or smaller gardens, while ornamental types like Turk's Turban combine good eating quality with striking autumn display value.
The number of varieties shown for each crop is based on UK consumption data (2025/26) — the more popular the crop, the more variety choices we include.
A core selection of reliable, well-flavoured winter squash spanning butternut, maxima, and acorn types — all proven performers in UK gardens. Real-life photography.
The classic pear-shaped butternut, bred for earlier maturity in cooler UK summers. Dense orange flesh, excellent flavour, and outstanding storage life into the new year.
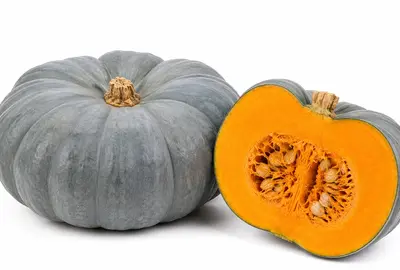
Striking slate-blue skin hiding deep orange flesh of exceptional flavour and density. One of the best-tasting squash available, widely regarded as a UK favourite.
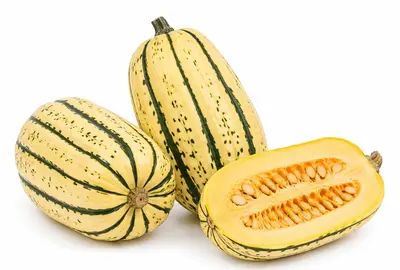
Compact cream and green striped fruits with sweet, smooth flesh — the skin is thin enough to eat once roasted. Fast-maturing and well suited to shorter growing seasons.
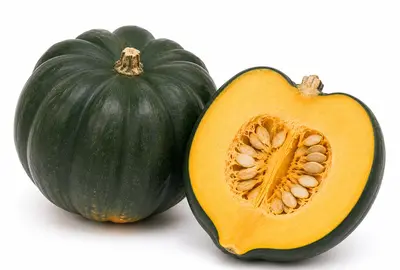
A compact, bushy acorn squash bred for small gardens and containers. Sweet, dense flesh in single-serving fruits, with strong resistance to powdery mildew.
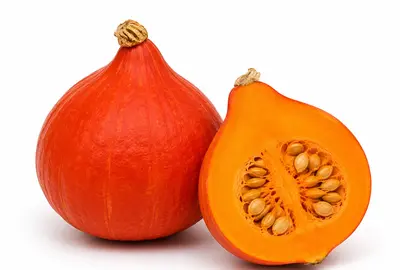
Teardrop-shaped, deep orange-red squash with smooth, nutty, chestnut-like flesh. Skin is thin enough to cook and eat. A reliable, attractive cropper.
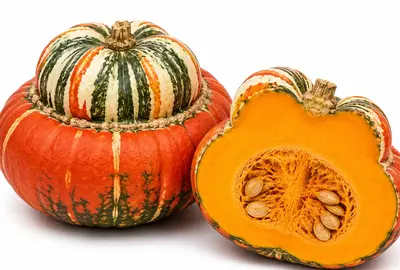
A spectacular multi-coloured, turban-shaped squash combining genuine eating quality with outstanding ornamental value. Excellent for autumn displays as well as the kitchen.
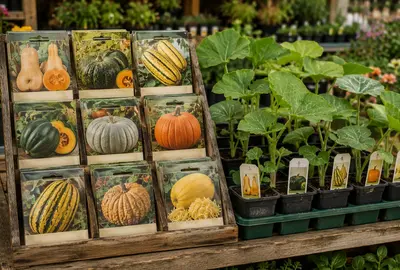
Winter squash seeds and plug plants are widely available through several routes. Seed offers the widest variety choice and is the only practical way to grow less common types; plug plants suit gardeners without indoor sowing space, though the variety range is narrower.
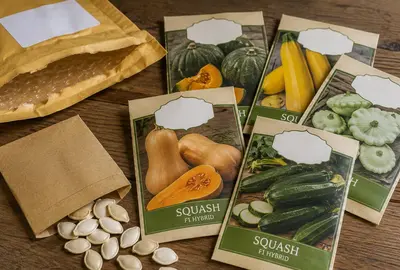
Specialist seed companies online stock far more squash varieties than any garden centre, including unusual maxima and acorn types rarely found in shops. Check days to maturity carefully — some larger varieties need a longer season than the UK reliably offers. Order from late winter for the best selection.
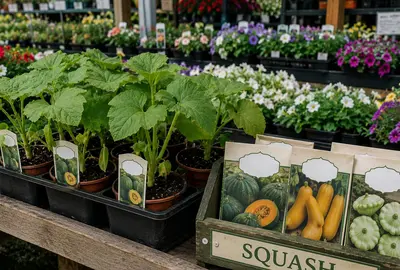
Garden centres typically stock squash seeds from February and young plug plants from April or May. The variety range leans towards the most popular and reliable types — butternut, Crown Prince, and a handful of others — which suits most gardeners well.
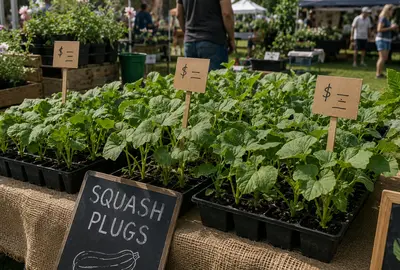
Plant sales, farmers' markets, and community fetes are a good source of squash plug plants from May onwards, often at lower prices than garden centres. Plants are usually already past the most vulnerable seedling stage, which suits less experienced growers.

Squash seed is easy to save and keeps well, making it a common offering at seed swaps and allotment exchanges. A spare plug plant from a neighbour with too many seedlings is also a common and welcome gift each spring.

Open ground gives squash the most room to sprawl and is the traditional way to grow larger varieties. Dig a generous hole at least 30cm wide and deep, and fill with well-rotted manure or garden compost — squash are hungry feeders and reward rich soil with much heavier crops. Plant on a slight mound to improve drainage around the base of the stem. Allow 90cm to 1.5m between plants depending on variety, and direct trailing vines where you want them to grow rather than letting them sprawl unchecked across paths and other beds.
Suitable varieties: All varieties, particularly larger-fruited types such as Crown Prince and Turk's Turban that need the most root space.
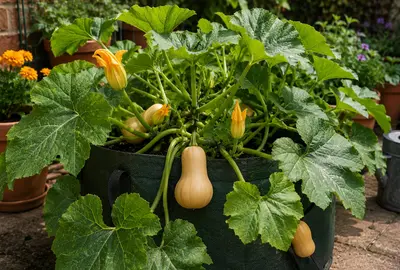
Compact and bush-type varieties can be grown successfully in a large container or growbag where ground space is limited. Use the largest container practical — at least 45cm diameter and depth — filled with a rich, moisture-retentive compost mixed with well-rotted manure or a slow-release fertiliser. Container-grown squash dry out faster than those in open ground, so check daily in warm weather and water deeply rather than little and often. A growbag suits one plant only, given how much root space squash need.
Suitable varieties: Compact varieties such as Honey Bear F1 and Delicata. Larger trailing types are not suitable for containers.
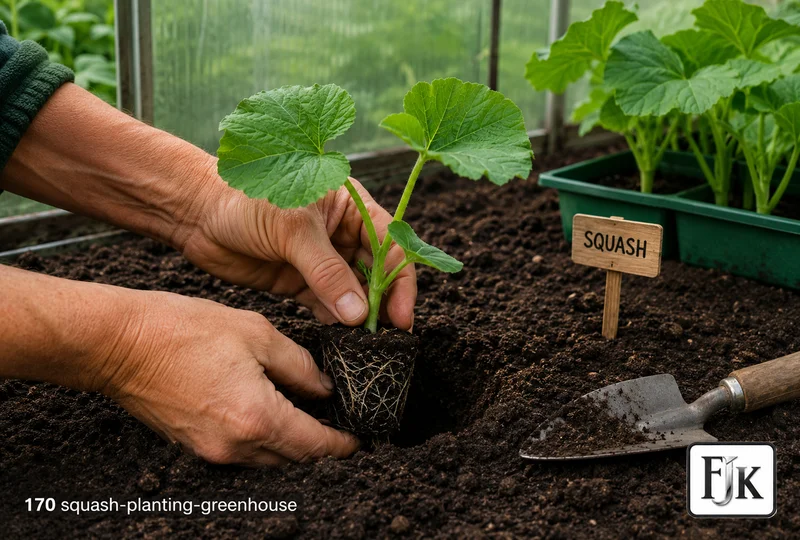
Starting squash in a greenhouse or polytunnel gives seedlings a warmer, more sheltered environment before they move outside, and can bring forward planting out by a week or two in cooler regions. Once established outdoors, squash rarely need greenhouse protection again unless the season is exceptionally cold — the plants themselves are too vigorous and sprawling to grow under glass long-term. Ventilate well on warm days to prevent the still, humid conditions that encourage powdery mildew.
Suitable varieties: All varieties benefit from a greenhouse or polytunnel start, particularly in cooler northern regions.
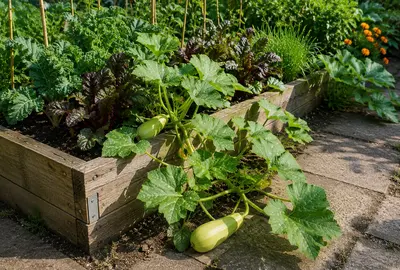
A raised bed warms up faster in spring than open ground and offers better drainage, both of which suit squash well. Enrich generously with well-rotted manure or garden compost before planting, since raised beds can dry out and deplete nutrients faster than ground-level soil. Train trailing varieties to spill over the bed edge onto a path or lawn where they have room to spread without smothering neighbouring crops.
Suitable varieties: All varieties, though trailing types need room to spread beyond the bed itself.
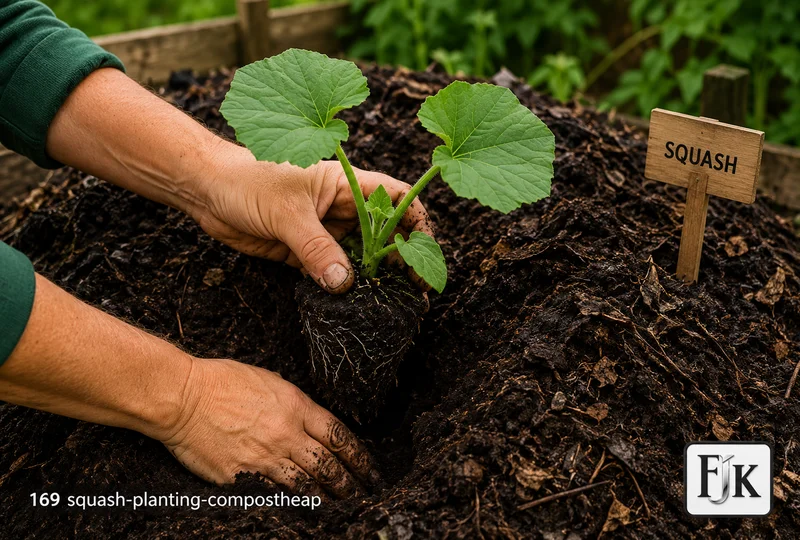
A classic allotment trick: planting a squash directly on top of an active compost heap. The decomposing material provides exceptional warmth and fertility, and squash roots make excellent use of the rich, loose growing medium. Make a planting pocket in the top of the heap, fill with a little garden soil or compost, and plant as normal. This method works best with vigorous, large-fruited trailing varieties that can make full use of the abundant nutrients.
Suitable varieties: Vigorous trailing varieties such as Crown Prince and Uchiki Kuri. Less suited to compact bush types, which do not need the extra fertility.
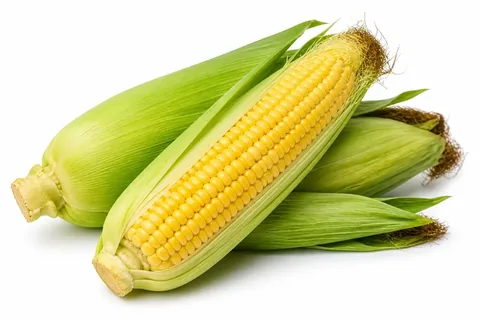
The Three Sisters: sweetcorn provides a windbreak and vertical structure while squash sprawls beneath, shading the soil and suppressing weeds.
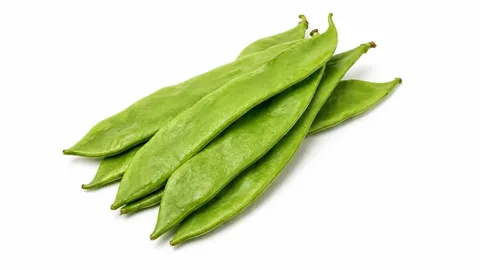
Fix nitrogen in the soil that benefits the heavy-feeding squash growing alongside them.
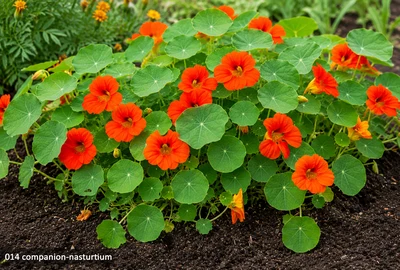
Draw aphids away from squash foliage and attract the pollinating insects squash flowers depend on for fruit set.

Deter whitefly and other pests while attracting beneficial pollinators to the squash patch.
Winter squash need a long, warm growing season to ripen fully before the first autumn frosts, so getting the sowing date right matters more than with many other crops. Sow too early and seedlings outgrow their pots before it is safe to plant out; sow too late and fruits may not mature and cure properly before storage. The ideal sowing window falls between mid-April and mid-May for most UK growers.
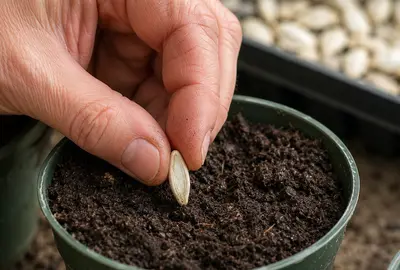
Sow one large, flat seed on its edge — not flat — into a 9cm pot of moist seed compost, pushed down so the top of the seed is just covered. Sowing on edge reduces the risk of the seed rotting before it germinates.
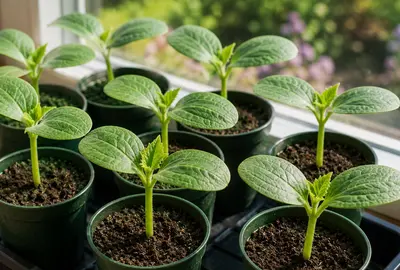
Germination takes 7–10 days at 18–21°C. Move pots to a bright windowsill or greenhouse bench as soon as the large seed leaves unfurl — squash seedlings grow quickly and become leggy in low light.
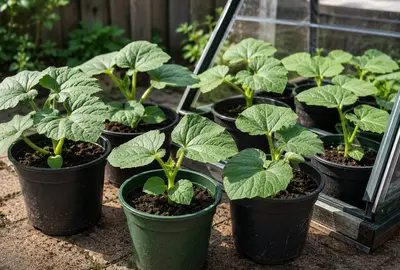
Begin hardening off 10–14 days before the expected planting-out date. Move plants outside on mild days, bringing them in at night initially, then leaving them out for increasing periods.

Plant into a prepared mound of well-rotted manure or garden compost only after all frost risk has passed. Squash dislike root disturbance, so handle the rootball gently and plant at the same depth as in the pot.
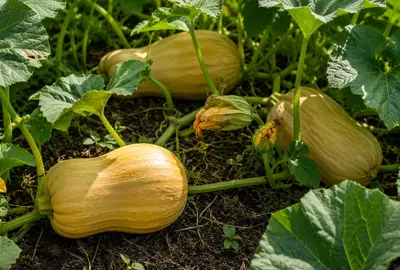
Once fruits begin to swell, ensure consistent watering — irregular moisture causes poor fruit set and can split developing skins. For large-fruited varieties, restrict each plant to 2–3 fruits for best size.
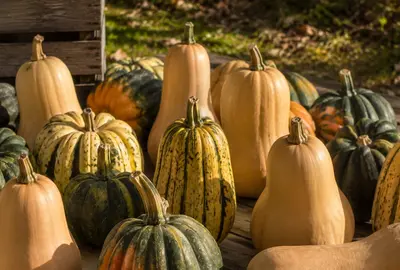
Harvest before the first hard frost, cutting with a short length of stem attached. Cure in full sun (or indoors on a sunny windowsill) for 10–14 days to harden the skin and extend storage life.

| Region | Sow / plant | Harvest | Notes |
|---|---|---|---|
| Scotland & Far North | Jun | Sep–Oct | Plant out only from mid-June; choose fast-maturing varieties such as Delicata or Honey Bear · Late April – mid-May |
| Northern England | May–Jun | Sep–Oct | Plant out from late May to early June once frost risk has passed · Late April – mid-May |
| Midlands & Wales | May | Sep–Oct | Plant out mid to late May; fleece on cold nights for the first fortnight · Mid-April – early May |
| Ireland & Isle of Man | May | Sep–Oct | Plant out mid to late May; fleece on cold nights for the first fortnight · Mid-April – early May |
| South & SE England | May | Sep–Oct | Plant out from mid-May in a sheltered, sunny spot · Mid-April – early May |
| South Coast & SW | Apr–May | Sep–Oct | Earliest reliable UK start; plant out from late April to early May in mild years · Early to mid-April |
A propagator helps germinate squash seed reliably and a few days faster, but is less essential than for crops sown earlier in the year — by April, most UK homes and greenhouses are warm enough without supplementary heat.
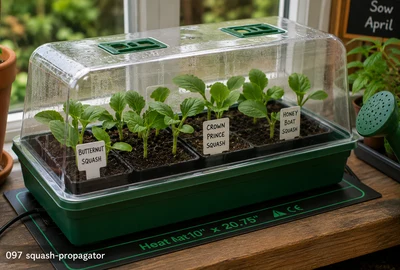
Provides consistent bottom heat regardless of room temperature, useful for an earlier-than-usual sowing or a cold spring. Set to 18–21°C for squash. Not essential for an April–May sowing in a normally heated home.
A lidded tray that traps ambient warmth is usually sufficient for squash sown from mid-April onwards, since ambient temperatures are typically high enough by then. Remove the lid promptly once seedlings emerge to prevent damping off.
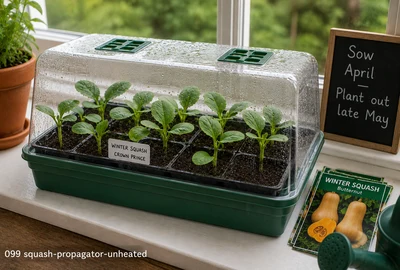
Standard unheated propagator — A lidded seed tray traps warmth and humidity around germinating seeds without electricity. Performance depends entirely on room temperature — best placed on a warm windowsill and used from March onwards. Replace the lid promptly after watering. Remove it completely the moment seedlings emerge to prevent damping off.
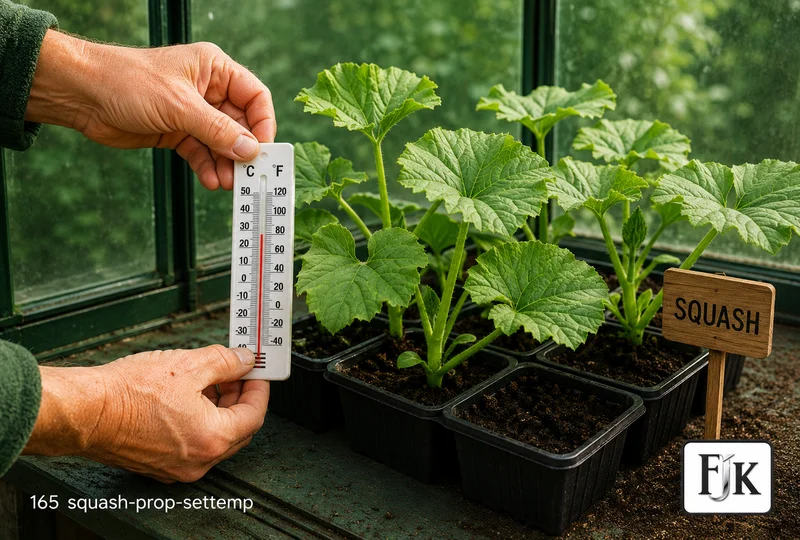
If using a heated propagator, set to 18–21°C and allow 30 minutes to warm before sowing.
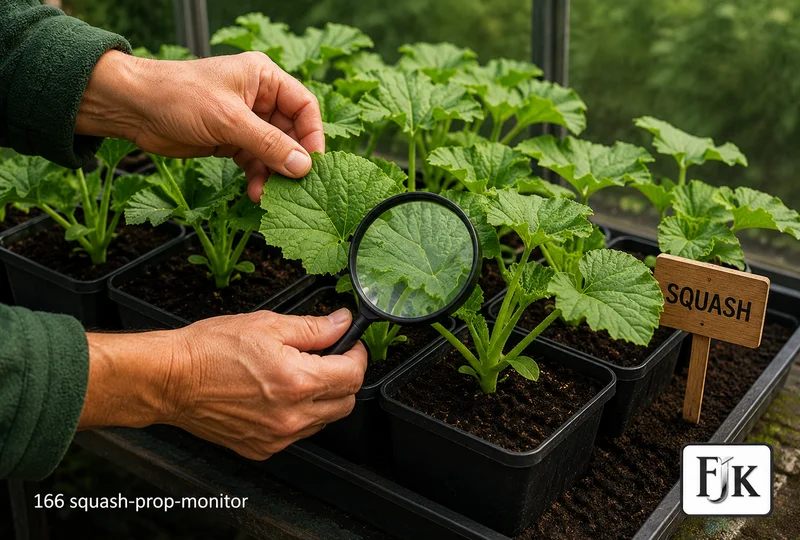
Keep compost consistently moist but never waterlogged — squash seed rots quickly in cold, wet compost.
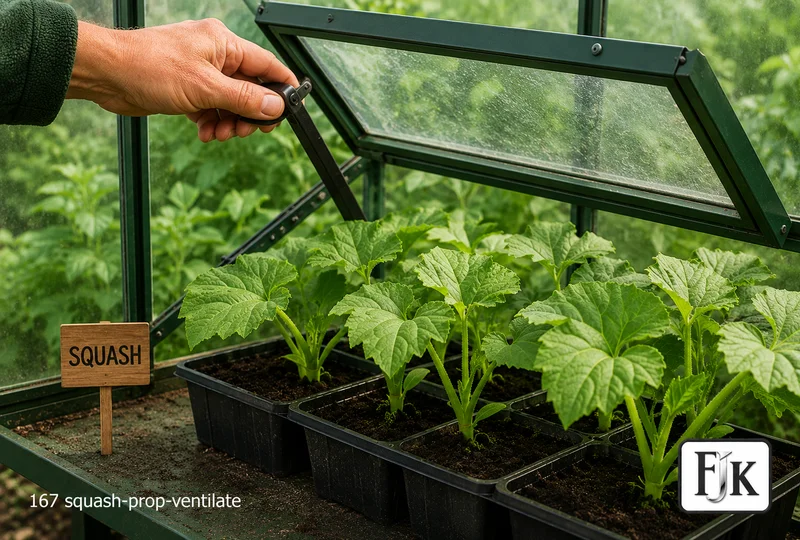
Remove the lid as soon as seedlings emerge. Squash seedlings grow fast and are prone to damping off in still, humid conditions.
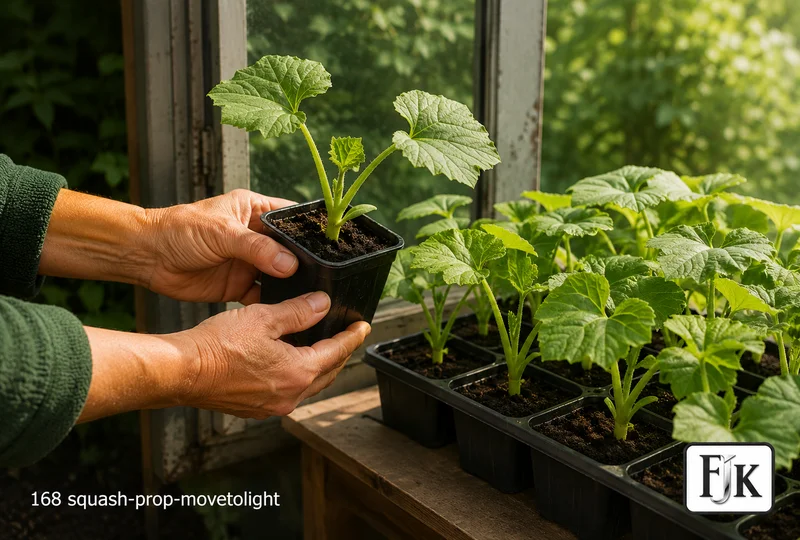
Transfer to a bright windowsill or greenhouse bench immediately after germination to prevent leggy growth.
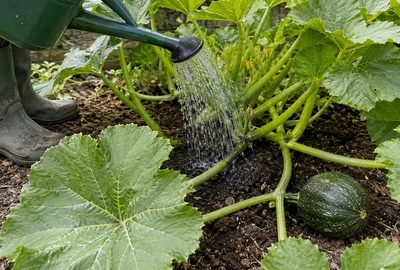
Water deeply and consistently once flowering begins — irregular moisture at this stage is the most common cause of poor fruit set and split or misshapen fruits. Water at the base rather than over the foliage, which helps reduce the risk of powdery mildew in humid summers. Established plants with a good mulch need less frequent watering than newly planted ones.
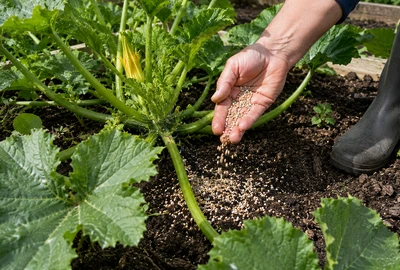
Squash are hungry feeders. Once fruits begin to swell, feed weekly with a high-potash liquid feed such as a tomato feed to support fruit development. Plants grown in well-manured ground need less supplementary feeding than those in containers or poorer soil.
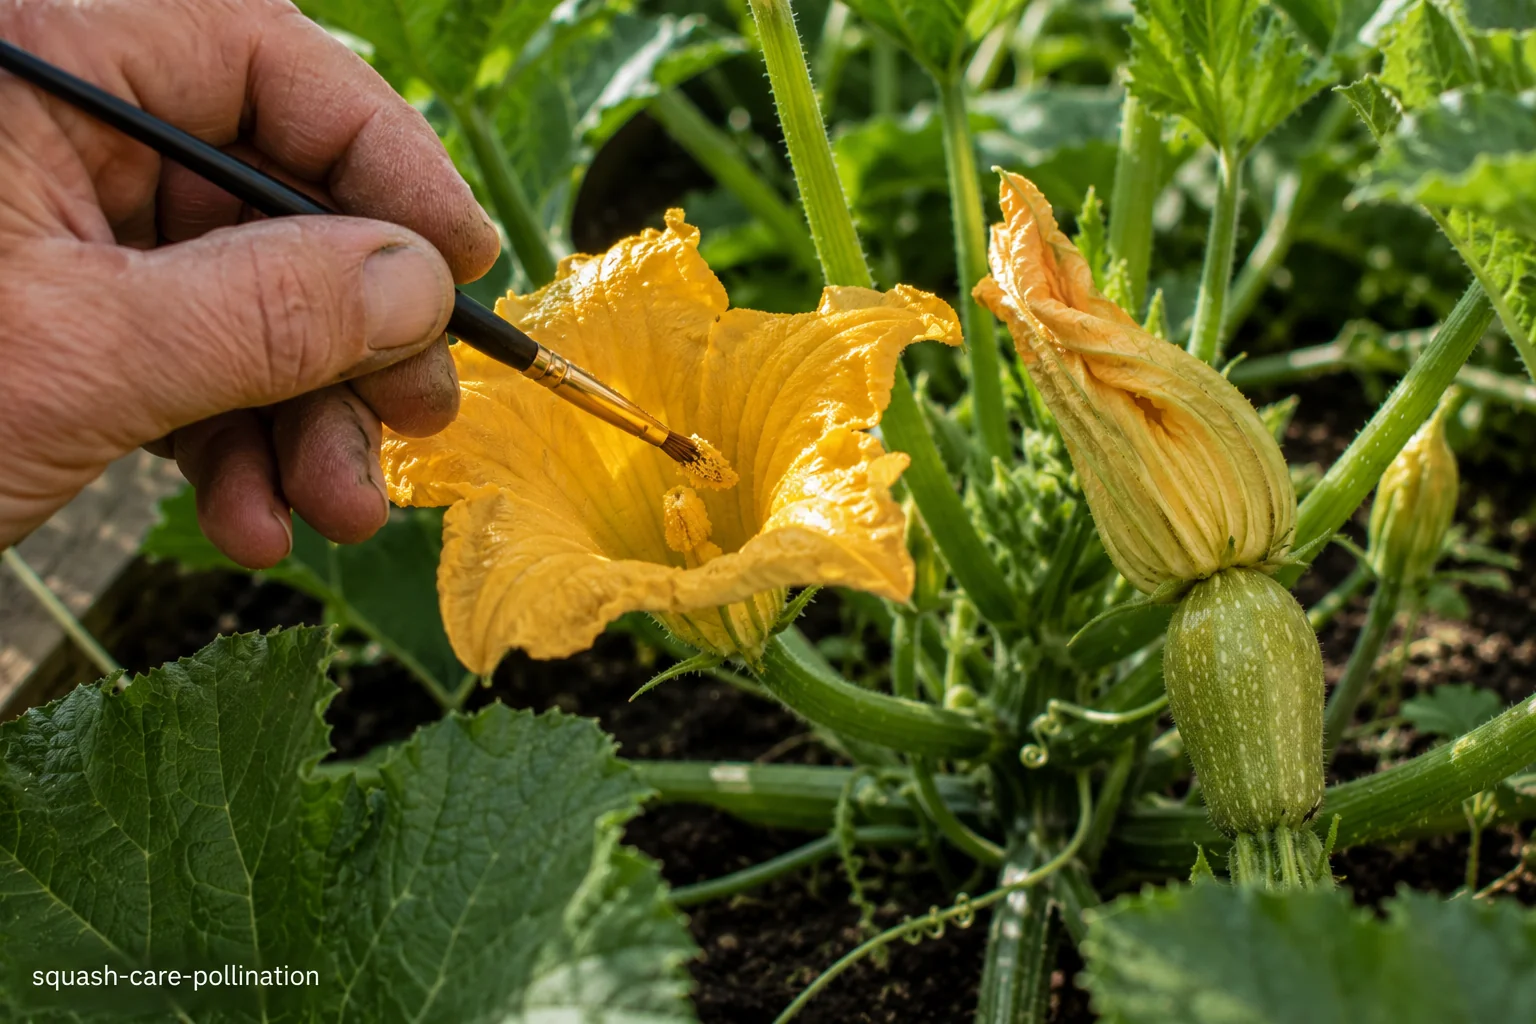
Squash produce separate male and female flowers on the same plant, and rely on pollinating insects to move pollen between them. In a poor pollinator year, hand-pollinate by transferring pollen from a male flower (thin stem, no swelling behind the bloom) to a female flower (small swollen fruit visible behind the bloom) using a soft brush or by removing a male flower and dabbing it directly onto the female.
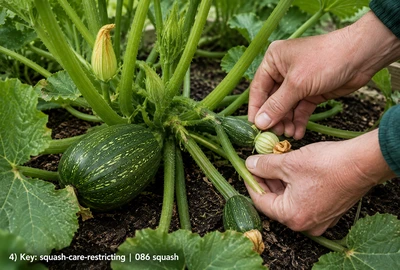
For the largest, best-quality fruits on large-fruited varieties, restrict each plant to 2–3 developing squash and pinch out further female flowers once that number has set. Compact and smaller-fruited types can be left to carry more fruit without a loss in size or flavour.
Squash are vigorous, hungry feeders — yellowing leaves usually mean they need a nitrogen-rich feed early in the season. Watch for powdery mildew in late summer, especially in crowded or poorly ventilated plantings, and for slug damage on young seedlings before they establish.
Full identification and treatment advice is in the Pests and Diseases sections.

After curing, store winter squash on slatted wooden shelves in a cool, dry, well-ventilated shed, garage, or larder. Ideal conditions are 10–15°C with moderate humidity — too warm and squash sprout or shrivel, too damp and they rot. Check stored squash every few weeks and use any showing soft spots first. Properly cured and stored squash will keep for 3–6 months depending on variety.

Once cut, squash flesh deteriorates quickly at room temperature. Wrap cut pieces tightly in cling film or an airtight container and refrigerate, where they will keep for 4–5 days. Do not refrigerate whole, uncut squash for long periods — the cold and humidity of a fridge is less suitable than a cool, dry store for unbroken skins.

Roasting is one of the best ways to use squash and also a good way to deal with a glut. Roast wedges or cubes at 200°C until caramelised and tender, then freeze in portions for up to 12 months. Roasted squash purée also freezes well and makes an excellent base for soups, risottos, and baking through the winter months.
Always sow squash seed on its edge rather than flat. Laid flat, the large seed is more prone to rotting in moist compost before it germinates; on its edge, moisture drains away from the seed surface more readily.
Pinch out the growing tip of trailing vines once they reach about 1.5–2m if space is limited. This encourages the plant to put energy into fruit development on existing side shoots rather than continuing to extend.
Slide a tile, slate, or piece of wood under developing fruits resting on bare soil. This keeps them dry and reduces the risk of rot and slug damage where the fruit touches the ground.
A squash is properly cured when you can press a thumbnail into the stem without leaving a mark. An uncured squash with a soft stem will not store well, however good its skin looks.