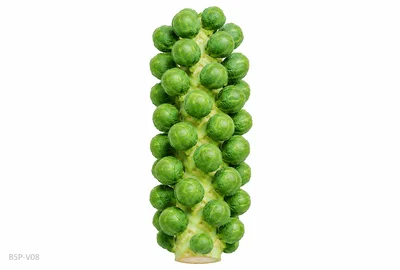
Igor F1
Green
One of the highest-yielding Brussels sprout varieties available. Firm, smooth buttons with excellent mildew resistance. AGM variety. Reliable across all UK regions.
- AGM
- High Yield
- Hardy
Brassica oleracea (Gemmifera)
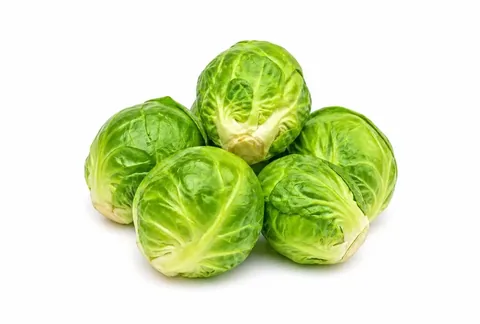
Divisive at the table, but deeply satisfying in the garden. Growing your own sprouts — sweet, nutty, harvested fresh on a frosty December morning — is a revelation. Homegrown sprouts bear no resemblance to the overcooked, sulphurous specimens that put people off. They take patience — sown in spring, harvested from autumn through to February — but a well-grown row is one of the most productive and impressive things you can put on a British allotment.
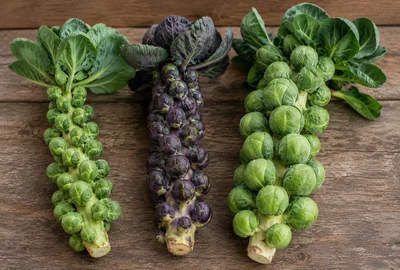
Brussels sprouts come in three main types. Standard green varieties are the backbone of the Christmas dinner and produce firm, tight buttons from October through January. Red and purple varieties such as Falstaff have a milder, nuttier flavour and retain their colour when lightly cooked — spectacular on the plate. Baby sprout varieties produce smaller, more tender buttons with a sweeter flavour and are increasingly popular for roasting whole. All types improve dramatically in flavour after the first hard frosts.
The number of varieties shown for each crop is based on UK consumption data (2025/26) — the more popular the crop, the more variety choices we include.
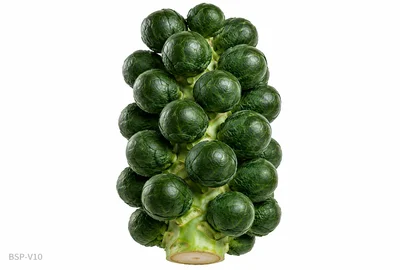
The classic Christmas sprout. Firm, tight buttons with a sweet, nutty flavour that improves with frost. Real-life photography.
One of the highest-yielding Brussels sprout varieties available. Firm, smooth buttons with excellent mildew resistance. AGM variety. Reliable across all UK regions.
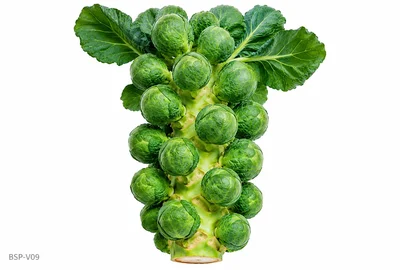
Very smooth, uniform buttons with excellent flavour. Long cropping season from November through to February. One of the most dependable sprouts for UK conditions.
Extremely firm buttons with very good disease resistance. Mid-season variety ready from November. Reliable and consistent — a favourite with allotment growers.
Striking colour and milder, nuttier flavour. Colour is best preserved with brief cooking — roasting rather than boiling. Real-life photography.
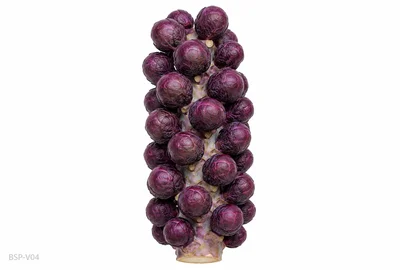
The definitive red Brussels sprout. Deep burgundy buttons with a mild, nutty flavour. Colour holds well when roasted. Very hardy and reliable.
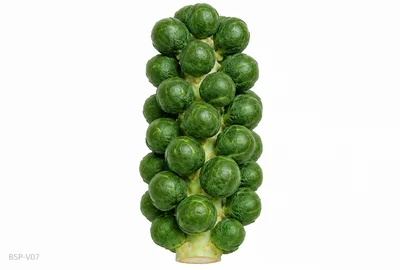
Compact red sprout with very firm buttons. Good disease resistance and reliable cropping. Flavour improves noticeably after the first frosts. Excellent for roasting whole.
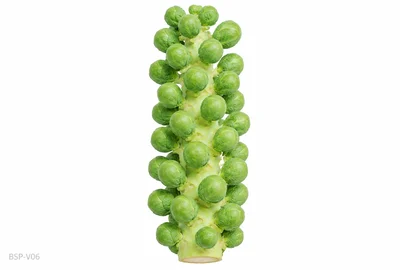
Striking dark red-purple buttons. Milder and sweeter than green types. Mid-season variety, ready from late November. Excellent roasted with balsamic vinegar.
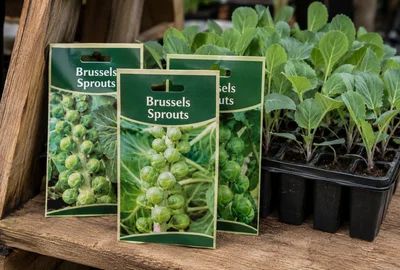
Sprout seed is available from all main online seed companies from January. Because sprouts have a long growing season, ordering early in the year ensures the best variety choice. Garden centres stock plug plants from April, which is a good option for a first attempt. Market stalls sell plug plants in spring — look for sturdy, dark-stemmed plants rather than tall and leggy ones.
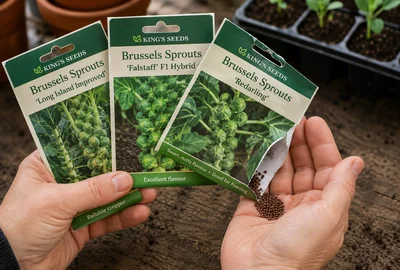
The widest choice of varieties comes from seed, sown under cover in spring — the only way to grow F1 hybrids bred for a uniform, all-at-once crop, or older varieties picked for flavour over convenience.
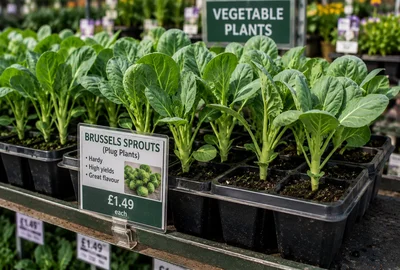
Garden centres stock young plug plants from late spring, a straightforward option if you missed the sowing window or only want a few plants.
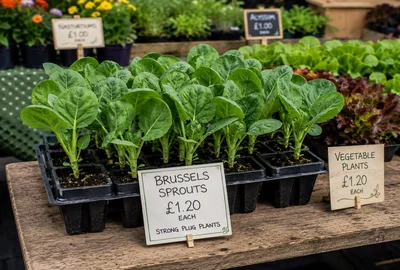
Local nurseries and market stalls often sell sturdy plug plants alongside other brassicas in late spring — a good option for a small number of strong, ready-to-plant seedlings.
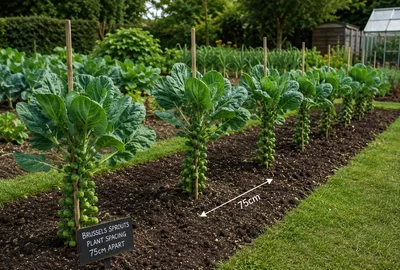
The traditional choice for sprouts, which need a long season and plenty of root room. Plant at 75cm spacing each way in a firm, well-trodden bed — loose soil produces loose, poor-quality sprouts.
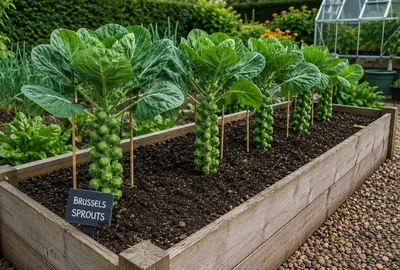
Works well if space allows a bed of at least 75cm x 75cm per plant. The contained soil is easier to firm thoroughly, which matters more for sprouts than almost any other brassica — tread it down well before planting.
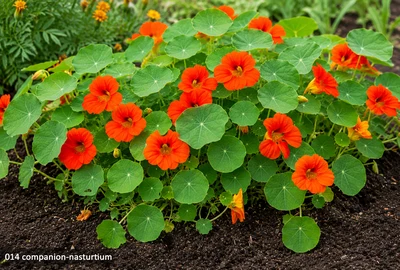
Trap crop for cabbage white butterflies. Nasturtiums at the bed perimeter draw egg-laying butterflies away from Brussels sprouts and attract beneficial predatory insects to the area.
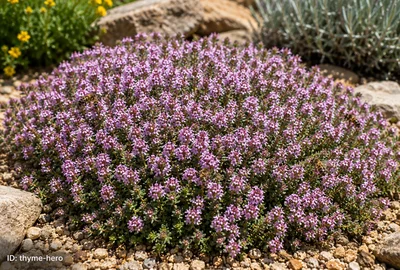
Thyme near brassicas is thought to confuse and deter cabbage white butterflies. Its aromatic oils may reduce egg-laying on neighbouring Brussels sprout plants.
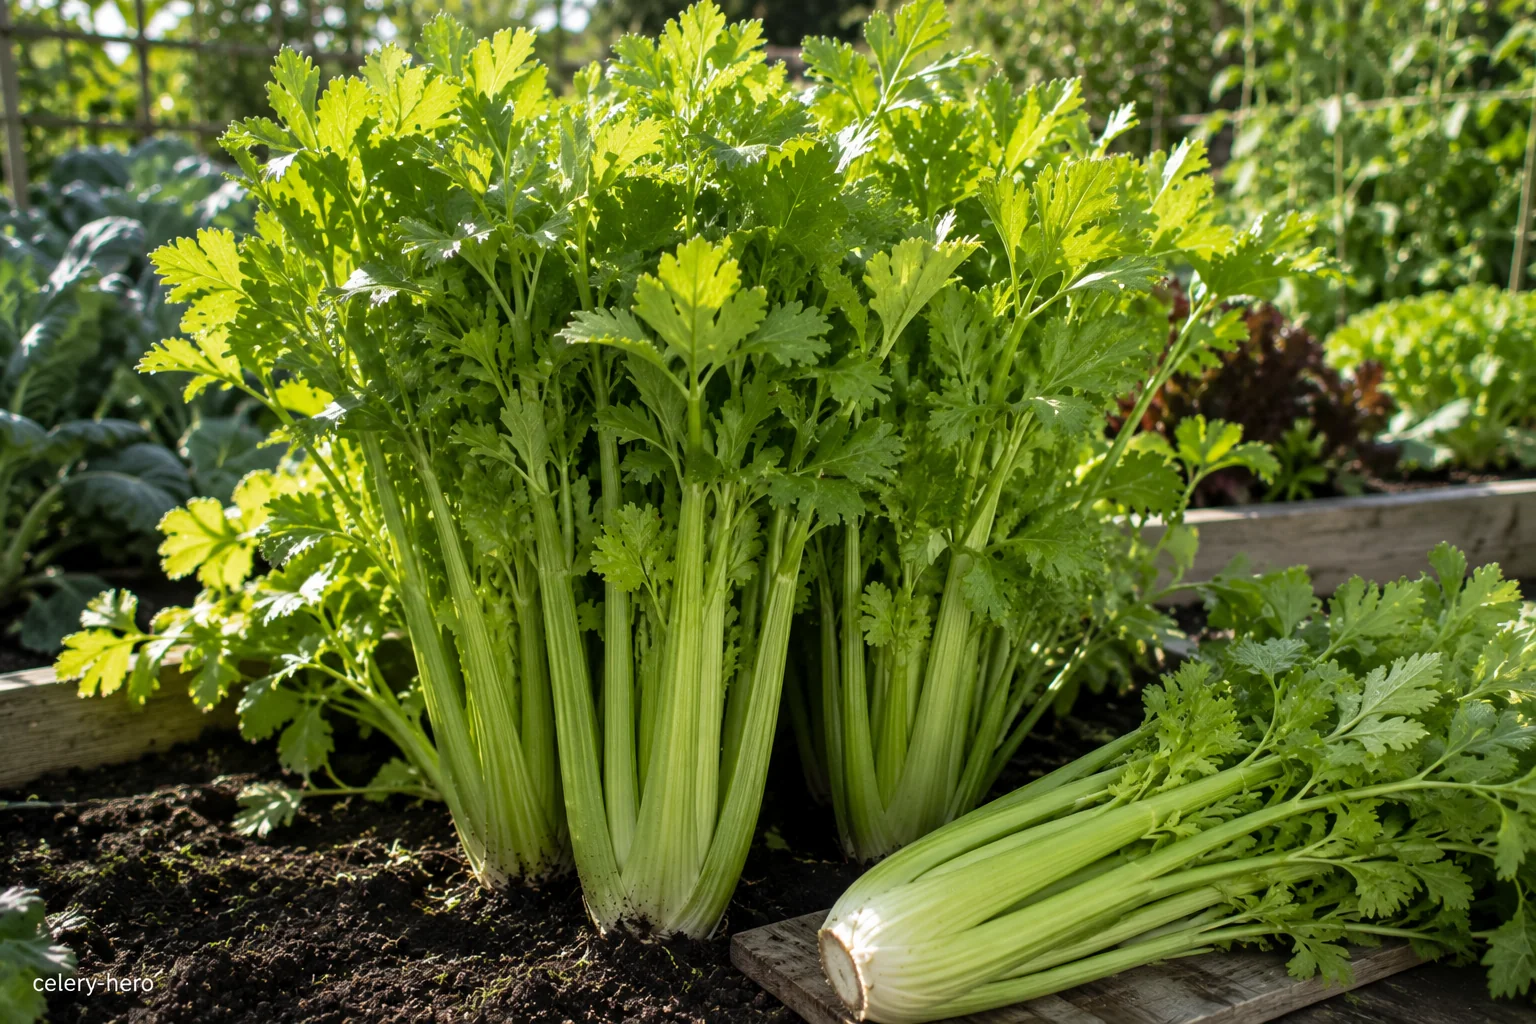
Celery planted alongside Brussels sprouts is thought to deter cabbage white butterfly. The strong celery scent may help mask the presence of the sprout plants from egg-laying insects.
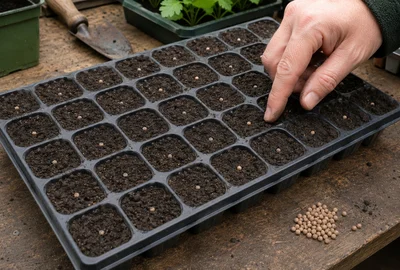
Sow one seed per module at 1cm depth in a propagator at 15–18°C. Germination in 7–10 days. Do not sow direct — sprouts need a long, steady start under cover.
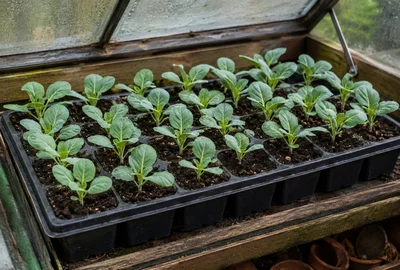
Grow on in a cold frame or cool greenhouse. Do not force with heat — sturdy, stocky plants produce better crops. Harden off over 10–14 days before planting out.
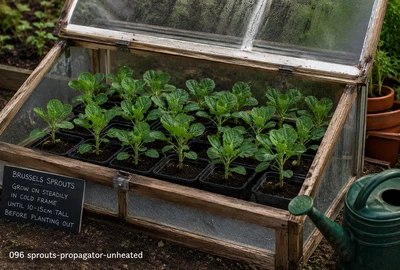
Move plants to an unheated cold frame for their final 10-14 days before planting out. This toughens growth so plants establish quickly once in the ground, rather than sitting still while they adjust.
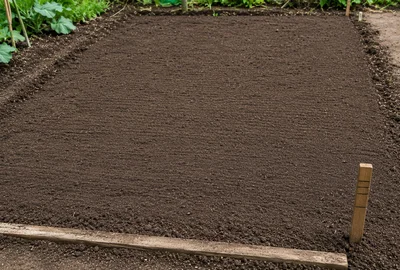
Sprouts must have a very firm bed. Tread the soil well and rake level. Loose soil produces loose, blown sprouts. Add lime if pH is below 7.0.
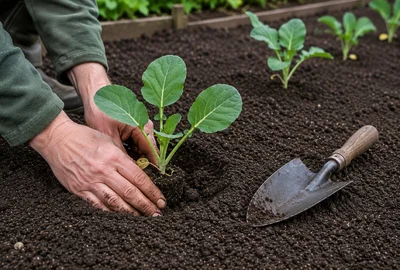
Plant at 75cm spacing each way — sprouts need space and air. Firm in extremely well. Plant slightly deeper than in the module to give extra stem support.
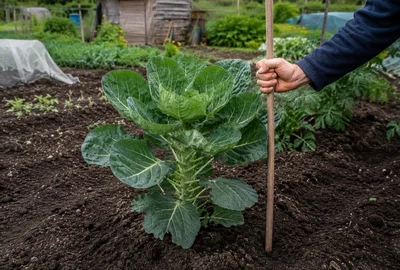
By September plants will be tall and top-heavy. Push a stout cane in beside each plant and tie securely. This prevents wind rock which causes loose, poor-quality sprouts.
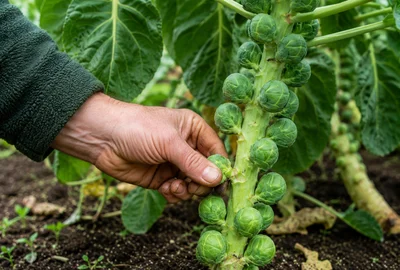
Snap the lowest buttons off when they reach marble size and are tightly closed. Work upwards as the season progresses. Harvest continues from October through to February.

| Region | Sow / plant | Harvest | Notes |
|---|---|---|---|
| Scotland & Far North | Mar–Apr | Oct–Jan | Sow under cover in late March. Transplant May–June. Choose fast-maturing varieties. · late Mar – Apr |
| Northern England | Mar–Apr | Oct–Jan | Sow in modules under cover from March. Transplant May–June. · Mar – Apr |
| Midlands & Wales | Feb–Apr | Oct–Jan | February sowings under cover give the longest season with harvest from October. · Feb – Apr |
| Ireland & Isle of Man | Feb–Apr | Oct–Jan | February sowings under cover give the longest season with harvest from October. · Feb – Apr |
| South & SE England | Feb–Apr | Oct–Feb | February start under cover. Transplant by late May for December–January harvest. · Feb – Apr |
| South Coast & SW | Feb–Apr | Oct–Feb | Mild winters allow harvest well into February. February start recommended. · Feb – Apr |
Brussels sprouts do not need heat to germinate — they are a cool-season brassica that performs best when sown without artificial warmth. A cold frame or unheated greenhouse from March is ideal. Using a heated propagator produces soft, drawn seedlings that transplant poorly and are more susceptible to disease.
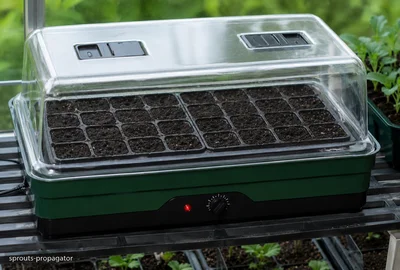
Not recommended for Brussels sprouts. If used, set no higher than 15°C and transfer seedlings to a cool, bright location immediately after germination. Heat at this stage encourages weak, spindly growth.
The correct approach for sprouts. A lidded module tray in a cold frame or unheated greenhouse from mid-March gives reliable germination in 7–10 days. Cool conditions from the outset produce the compact, sturdy transplants that sprouts need.
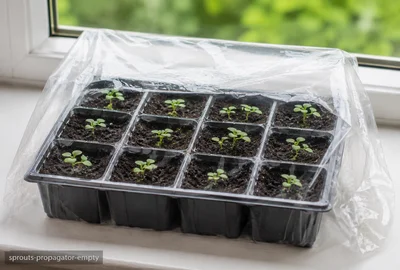
Standard unheated propagator — A lidded seed tray traps warmth and humidity around germinating seeds without electricity. Performance depends entirely on room temperature — best placed on a warm windowsill and used from March onwards. Replace the lid promptly after watering. Remove it completely the moment seedlings emerge to prevent damping off.
Fill a module tray with fresh seed compost. Press one seed per cell to 1cm depth. Water lightly with a fine rose.
Set the tray in a cold frame or unheated greenhouse. Close the lid at night. No heat required — cool, consistent conditions are ideal.
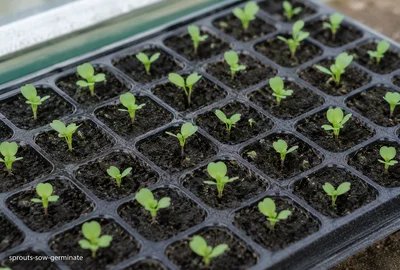
Germination takes 7–10 days at 10–18°C. Once seedlings emerge, ventilate during the day by propping the lid to prevent damping off.
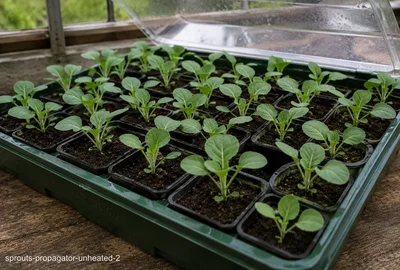
Grow seedlings on in the cold frame until they are 10–15cm tall with a strong root system before transplanting. Do not rush — a well-rooted transplant establishes far better than a small one.
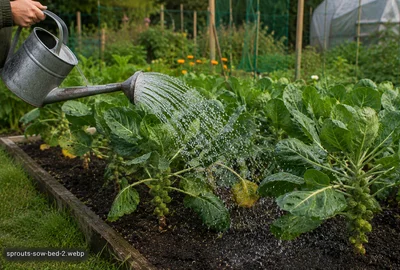
Water consistently through summer. Drought causes buttons to blow and open. A thorough weekly soaking is better than frequent light watering. Mulch around plants to retain moisture.
Apply a balanced granular feed at planting. A nitrogen feed in July encourages good leaf growth. Avoid high nitrogen in late summer — it produces lush leaves at the expense of tight buttons.
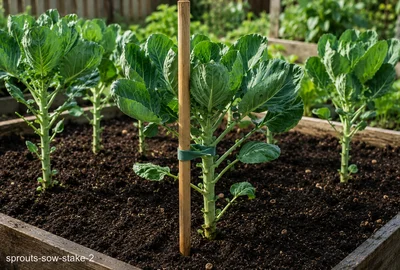
Staking is not optional for tall varieties. Wind rock is the most common cause of poor sprouts. Stake all plants by September and check ties regularly through autumn and winter.
Club root is the most serious disease threat to all brassicas including sprouts. Once in the soil it persists for 20 years. Lime your soil to pH 7.0–7.5, practice strict 4-year crop rotation, and never plant brassicas in a bed that has shown symptoms.
Full identification and treatment advice is in the Pests and Diseases sections.
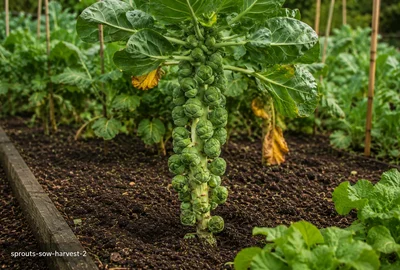
The best storage is on the plant. Leave sprouts on the stem in the garden until needed — they hold in perfect condition through hard frosts and often improve in flavour after freezing temperatures.
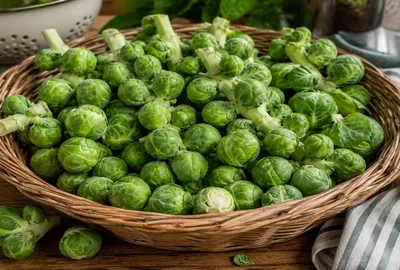
Picked sprouts keep for up to 5 days in the fridge. Store loose in an open bag. Do not wash until ready to cook.
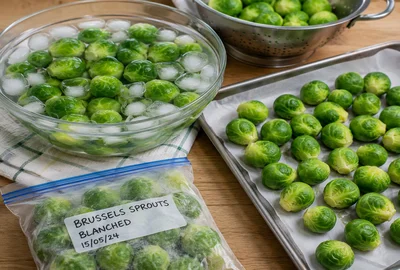
Blanch for 3 minutes, cool in ice water, pat dry and freeze in a single layer before bagging. Frozen sprouts are excellent roasted from frozen.
Choose a fast-maturing F1 variety like Brilliant or Igor for reliable harvests in smaller gardens. These produce uniform, tightly packed buttons across a shorter season.
Remove yellowing leaves from the base of the stem throughout the season. This improves air circulation and reduces the risk of grey mould taking hold in autumn.
To extend the season, cut the growing tip in early September. This diverts energy into the developing buttons and brings forward the harvest by 2–3 weeks.